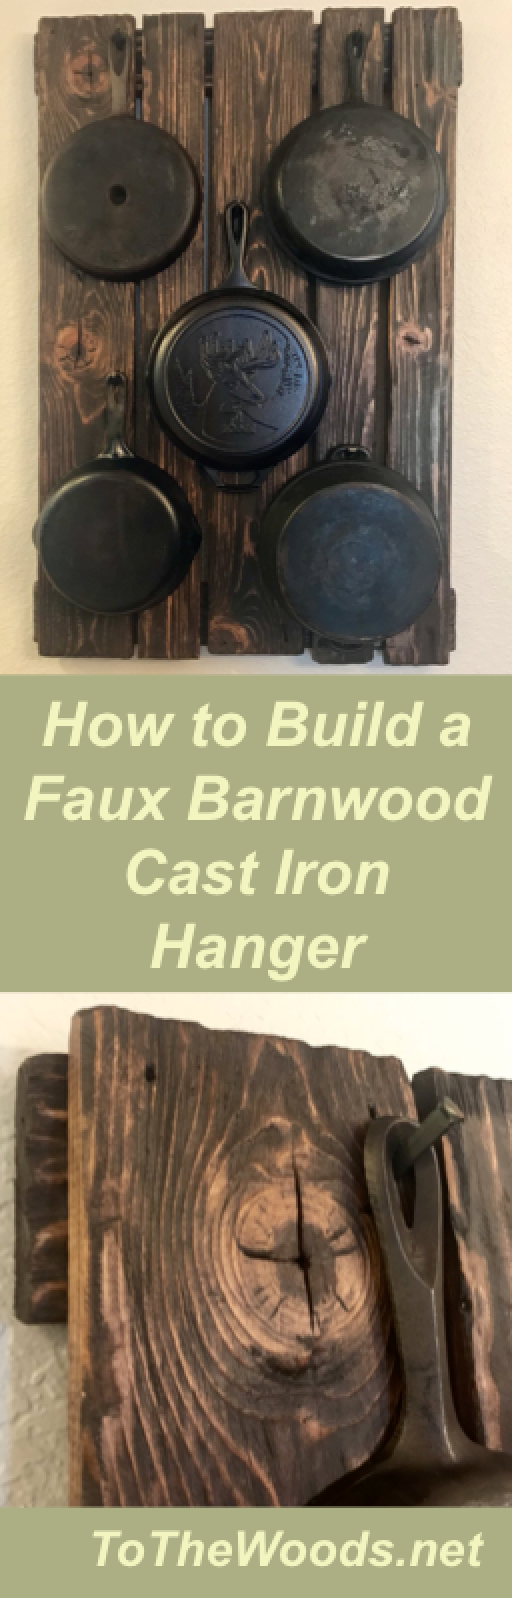
Cast Iron Display Hanger
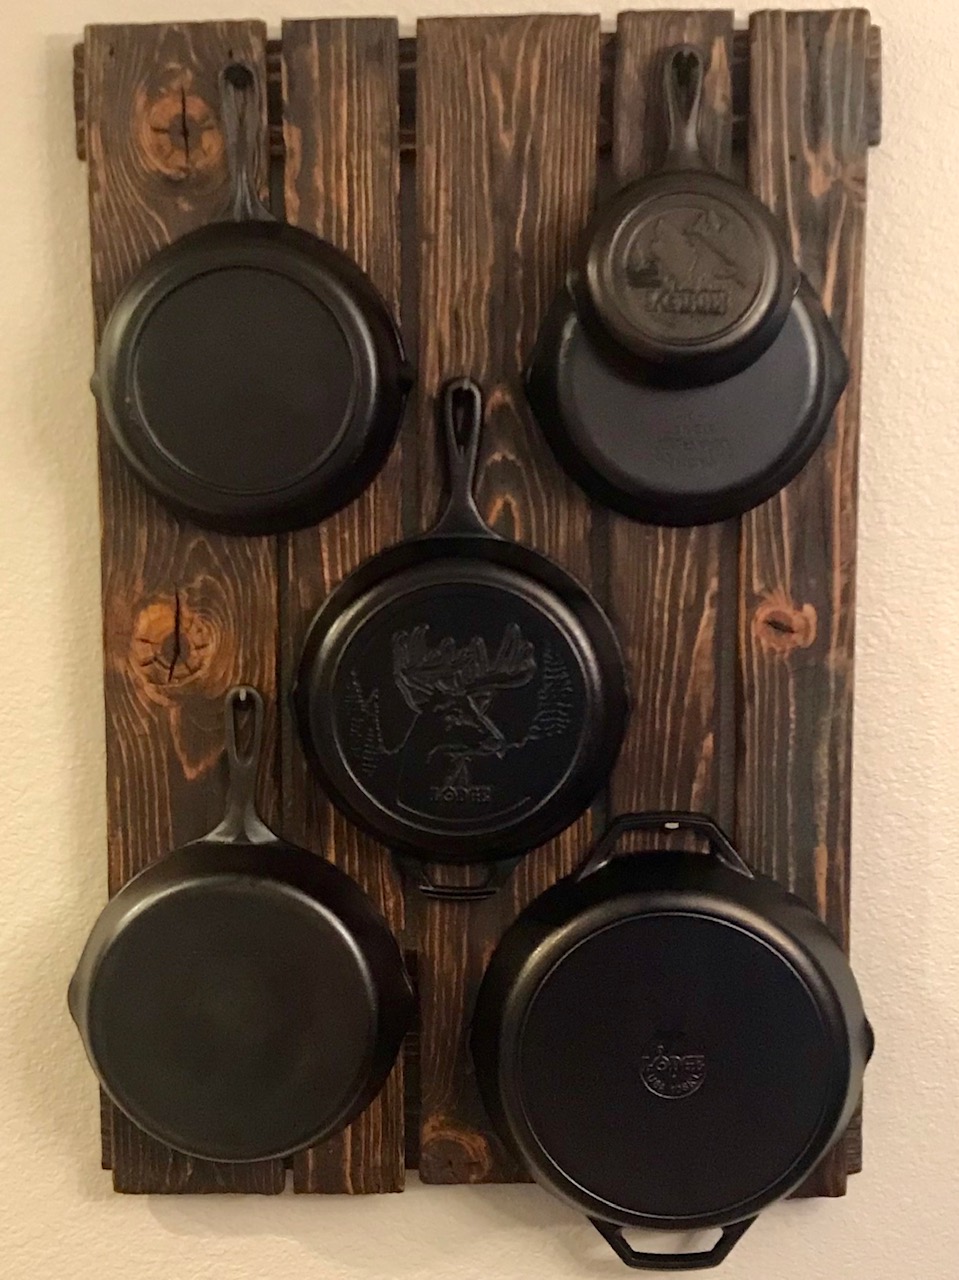
I needed a place to store the cast iron we'll use on a regular basis, but my wife has high standards for home decor on a budget so it had to look nice. I happened upon a FamilyMan.com article about How to Make Your Own Barn Wood, and decided this was the answer.
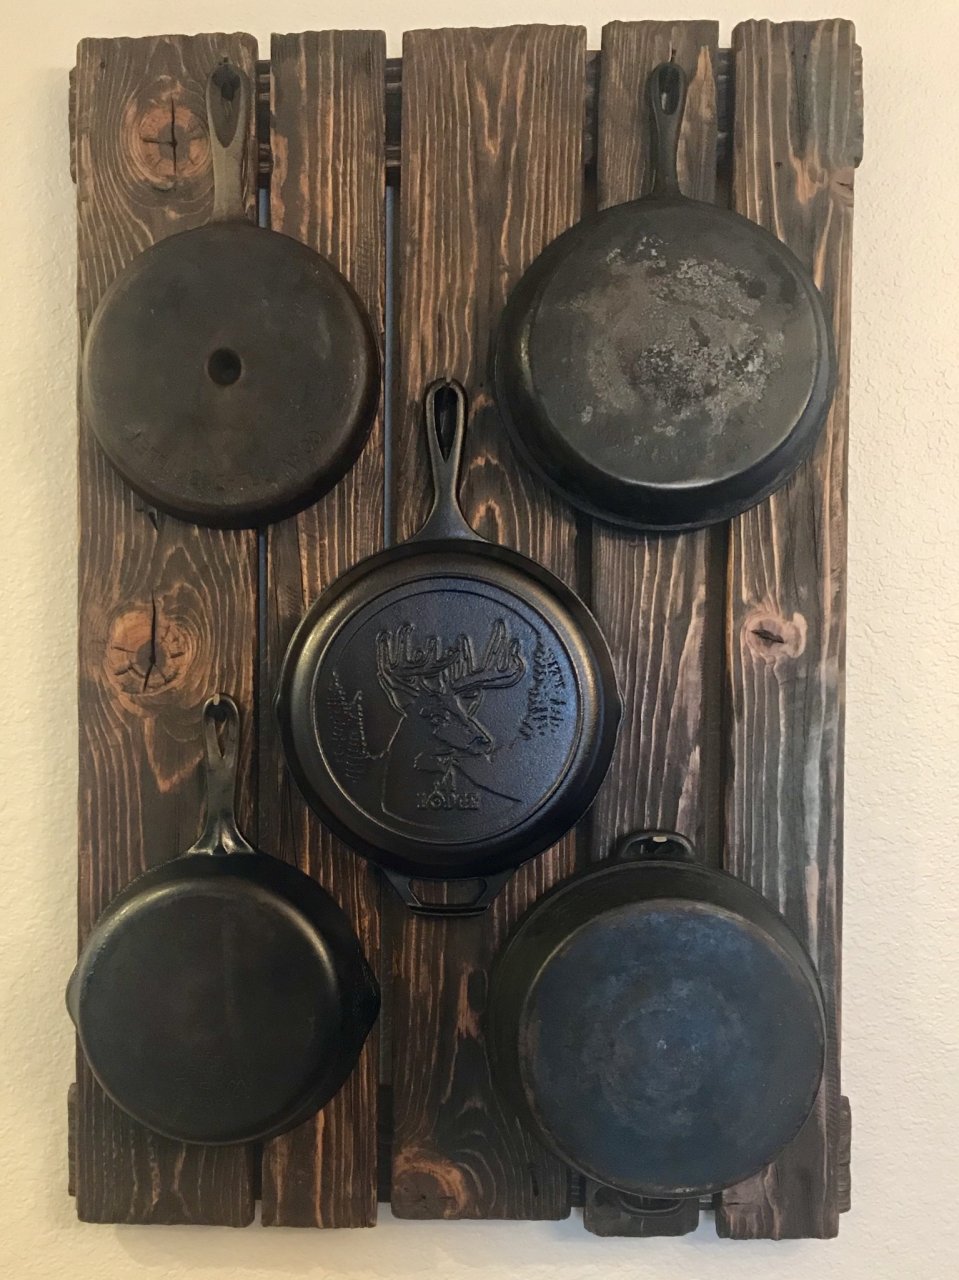
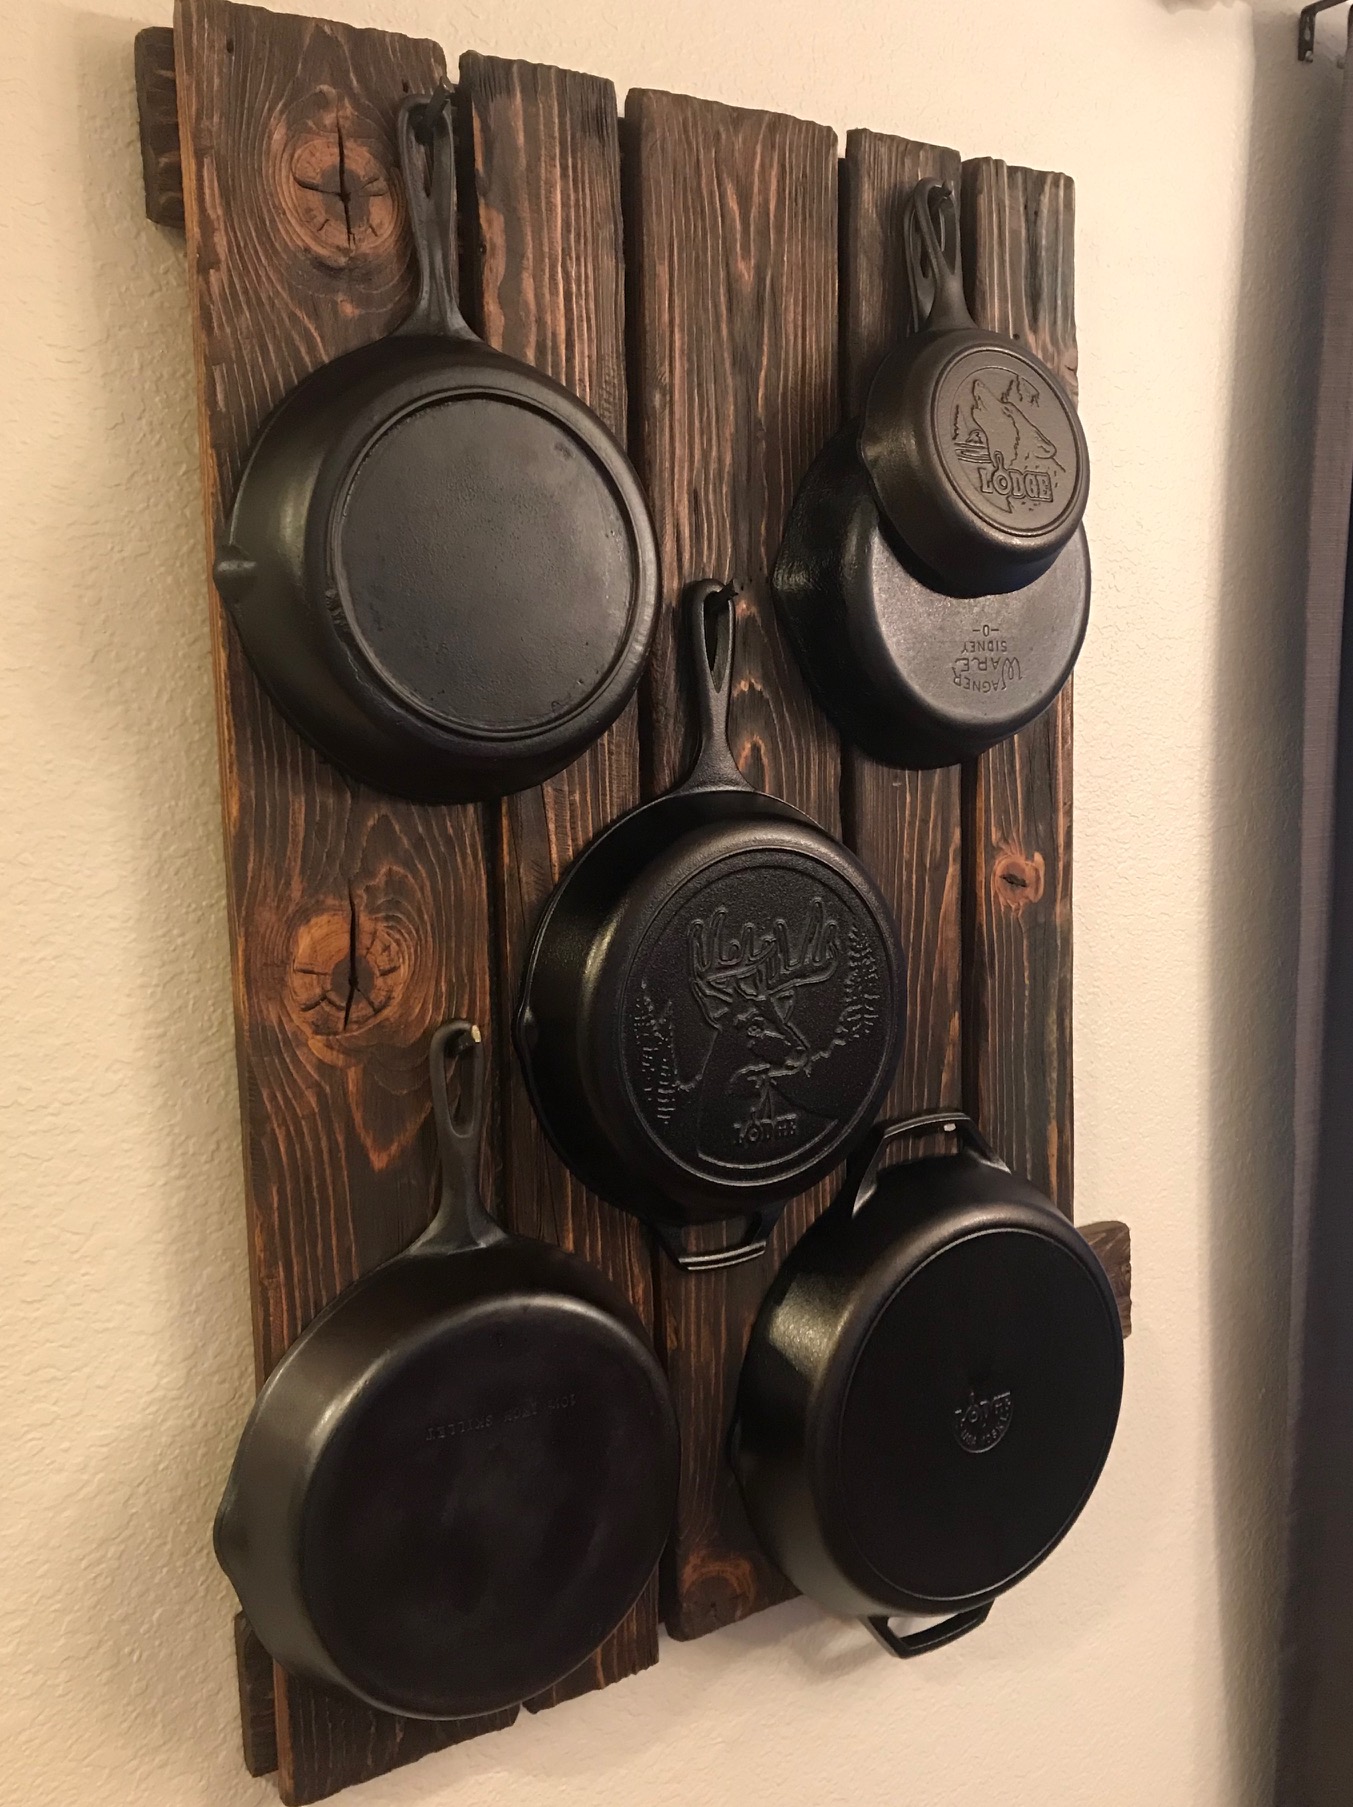
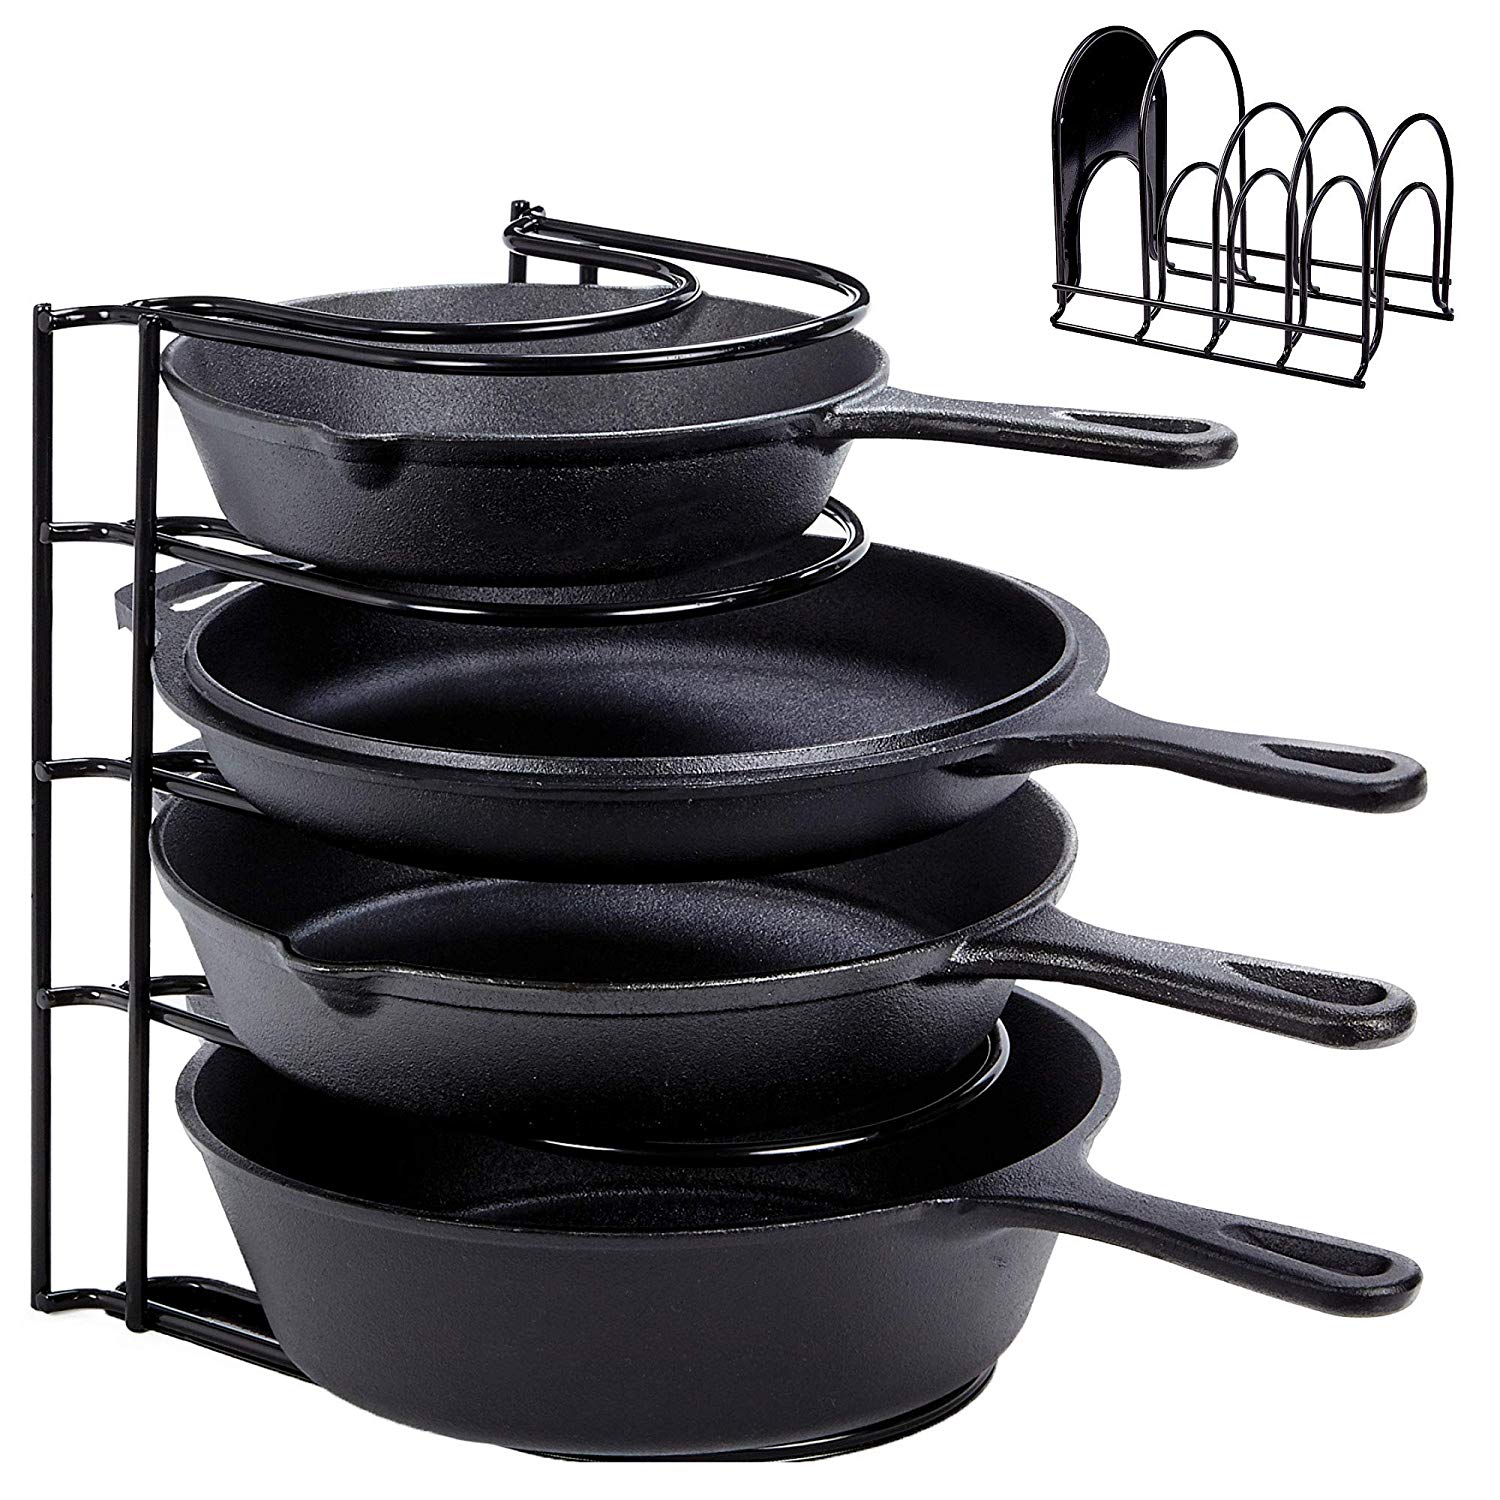
A day later, now we have a place to hang different sized skillets and the Dutch Oven that's both attractive and convenient. (The Dutch Oven lid is on the top right; it doubles as a skillet.) And it's a good way to store cast iron cookware because, unlike stacking it in a cabinet, there's no chance of the seasoning being crushed, scratched, or rubbed off by other pieces.
To pick the size, I just laid out the pieces I wanted to hang and measured a rough rectangle around them, which was 36"x24". I wanted the wood planks to vary in width just to make it look more interesting, so I figured out how many 1"x4" and 1"x6" I'd need to account for that surface area. Don't forget to include enough length for the two horizontal braces behind the face.
- Three 1"x4"x6' pine boards (Home Depot). This left me with one extra 24" length of 1x4 that I can use for a different project.
- One 1"x6"x6' pine board (Home Depot)
- Pre-Stain Wood Conditioner, half-pint (8 oz). This link is to the quart size because Amazon doesn't have the half-pint listed in the brand I used. A half-pint was enough for this project, though.
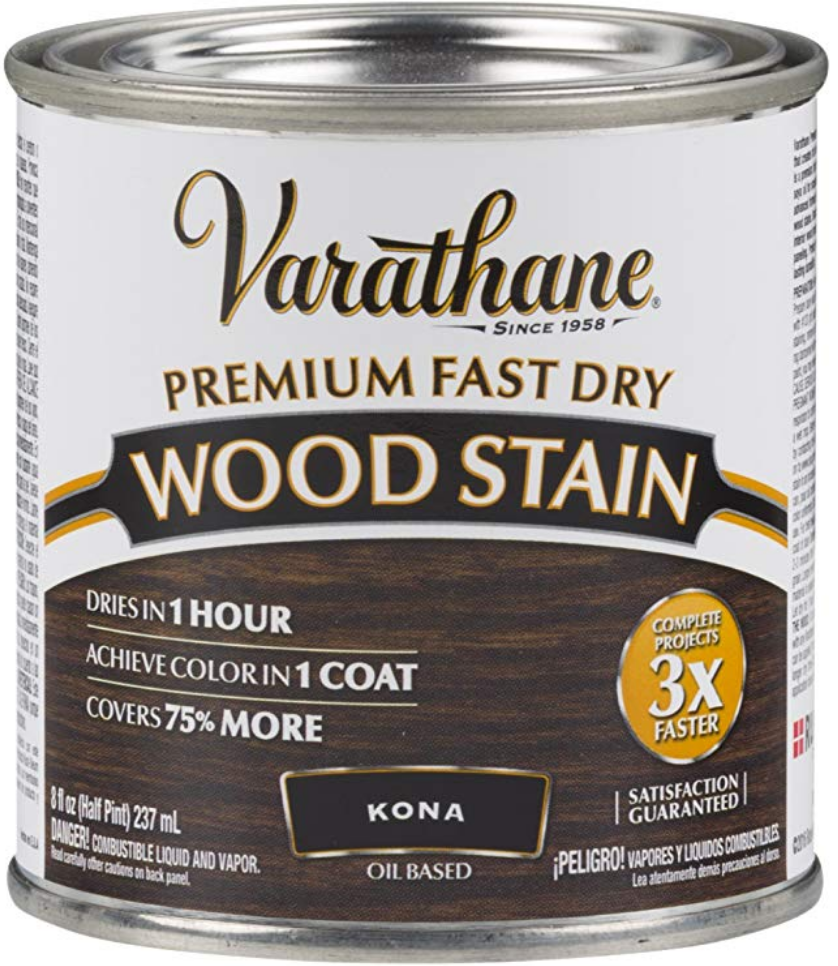
- Wood Stain, Kona,, half-pint (8 oz)
- Wood Stain, Dark Walnut, half-pint (8 oz)
- I didn't do the gray weathering recommended in the FamilyMan article because I like the dark rich color.
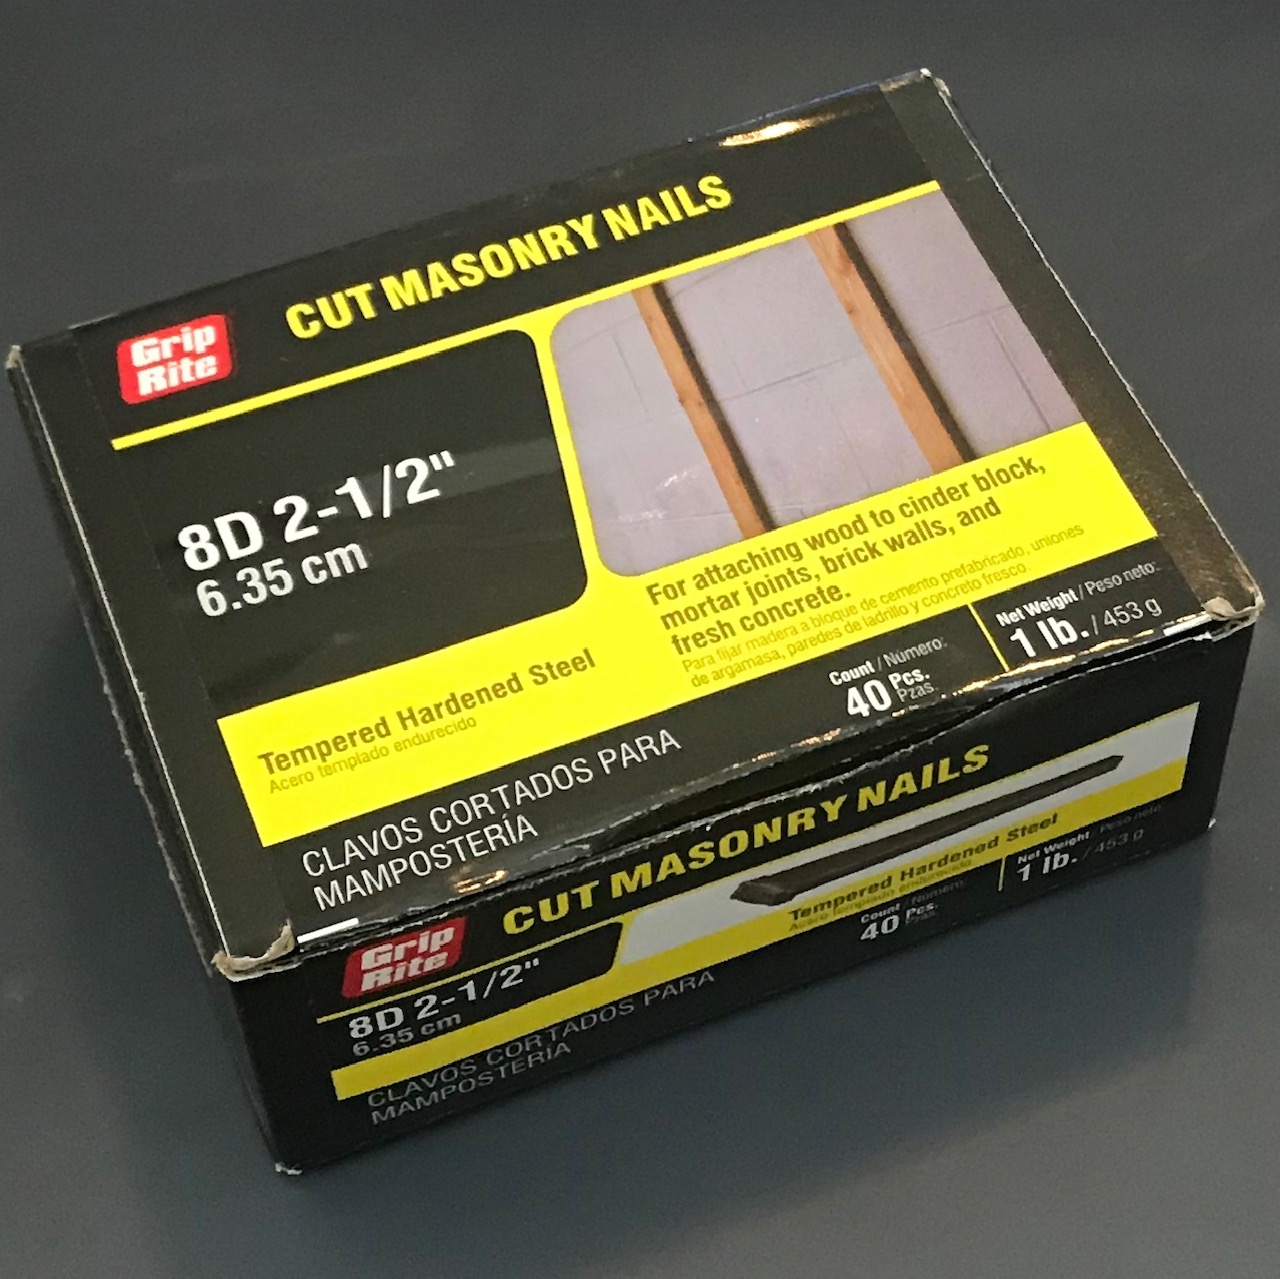
- Grip Rite Cut Masonry Nails (8D, 2-1/2")
- Hangman 30" Heavy Duty Mirror and Picture Hanger
- Wood Screws, 3/8" long
Materials:
It's important to note that I wanted this to look rough, like reclaimed barn wood, so the board measurements will be a little off if you want the boards to match up precisely. For example, 1x4s are not actually 4" wide...so consider that in the calculations. This is why my project has small spaces between the vertical slats but still comes out to 24" wide.
We recognize such "sizes" as 2x4, 2x6, 4x4, 1x2, etc. This measurement refers to the thickness and width of the lumber and the length varies. In reality, these measurements are not a true measurement of the lumber thickness or width. The true measurement of a 2x4 is actually about 1.5x3.5. When the board is first rough sawn from the log, it is a true 2x4, but the drying process and planning of the board reduce it to the finished 1.5x3.5 size. The lumber is then sold as a "2x4" because the cost of the drying and machining are figured in...it is also much easier to refer to a board as a "2x4", rather than a "1.5x3.5".
Source: Advantage Lumber
After cutting the lumber, I aged it according to the instructions in the FamilyMan article, then just screwed the planks to a crossbrace at the top and bottom. Pretty simple.
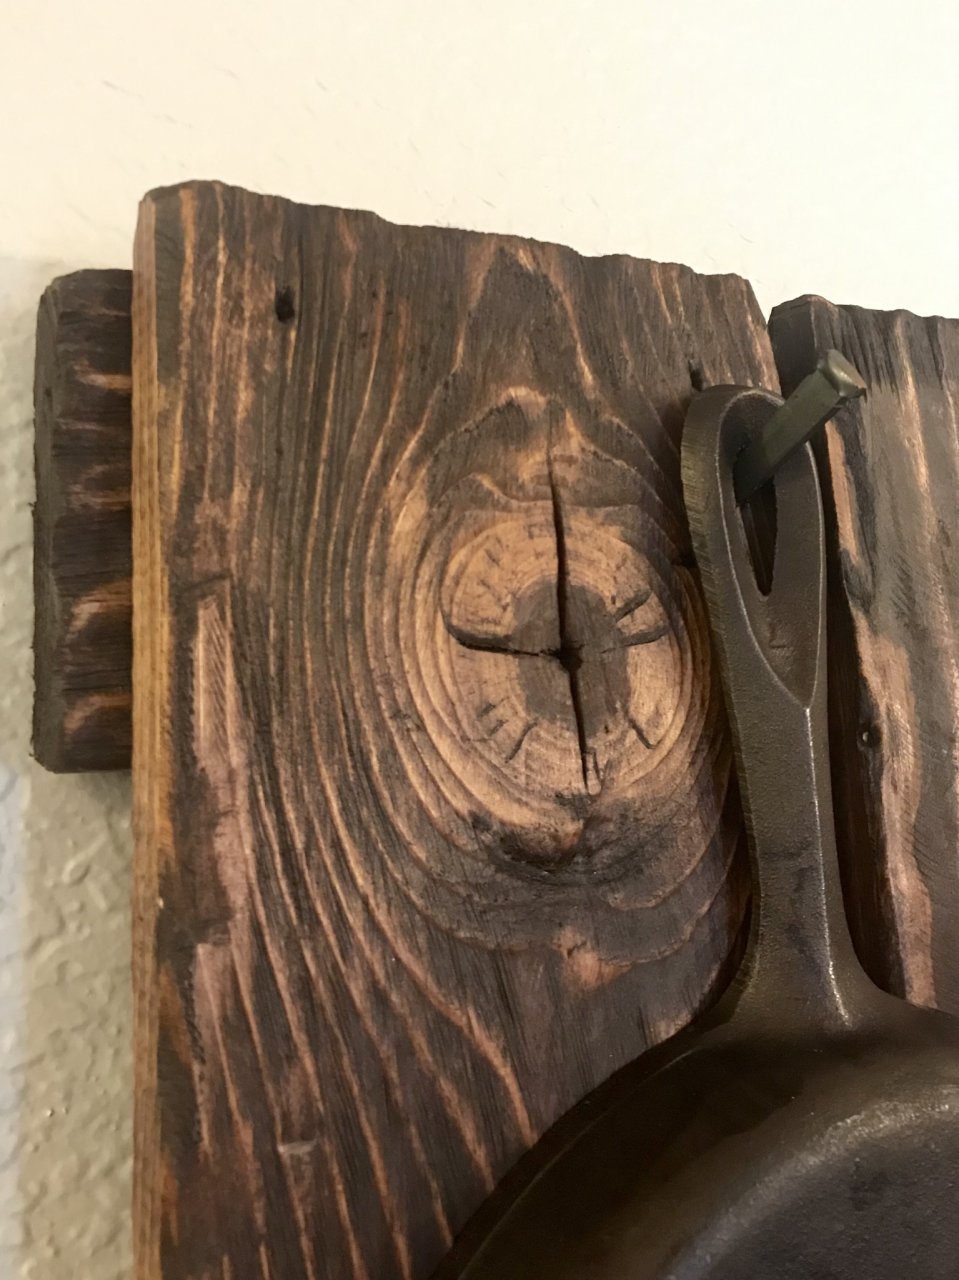
The masonry nails I used to get a rustic look are rectangular shaped, which matters for two reasons. First, I had to drill starter holes into the wood instead of just hammering them in--especially when the wide part of the nail goes perpendicular to the wood's grain. Why would I put one perpendicular to the grain? Because second, the nails are wide enough that some cookware won't hang correctly if the nail isn't aligned with the cookware's slot. Look closely at the picture and you'll see that the nails holding the skillets are in-line with the wood grain, andthe one holding the Dutch Oven is perpendicular to the wood grain (because the handle's slot is perpendicular).
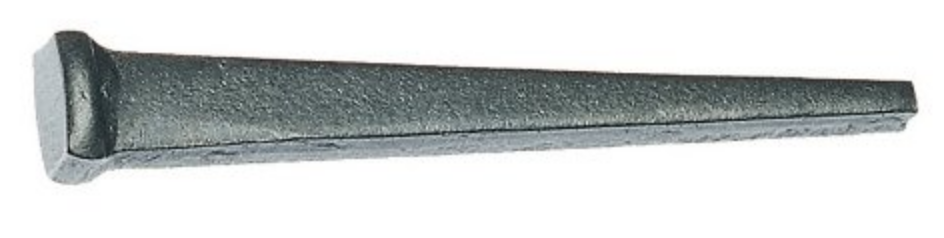
Cut Masonry Nail
Also, to get a good purchase with these nails so they will support the weight of cast iron cookware, I put them all the way through the planks and they stick out the back. This is fine because they the crossbraces hold the planks far enough away from the wall that there's no concern, and the nails can't be seen unless you're right against the wall looking for them. But it might be something to plan for if you do something different with your project.