DownHammock Version 1
 |
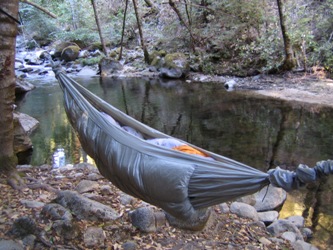
Here's my Down Hammock. I'll get firm specs posted soon...it's roughly 110" long, 46" wide, bargain-bin DWR, baffled with no-see-um, and has about 10oz of Ed Speer's 900 down. It weighs 21.875 oz (616 g).
The insulated section is about 72"x40". |
 |
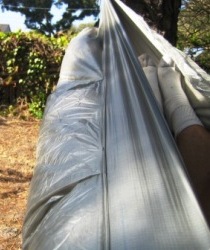
Here's another view of the insulation.
It has two long 3" baffles down the sides, with ~2.5oz of down in each side baffle and 5oz of down in the middle compartment. The side baffles are 10" wide and the middle baffle is 20". Before I attached the baffles, I folded and sewed them into a differential shape. Rather than trying to cut the right shape, I just put a dart into one edge of the strip, making the strip into an angle. A few of these makes a pretty decent differential. |
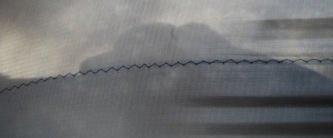 |
Because it stretches a lot, I used a zigzag stitch to sew the baffle onto the hammock bottom. I can really see the seam stretch when I lay in it, too. |
 |
I put big darts into all four sides of the bottom layer to accomodate for the hammock body stretching. I have it written down somewhere...it's something like 10" of darts down the sides and 4-5" across the ends.
To keep the 3" of insulation under the butt, I think I should have made the darts a bit bigger along the middle. |
 |
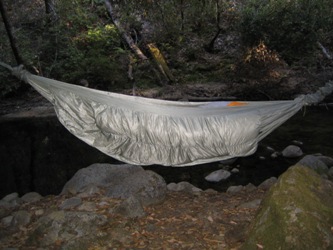
Here you can see where the insulation ends near the feet. |
| Update - 27 Aug 06 | |
| In the first version as described above, laying in the hammock made the 1.1 oz DWR stretch so much that the down was compressed under my butt. Rather than remaking the whole thing, I thought I might be able to sew on another layer of 1.1 oz DWR to make it a two-layer hammock. This also solves the problem of me laying directly on the seams...didn't want them to fray over time and risk separating the baffles. So I sacrificed the first HammockSock prototype to add on a top layer. I just sewed both layers together and didn't bother putting openings to insert a pad between the layers...I figured with that much down I wouldn't need a pad.
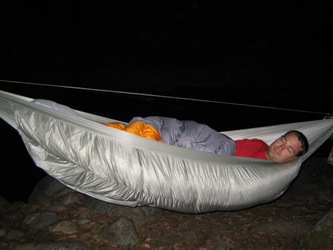
This worked ok. First problem - there was a little bit of separation between the layers near the edges but not enough to cause cold spots. I wonder if pad openings (like in Risk's design) would increase this separation. Second, on the Apple Tree trip I found that, because of the decreased stretch, there was about a 3" gap between the top of the down and my butt. So right before my 26 Aug Little Sur trip I ran a zigzag seam right along the bottom of the middle chamber to take up some slack. I took out about 4" near the head and foot end and 3" along the middle. Money - worked perfectly for the high 40s on that trip, but with this much down I'm hoping it'll be good to below 20F (with a top quilt and HammockSock). For some reason I didn't notice the separation between the layers this time, though. I just made a new WarmHammock from .8" Primaloft (I'll put pics up shortly) but I don't think it's as good as down even at warm temps, and I have a new design for a DownHammock that I think will work better than this one. In the meantime, here are some pics from the Little Sur trip. |
|
 . .   |
|