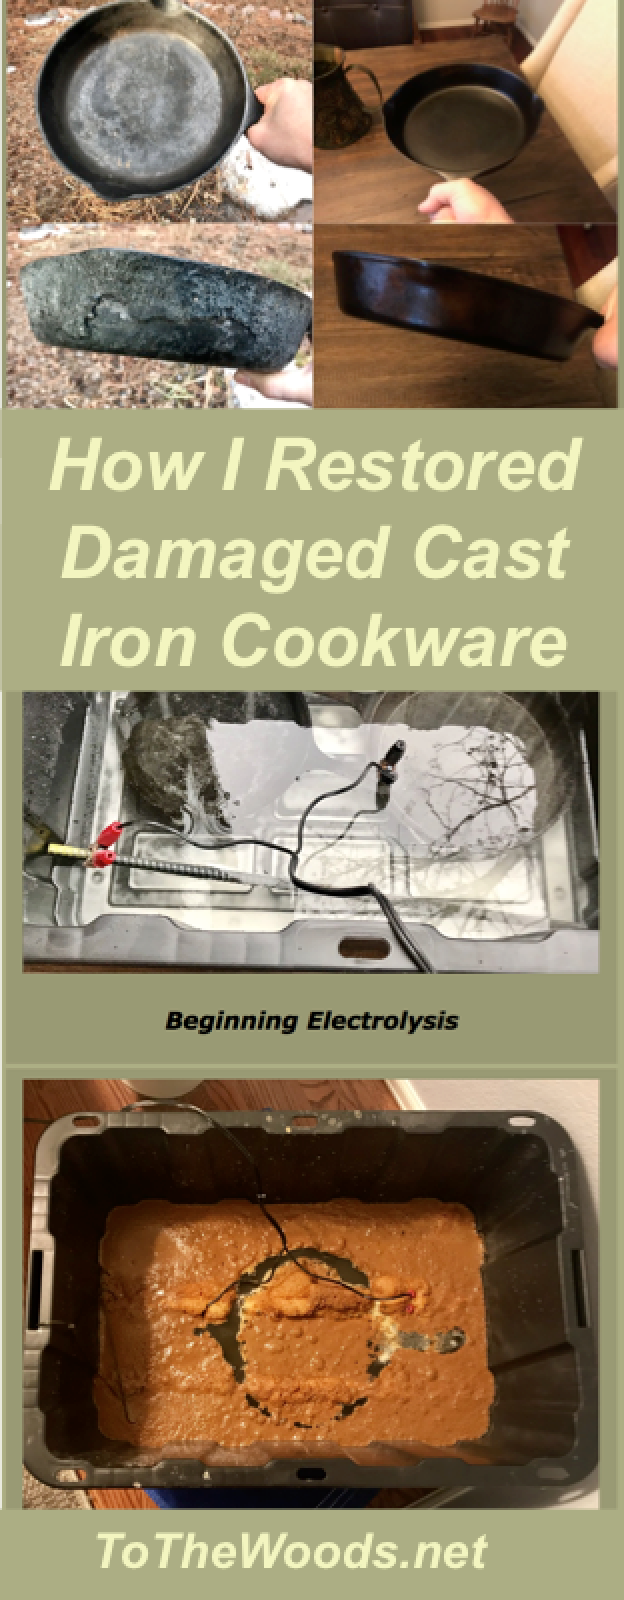
How I Restored my Inherited Cast Iron
We inherited a collection of cast iron skillets, dutch ovens, and kettles that had been stored in less than ideal conditions, and required some restoration. Since they had so much carbon build-up, and the light rust was in the creases of where the carbon had flaked off, I decided an electrolysis tank would be a good solution.
Materials:
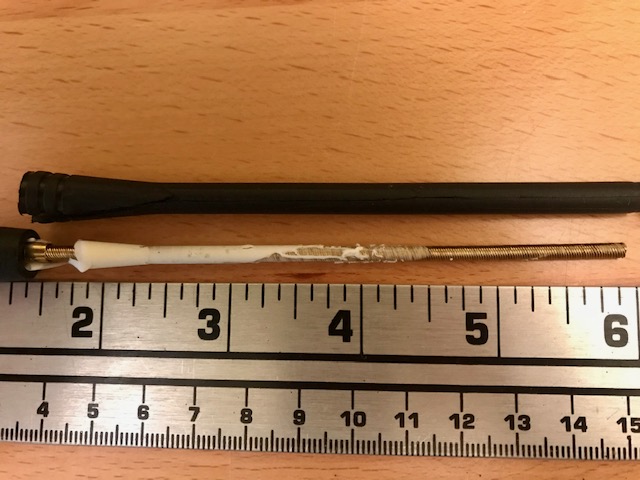
- Sacrificial anode...just a piece of junk metal, really. I used a regular piece of rebar from Home Depot; I think it was about a dollar. Looks like this. I added a second rebar because the reaction was so slow with a single one.
- Battery charger. This is the tricky one because it has to have a manual mode. The automatic mode on most new battery chargers is convenient for charging batteries, but the sensor detects a fault when you try to use it for this purpose. I used a Traveller brand 6 Amp Manual Battery Charger from Tractor Supply.
- Non-copper wire to connect the battery charger to the cast iron. Electrolysis will eat away at the copper clamps on the charger's cables if you put it in the water. Same with the sacrificial anode, but I just left it sticking out of the water instead of using wire.
- Sodium carbonate or sodium bicarbonate (baking soda) to act as a catalyst.
- Container big enough to fit the cast iron and sacrificial anode. I used an HDX 27 Gallon Storage Bin like Home Depot sells for $8-12.
Beginning Electrolysis

A Couple Hours In
The process itself is pretty simple once you've done it, but it can be a little intimidating if you're not the techical type. The easiest way to understand it is to watch some YouTube videos and then just take the plunge. WOOD Magazine's Removing Rust with Electrolysis (7:58) video is the best explanation I found, but there are plenty of others. Cooking with Cast Iron has a multi-part series comparing Electrolysis vs Vinegar that's worth watching, too.
Basically, you just put enough water in a large container to cover the cast iron, add the catalyst, attach the positive lead to the sacrifical anode and the negative lead to the cast iron, and turn it on. You should see bubbling around the cast iron relatively soon. As I said above, I didn't get much progress with a single anode so I added another piece of rebar, and after I took this pic. Also, there's way too much sodium bicarbonate in this one.
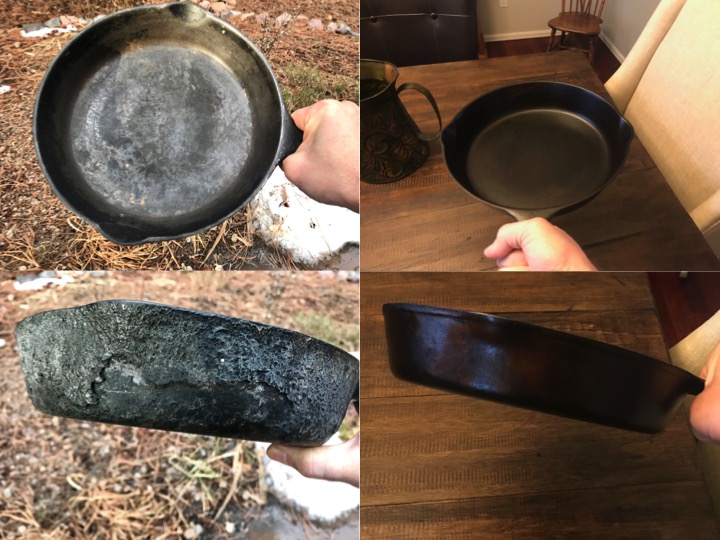
The 10-1/4" skillet in the quad-graphic took a few days in the e-tank. It can go faster with a more powerful charger; I used six amps but some folks use 10 amp chargers. I took it out twice a day to scrape off the carbon build-up that had loosened, just to speed the process along.
The post-tank pics are after a few seasonings. I really like the bronze color and wish it would stay that way, but unfortunately it's already blackened after only a handful of meals...no bronze left. :( But the seasoning is coming along nicely, if not as quickly as I'd like!
| Restoring and Seasoning the BSR #8 |
 BSR #8G in Tank
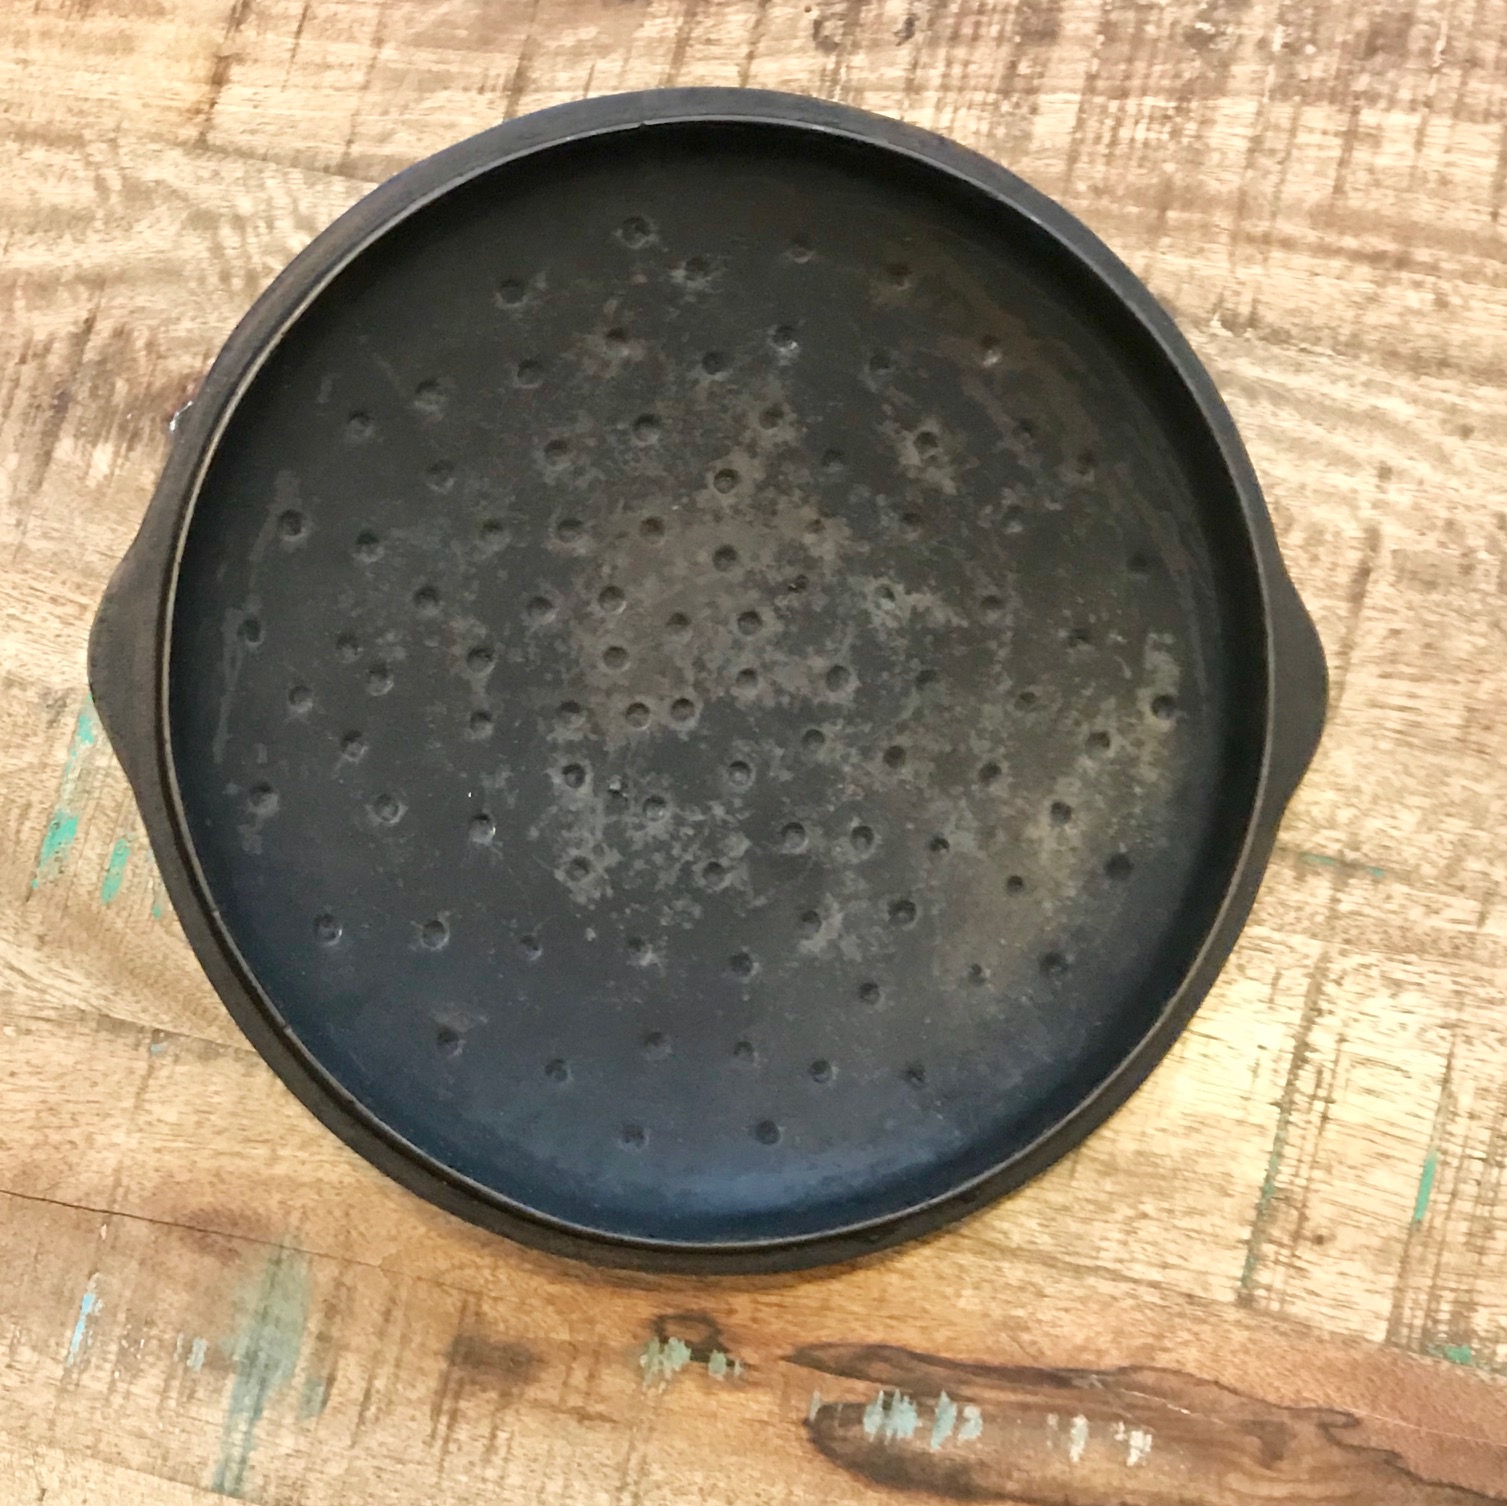
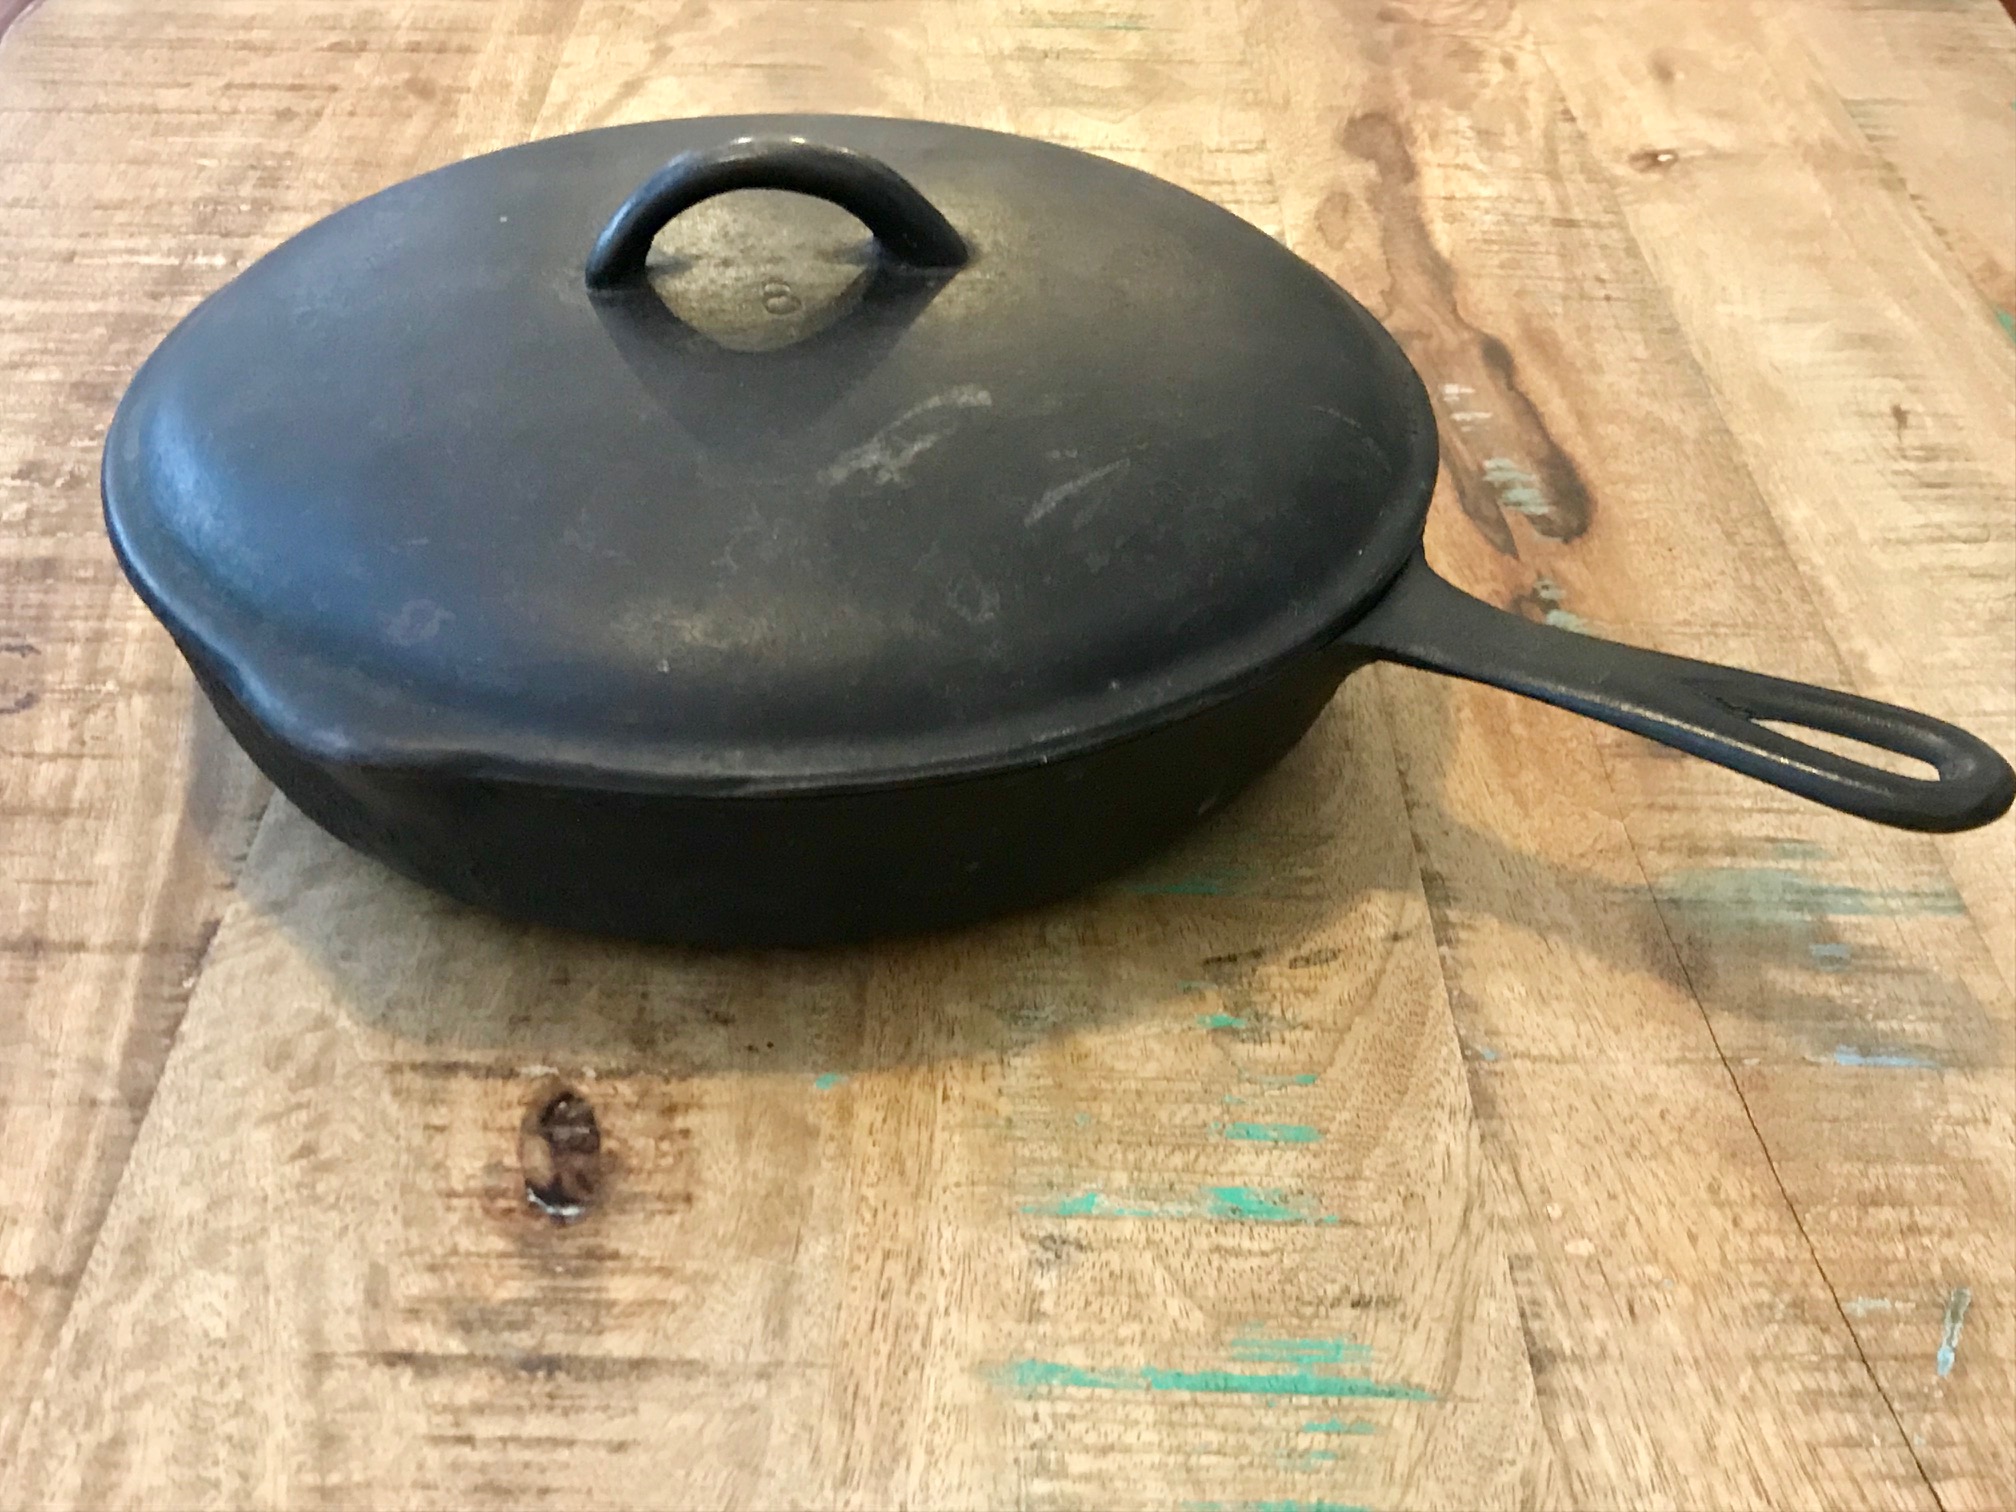
I restored this unmarked Birmingham Stove and Range (BSR) skillet and lid much like described above, but I realized I needed more surface area on the sacrificial anode to speed up the process. In this pic, there are two 2' rebars on each side supported by plastic rebar supports. (These are sold right next to the rebar in Home Depot.) I wrapped wire around them for a decent electrical connection, and the wire is sticking out of the water with the positive lead attached.
Both the skillet and lid are in the tank together. I just ensured they were touching and the current was strong enough to clean both.
With the 6A charger and some cold temps overnight in the garage to slow the process, these took about two days in the tank. I took them out twice to scrub off the carbonization that had loosened up. I used a plastic Lodge scraper to be sure I didn't damage them.
Seasoning Process:
- Warm in oven to 200F
- Wipe down with Crisco. I normally use flaxseed oil but I wanted to compare results between the two.
- Wipe off all visible Crisco with a dry, lint-free towel. Paper towels leave lint on the surface that will be baked into the seasoning. Not a disaster, but not ideal.
- Return to oven for 10 minutes.
- Remove from oven and wipe again with lint-free towel to remove any additional excess Crisco.
- Increase oven temp to 485F and season for one hour. Crisco's smoke point is 360F so anything over 410F should be fine.
- After one hour, turn off oven and let pieces cool naturally.
Every set of instructions I find on the internet recommends letting the pieces cool naturally in the oven, but frankly I'm not sure what that does. I asked the Cast Iron Cooking Facebook group and the answers were mixed; nobody had evidence to support their opinions. Plenty of experience and success doing it this way, though.
Some people said that after the oil polymerizes into chemical bonds, letting it cool slowly allows the bonded layer to relax more completely into the iron's pores for a better set, so the natural cooling period is actually part of the process and affects the final result. Others said it makes no difference whatsover to the process. Several people said they just did it because the iron gets so hot and it's safer to let it cool in the oven (especially with kids in the house).
So it's either part of the process or simply a matter of convenience, but like I said...only opinions based on experience, and no testing, with some inconclusive discussion about the science involved.
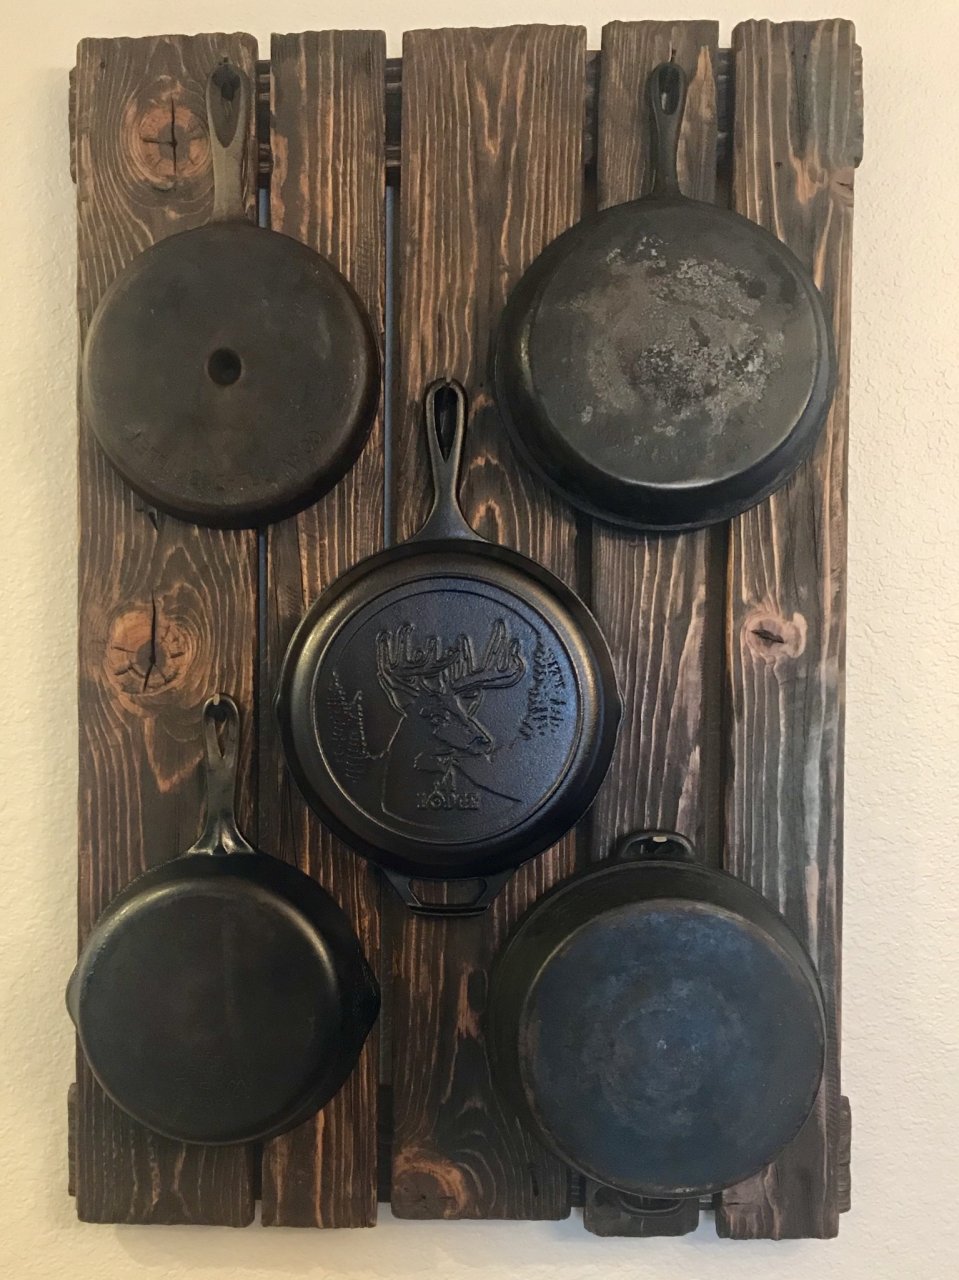
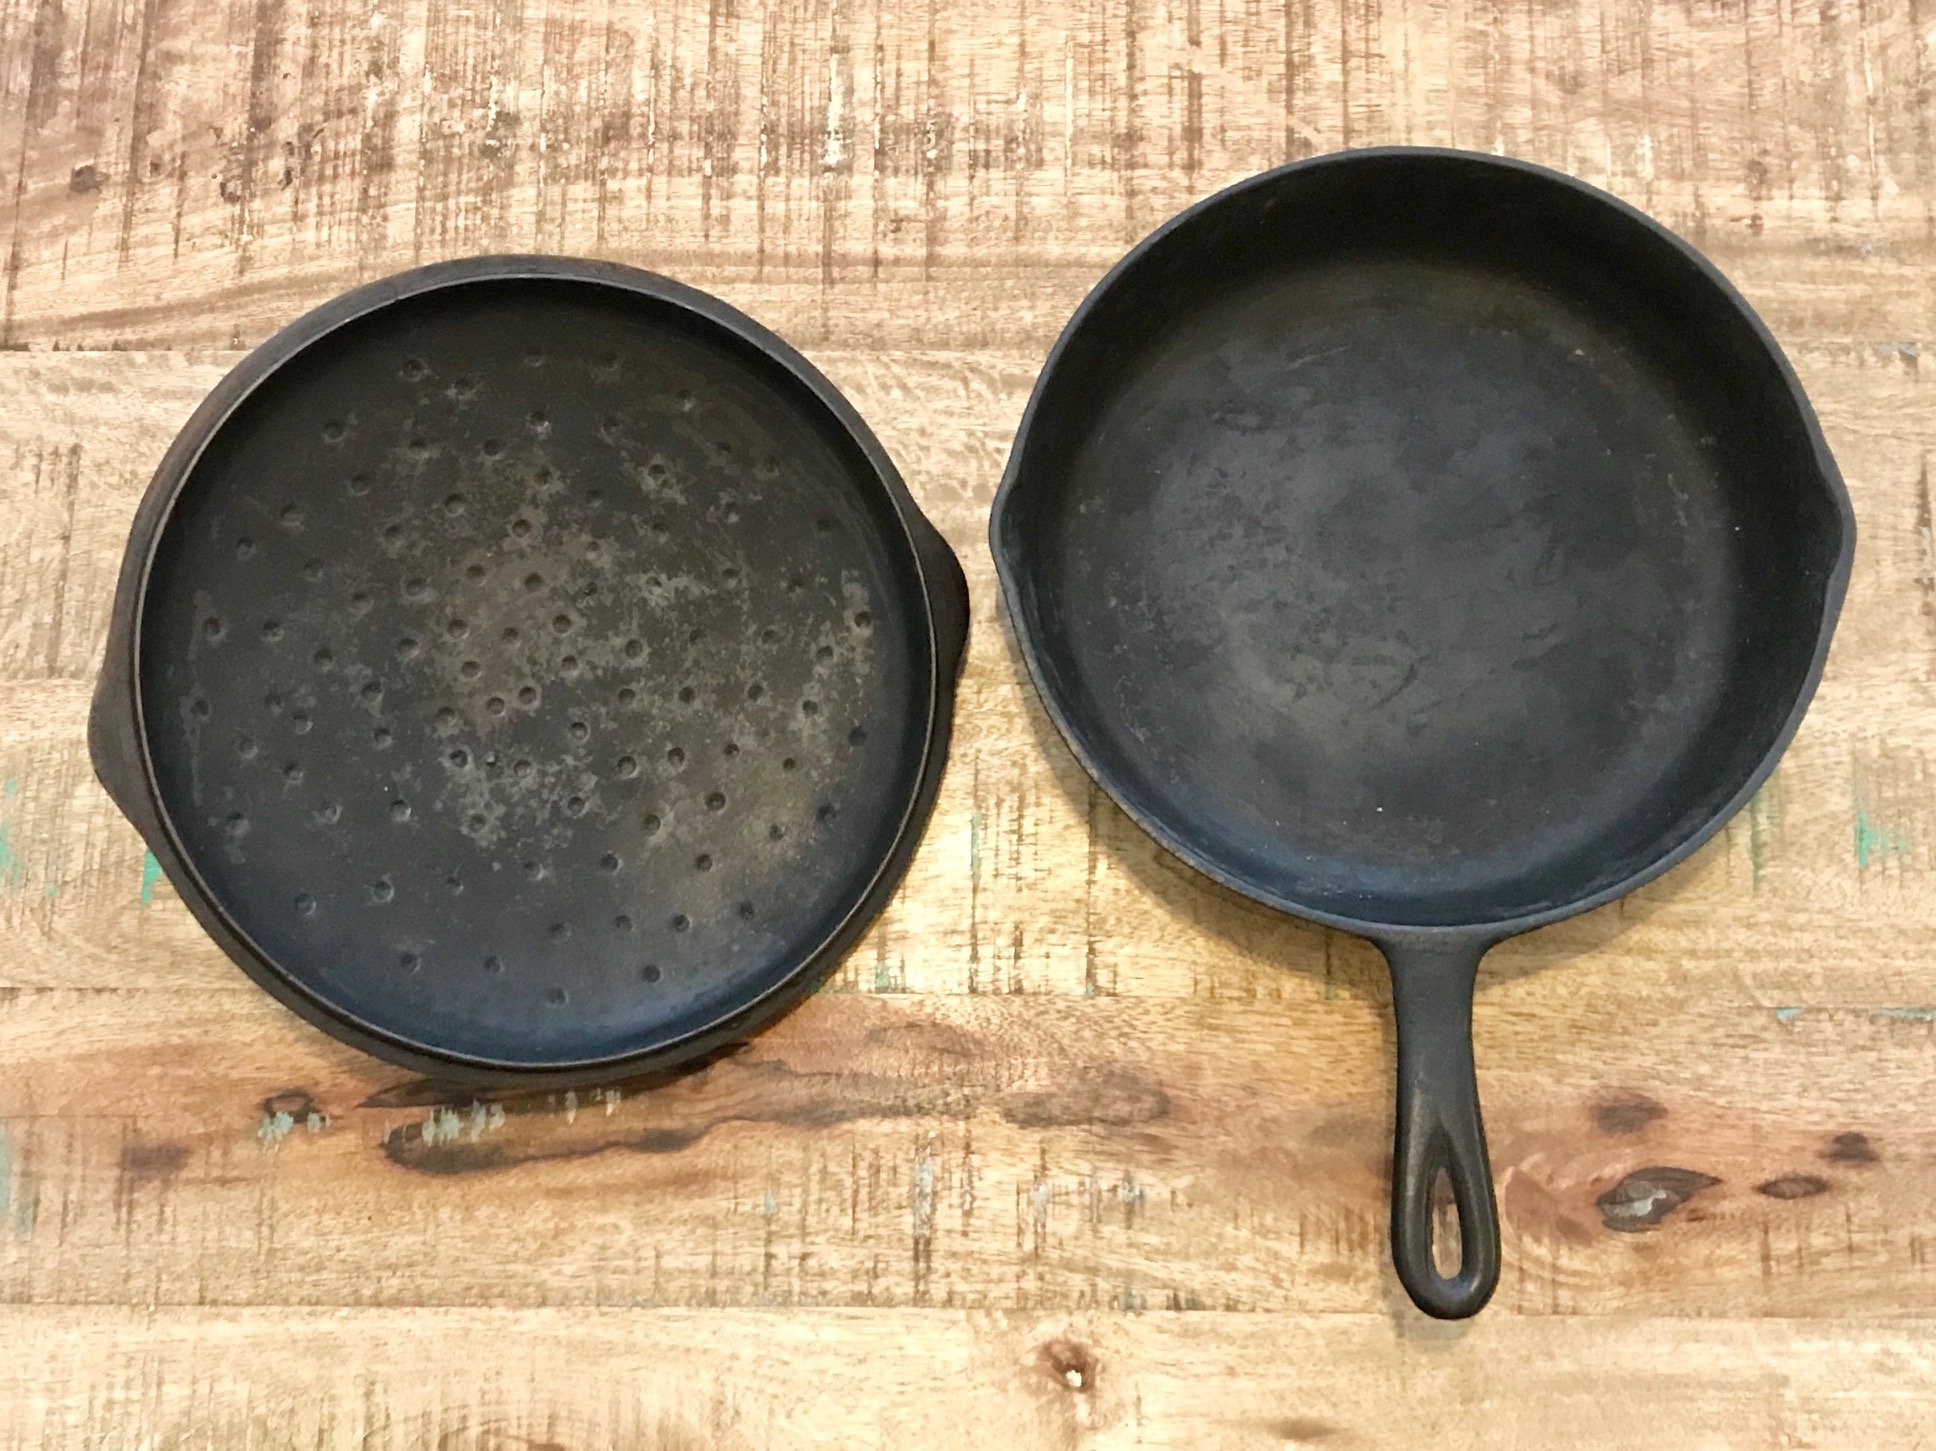
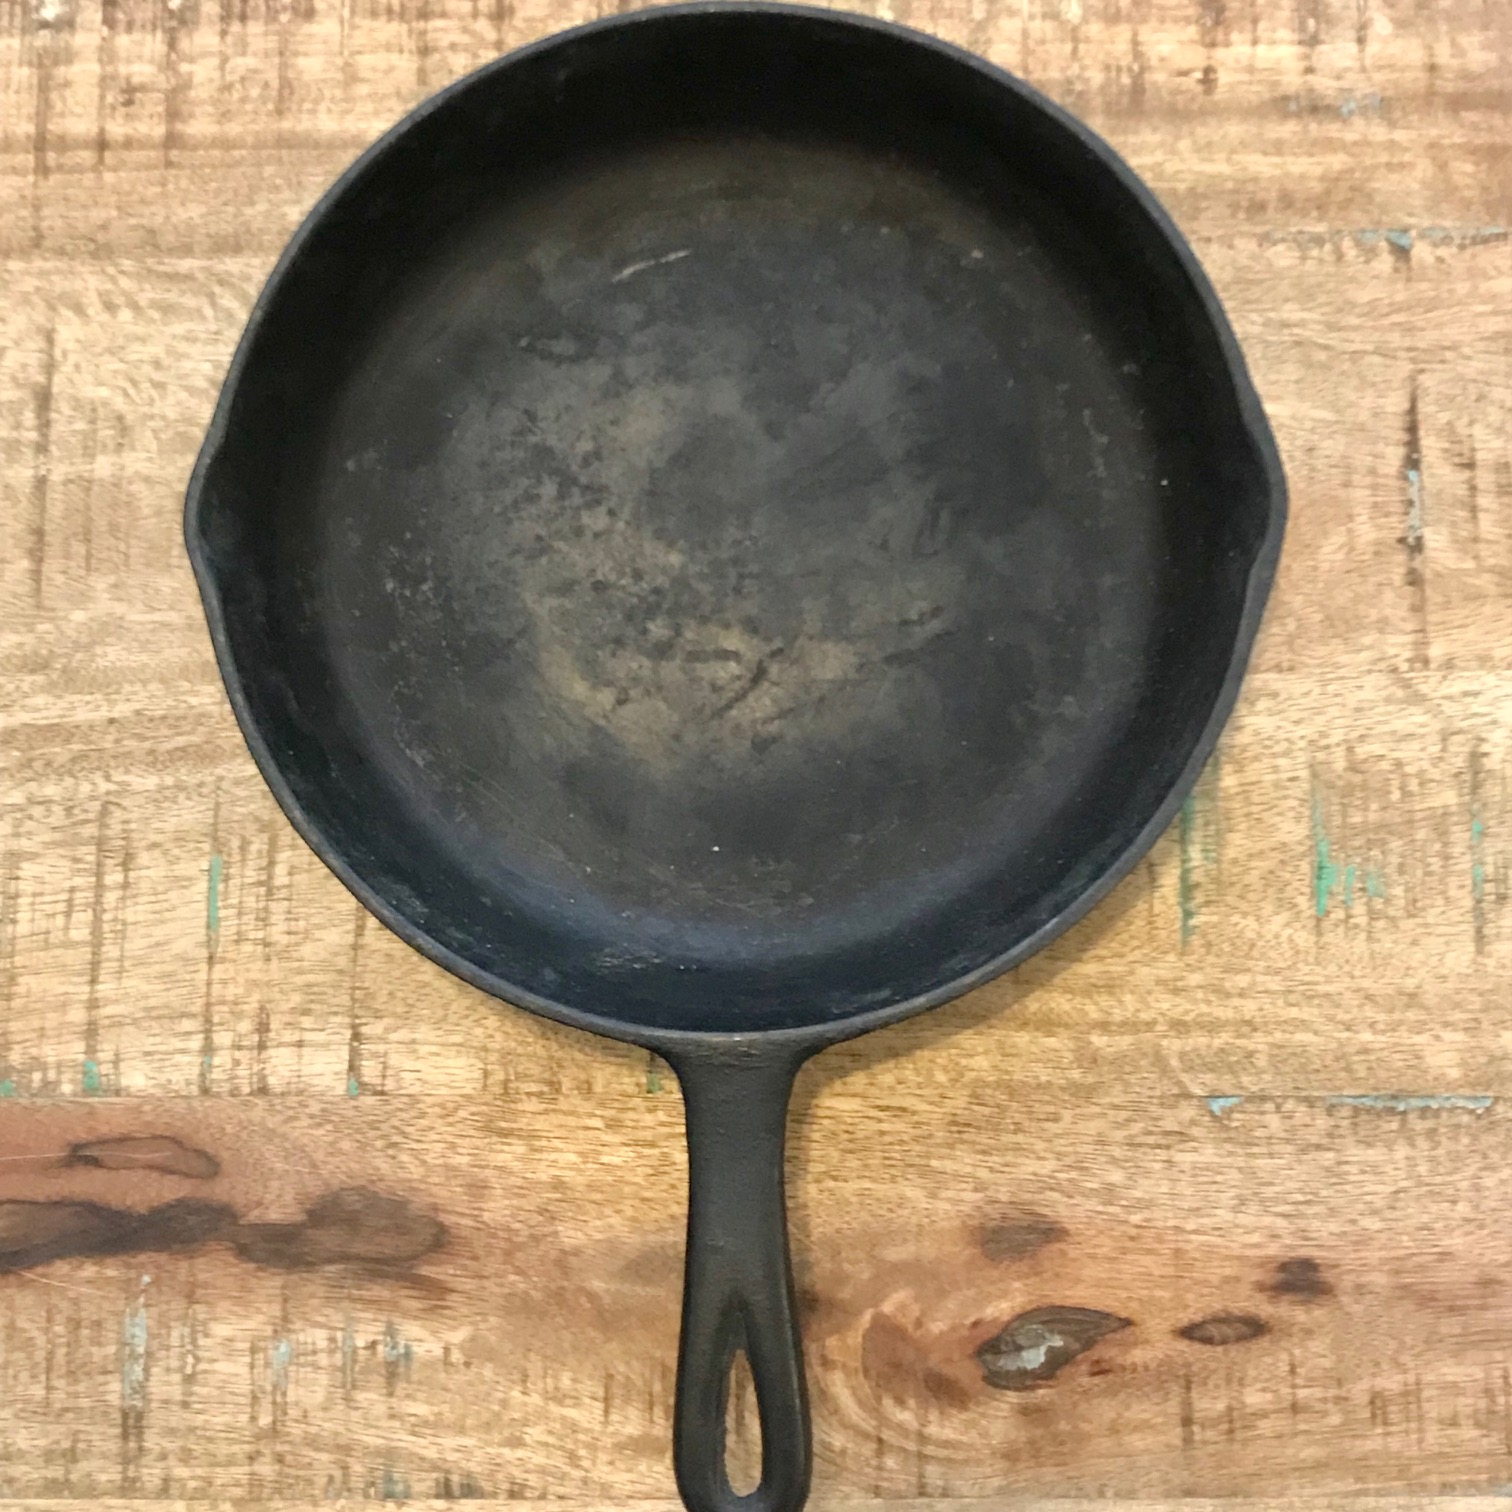
Anyway, these pics are after three seasonings, and no cooked meals, and I didn't put a layer of oil on before the pics to pretty them up first. With some use, these pieces will continue to darken and build up a good non-stick surface. Might be time to put some bacon in there...and then some cornbread!
 BSR #8G Before
 BSR #8G After
 BSR #8G Before
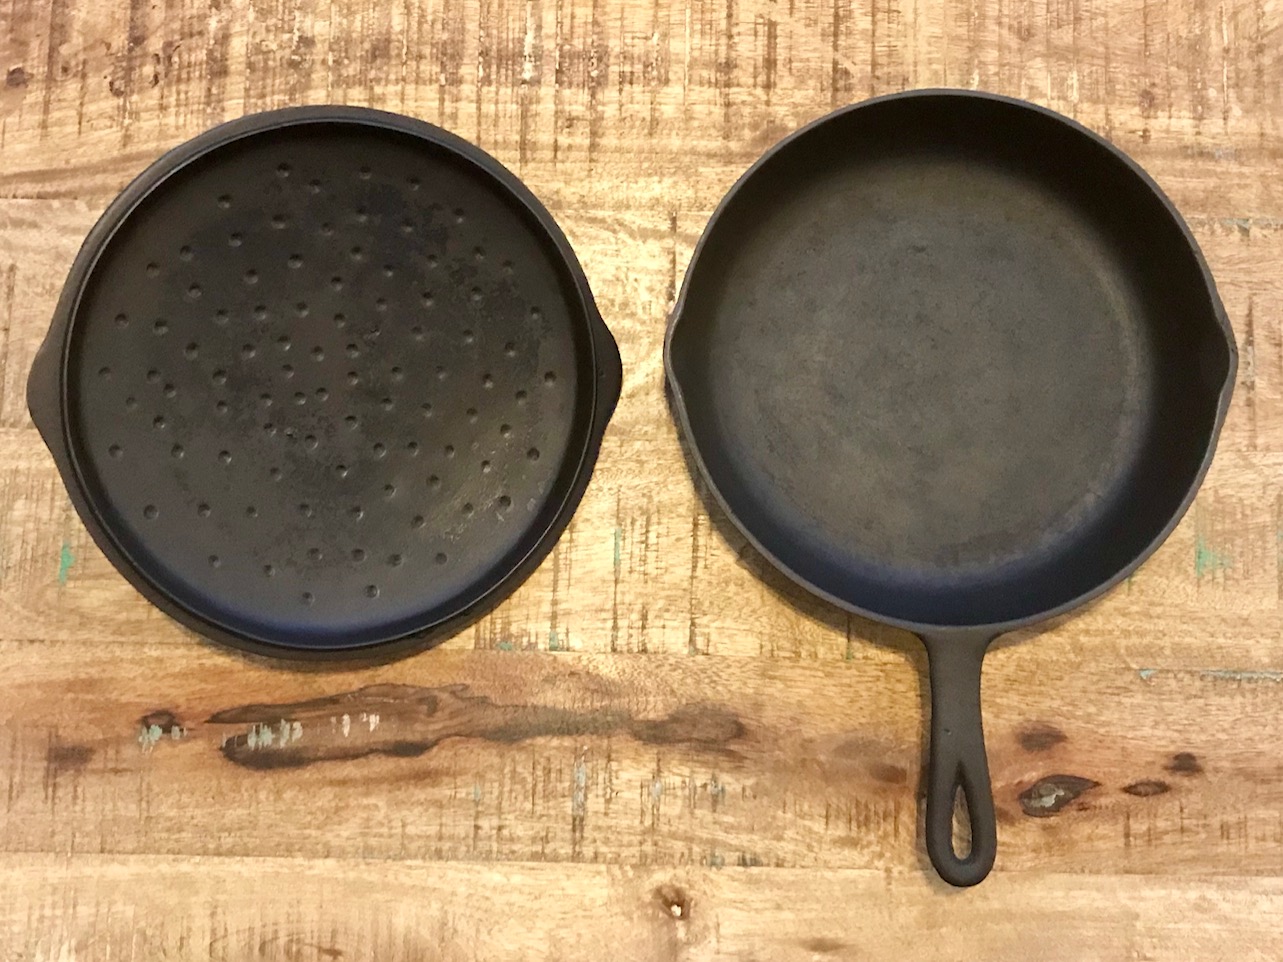 BSR #8G After
 BSR #8G Before
 BSR #8G After
 BSR #8G Before
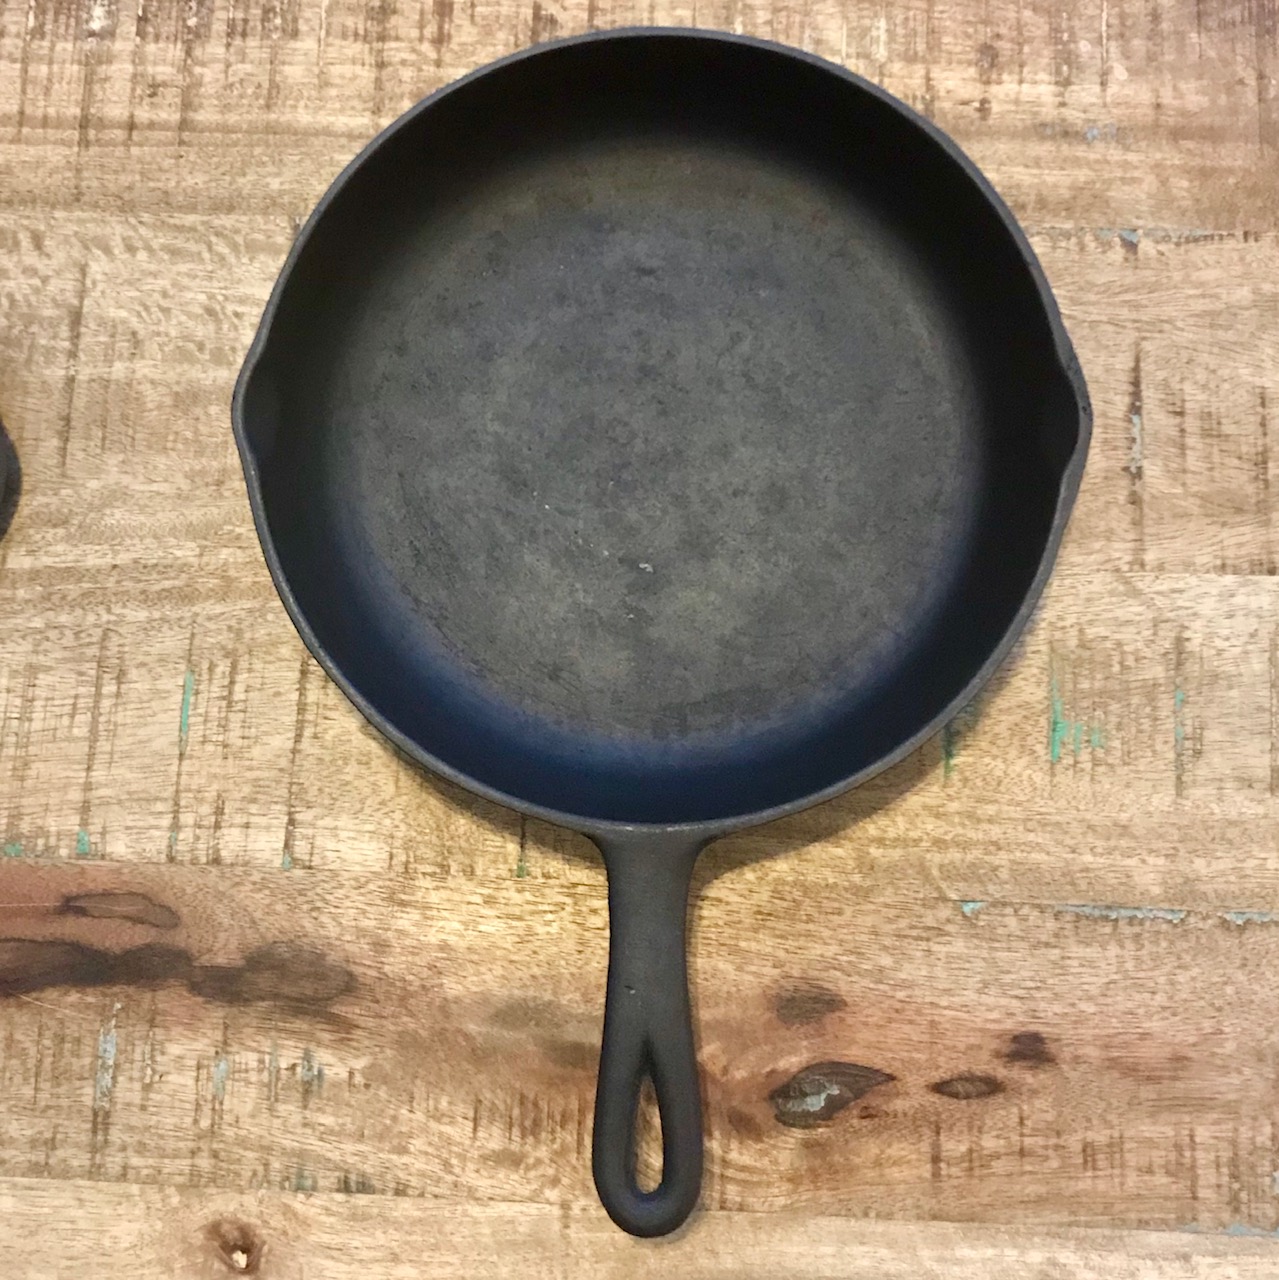 BSR #8G After
 BSR #8G Before
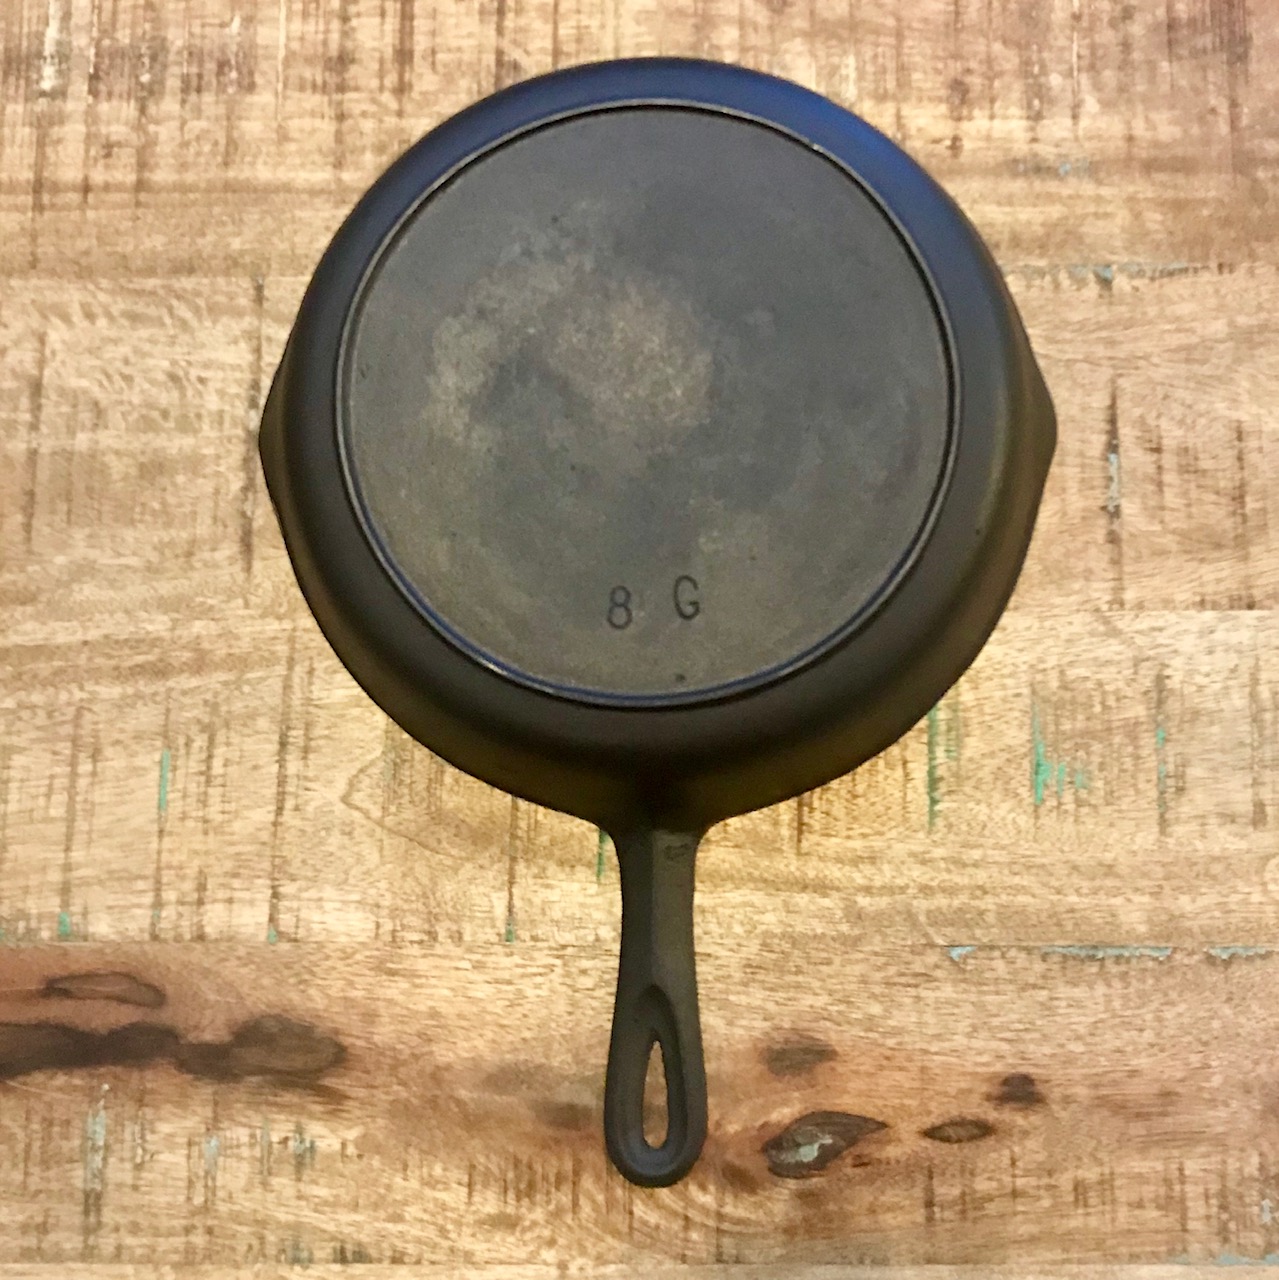 BSR #8G After
 BSR #8G Before
 BSR #8G After
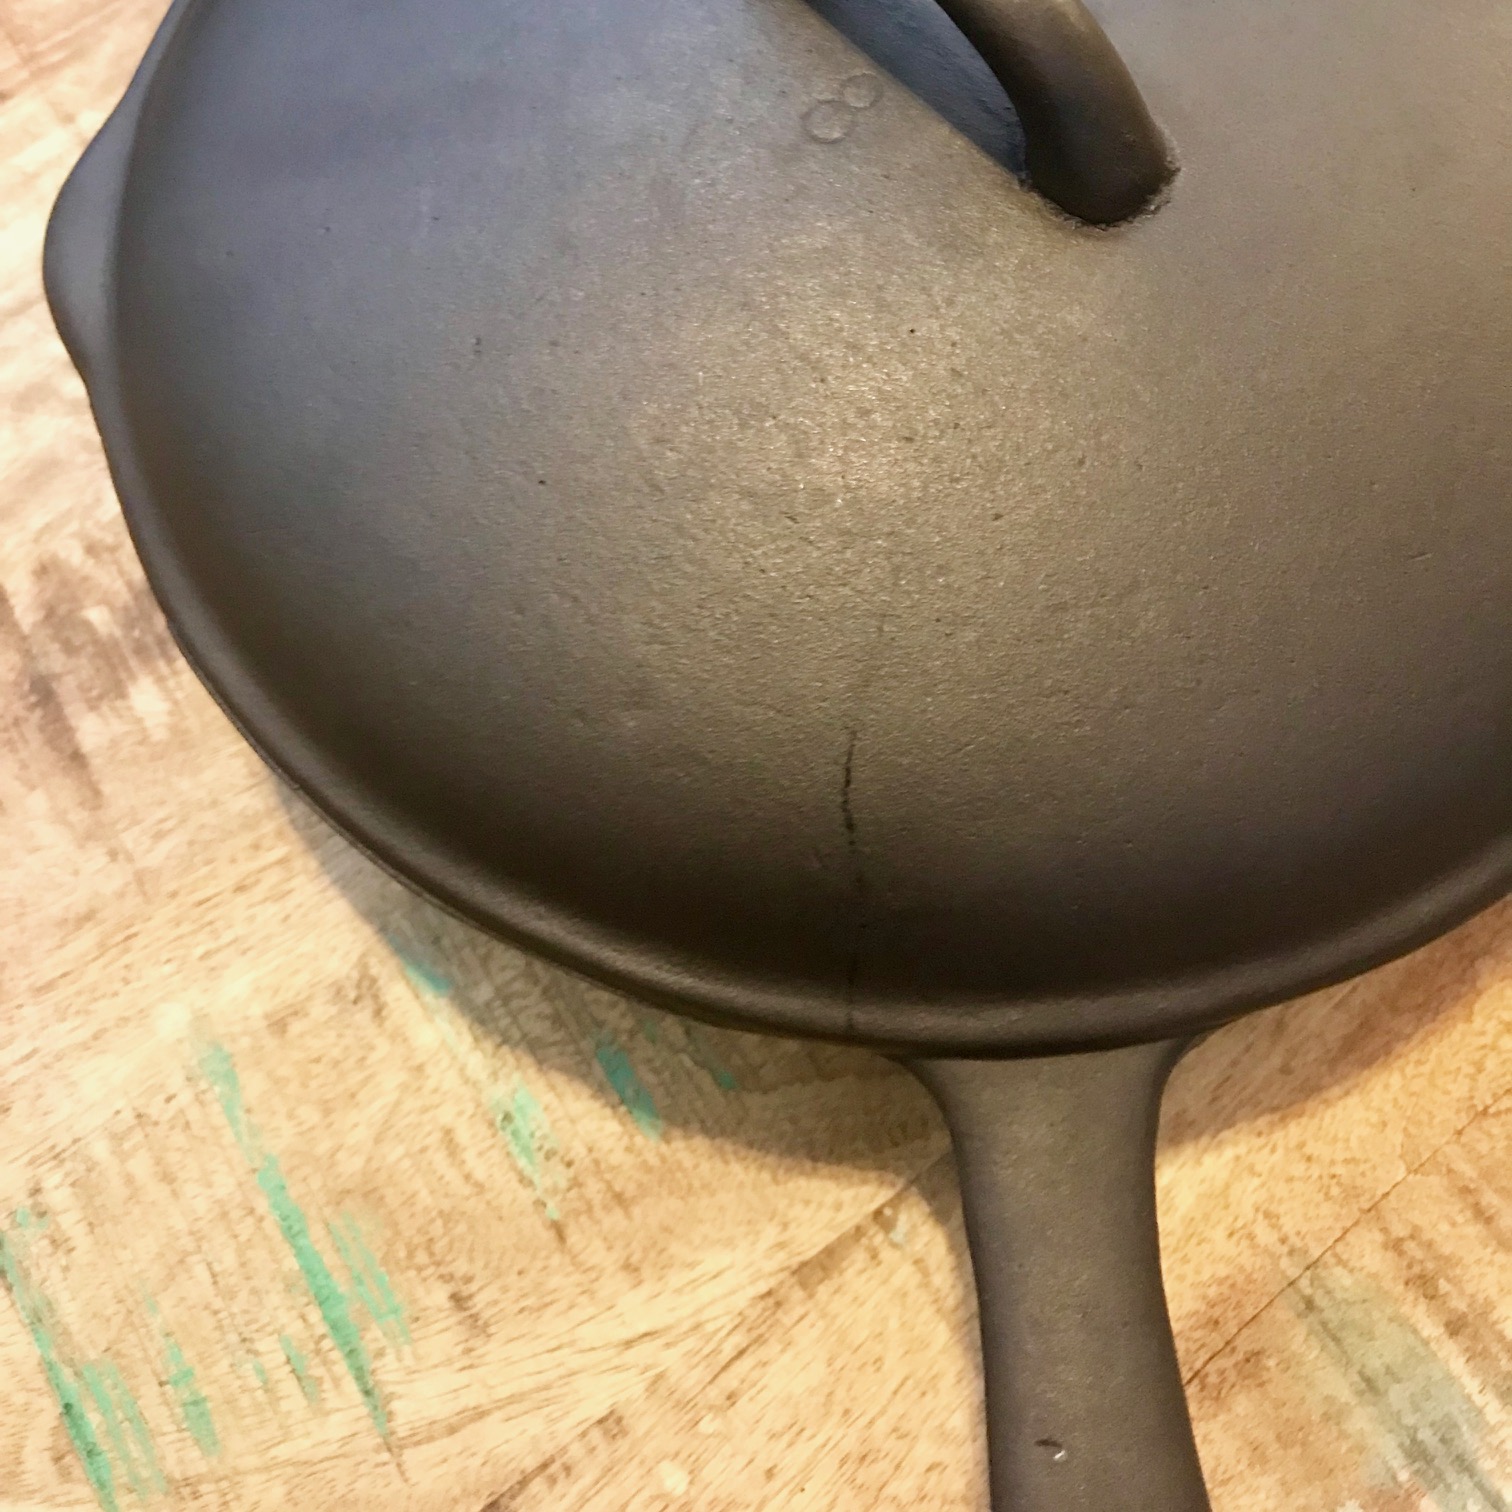 Crack Visible After Restoration
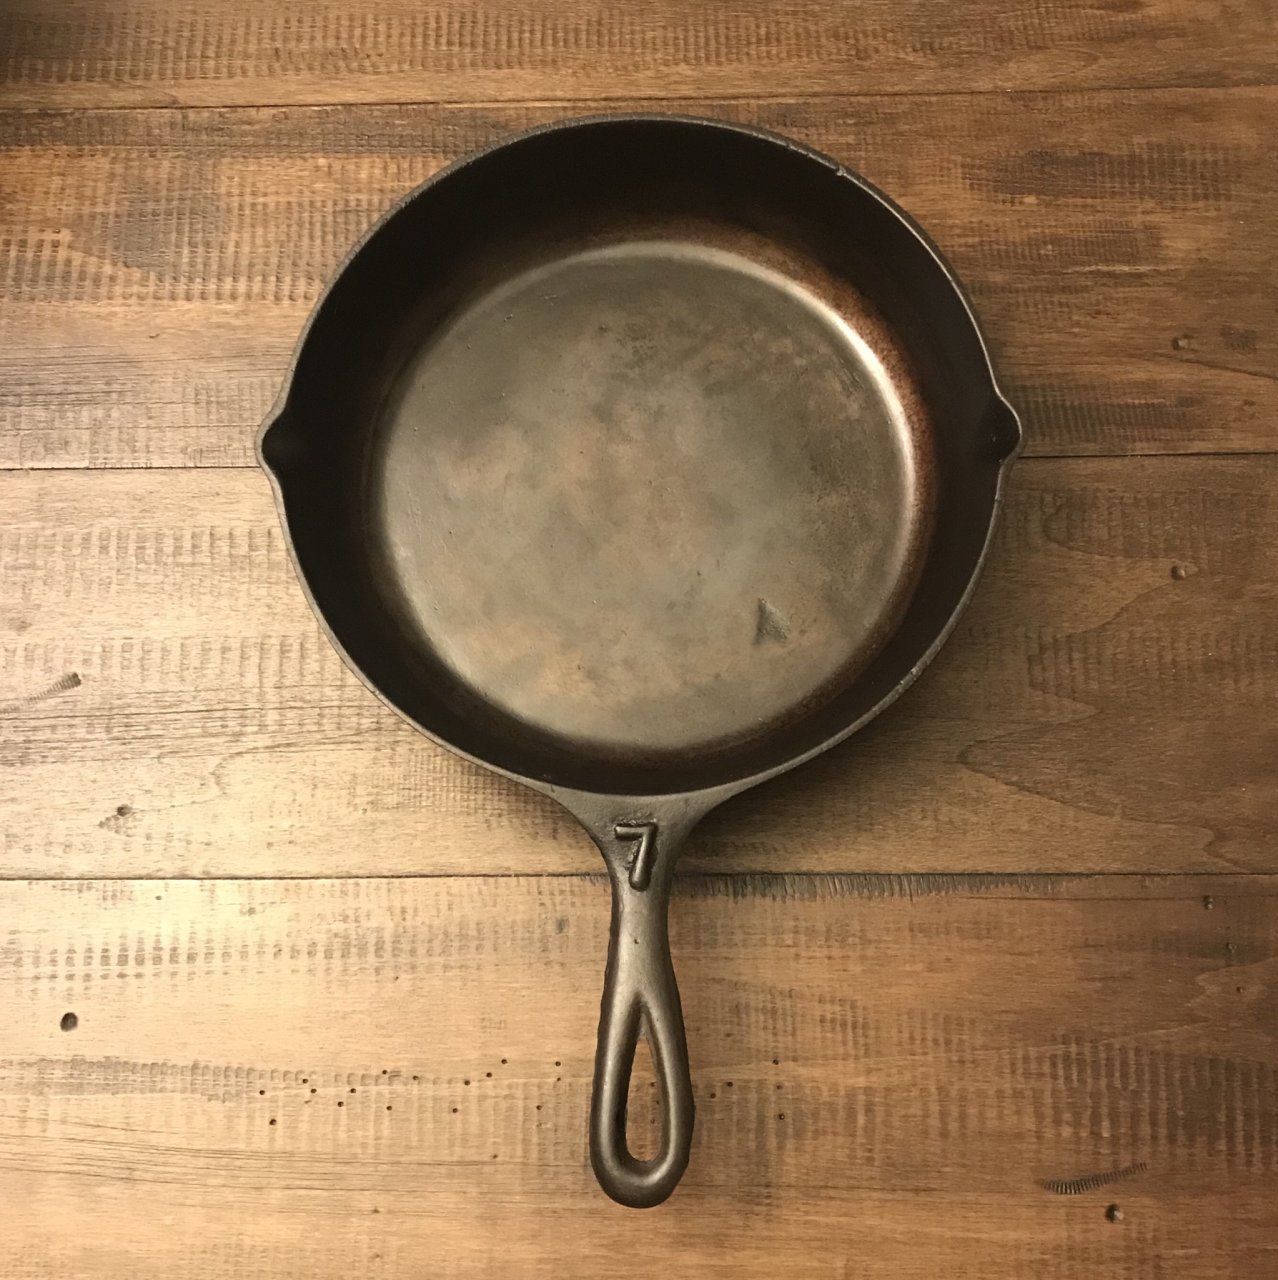
| Restoring and Seasoning the #7 Southern Mystery Skillet (SMS) |
Not a lot of description to add to this section; I did it the same time as the skillets above. I didn't get good pics of this one before the electrolysis tank, but the difference between almost-bare metal after the tank, after one seasoning, and after a few meals is pretty clear.
The pizza-shaped spot near the handle is a pit. It looks like it was damaged at some point, but it wasn't visible before the E-tank. The old layer of seasoning had covered it up completely! So now I have a lot of work to do before getting it back to its former glory. But at least this work results in good food at the end!
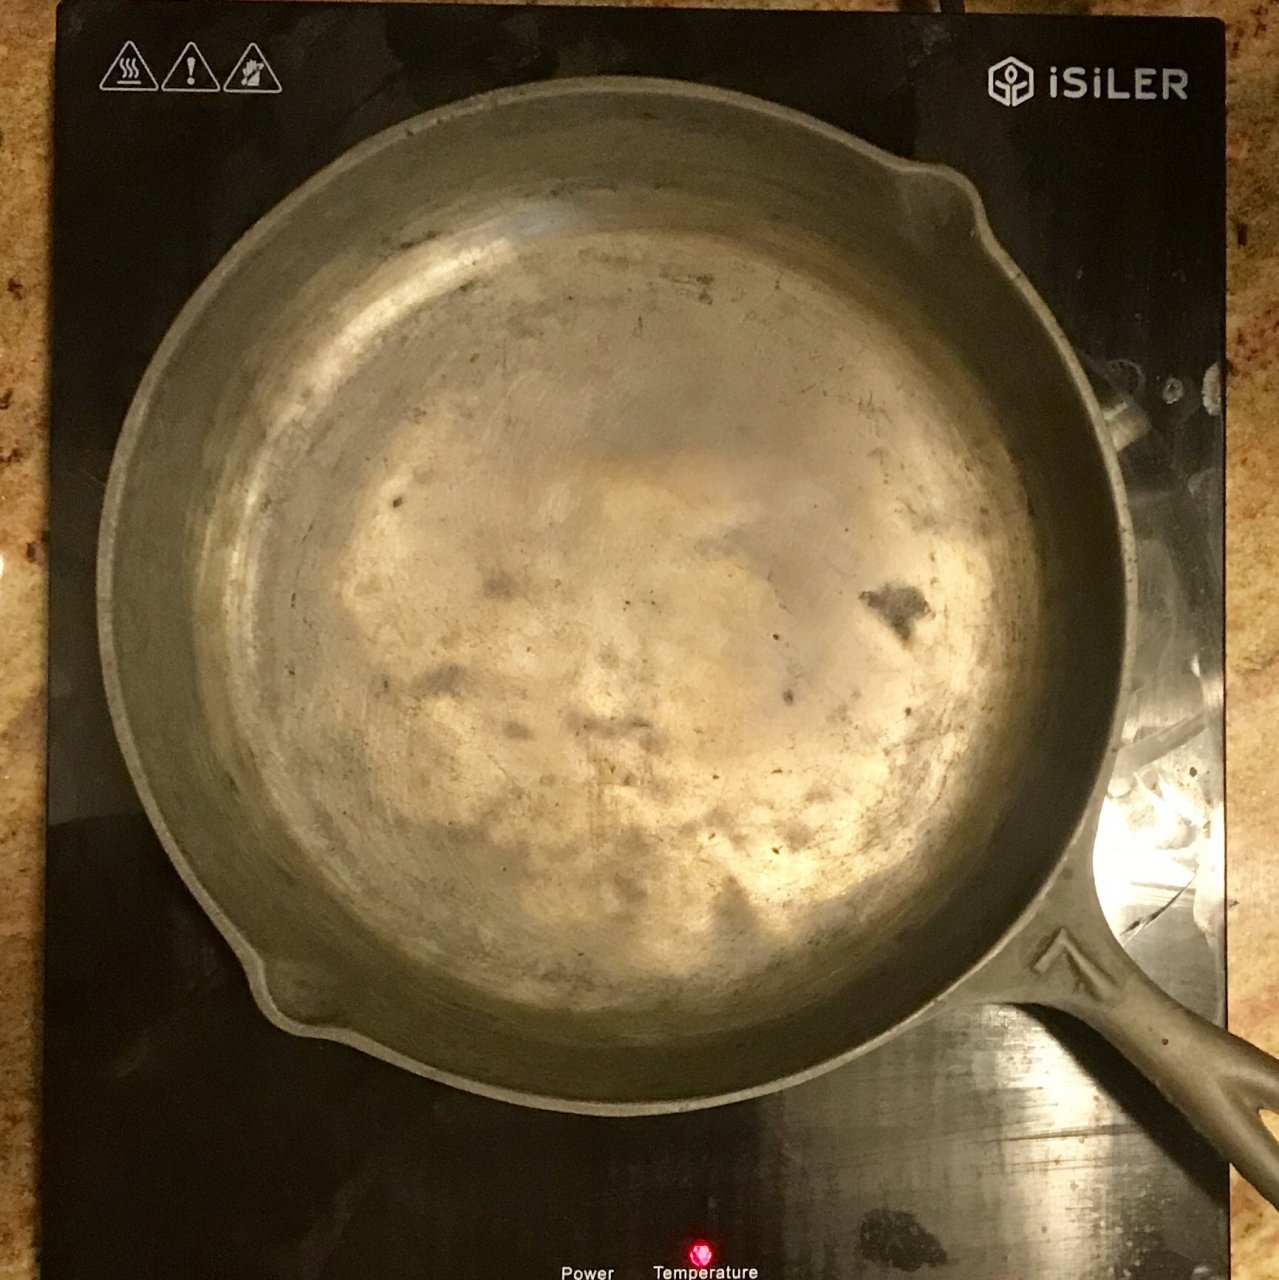
After Electrolysis
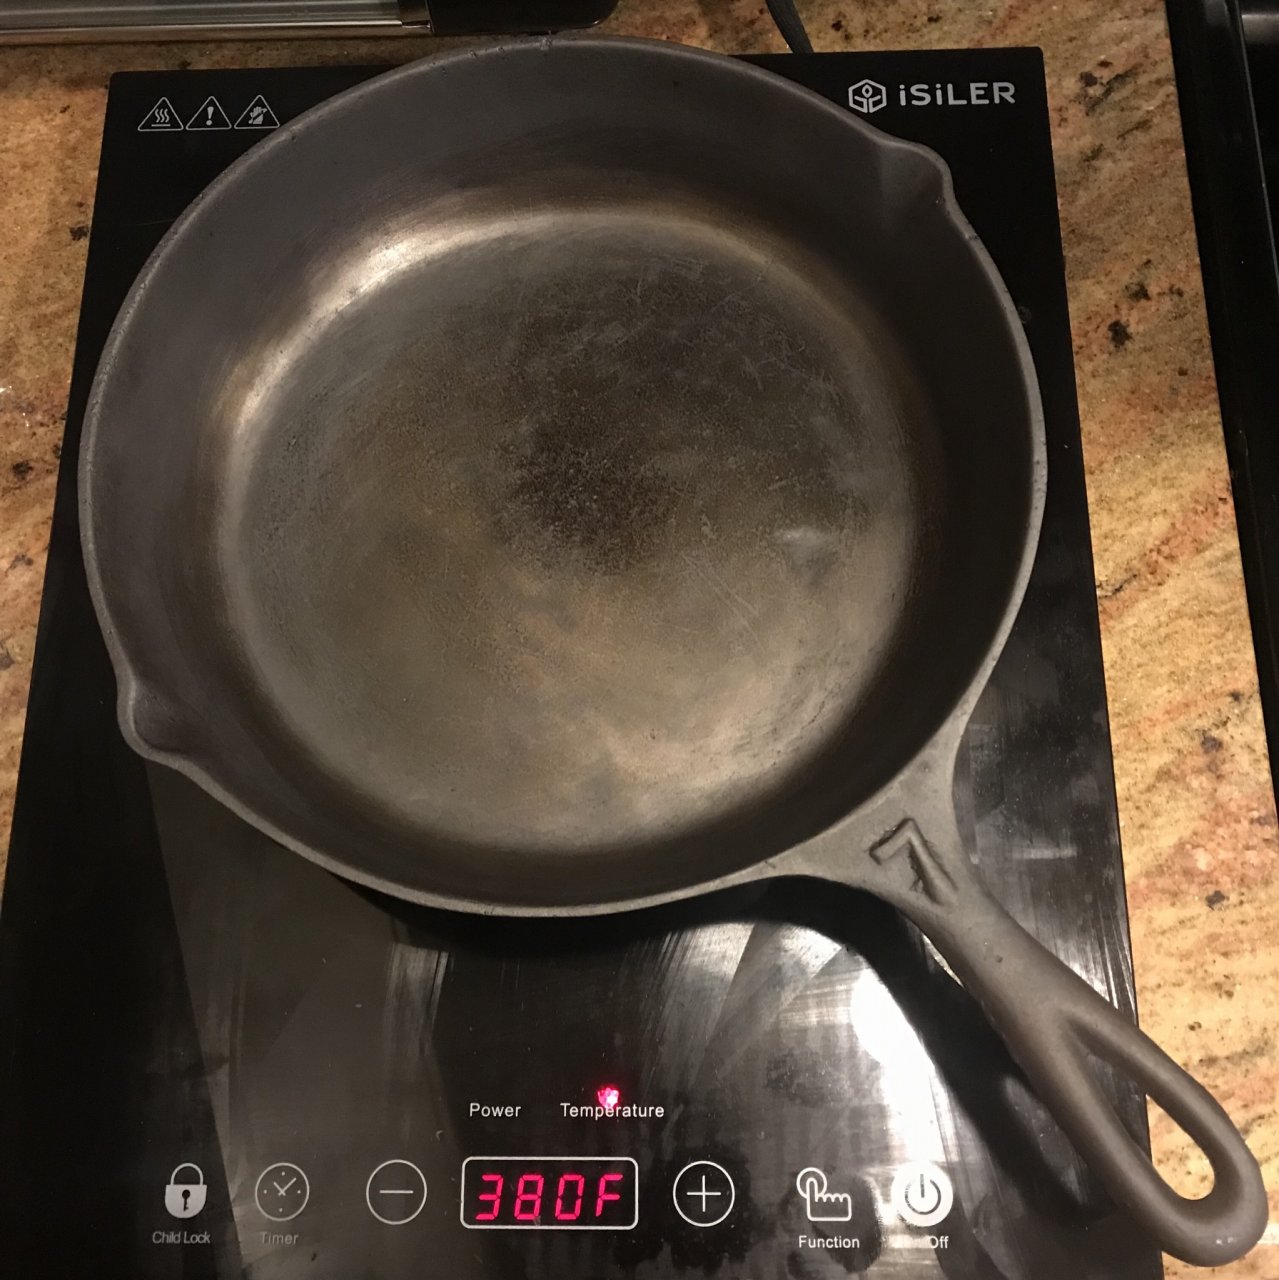
After One Seasoning
After Electrolysis

After One Seasoning
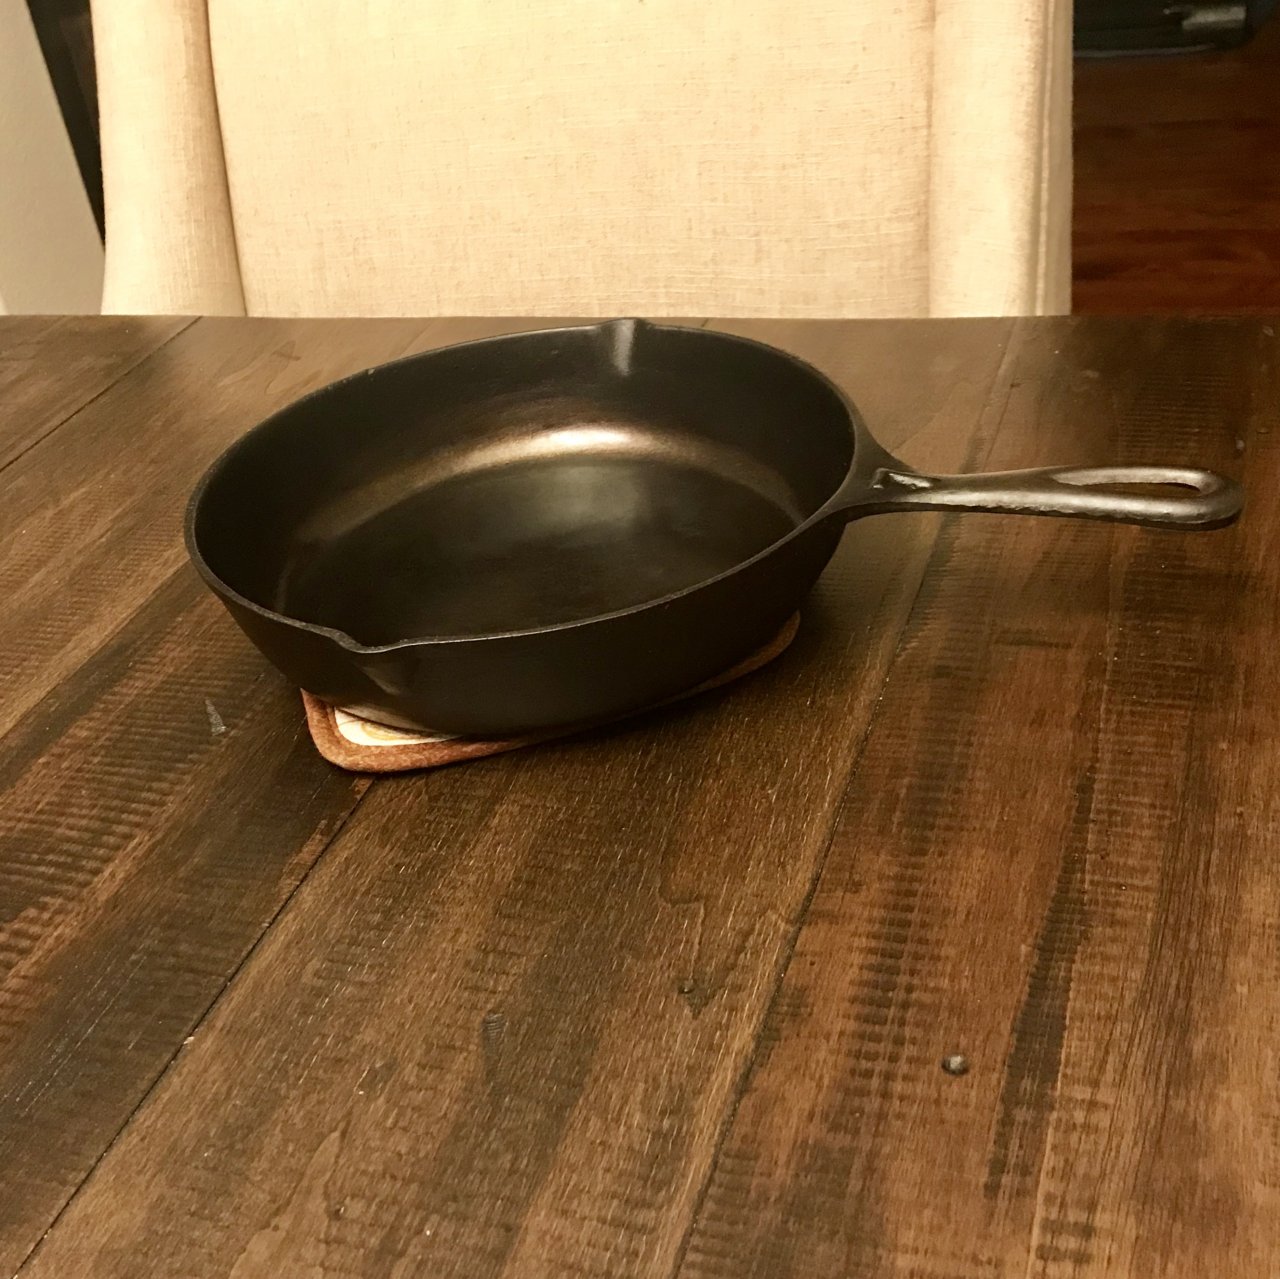
After a Few Meals
After a Few Meals
Please email me with any questions about this project and I'll try to answer them!
Back to the Cast Iron Homepage