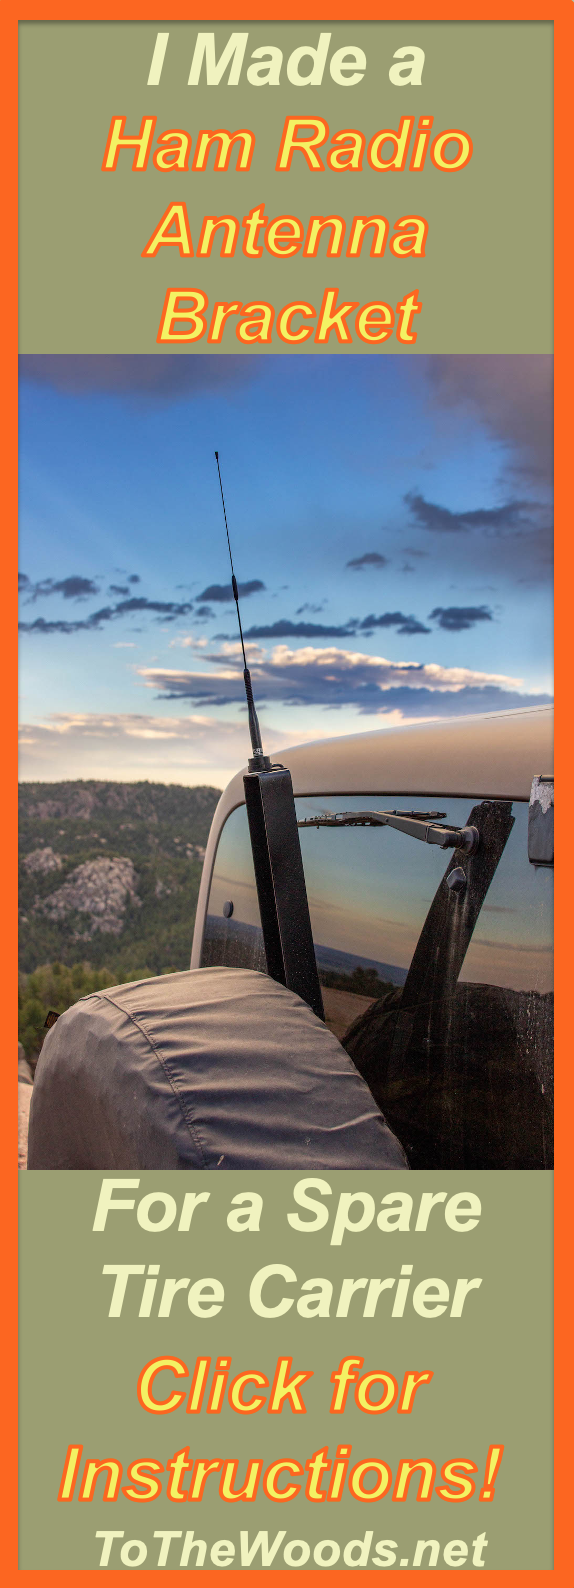
How I Installed a Ham Radio Antenna on my Wrangler's Spare Tire Carrier
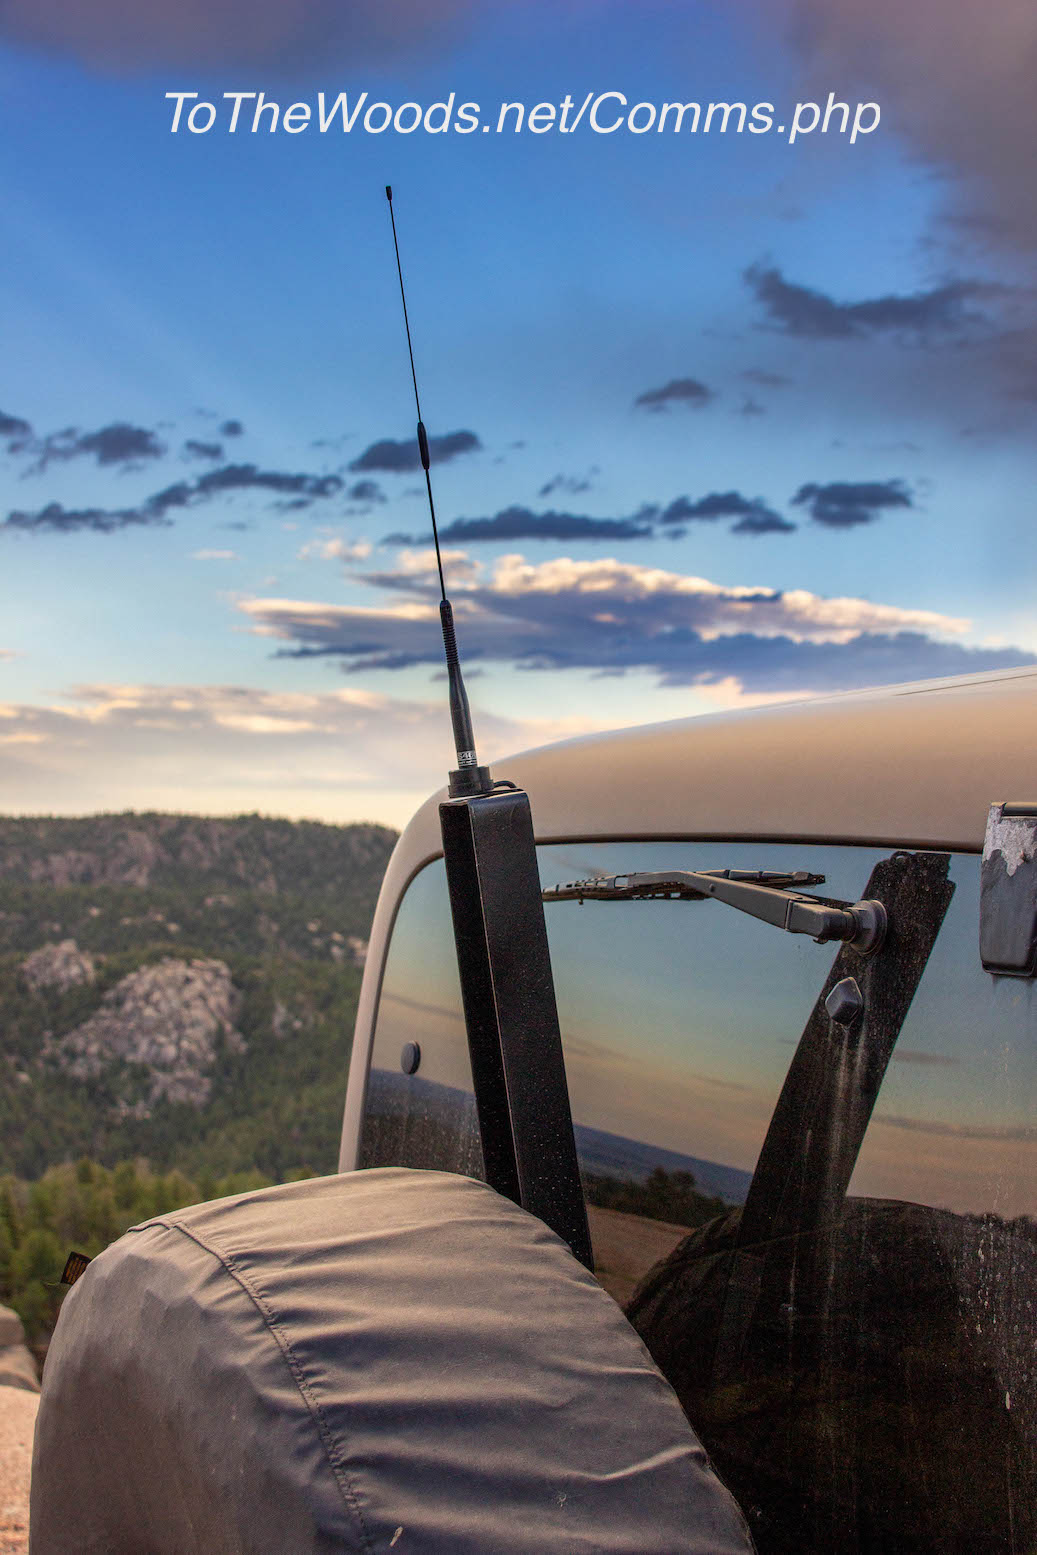
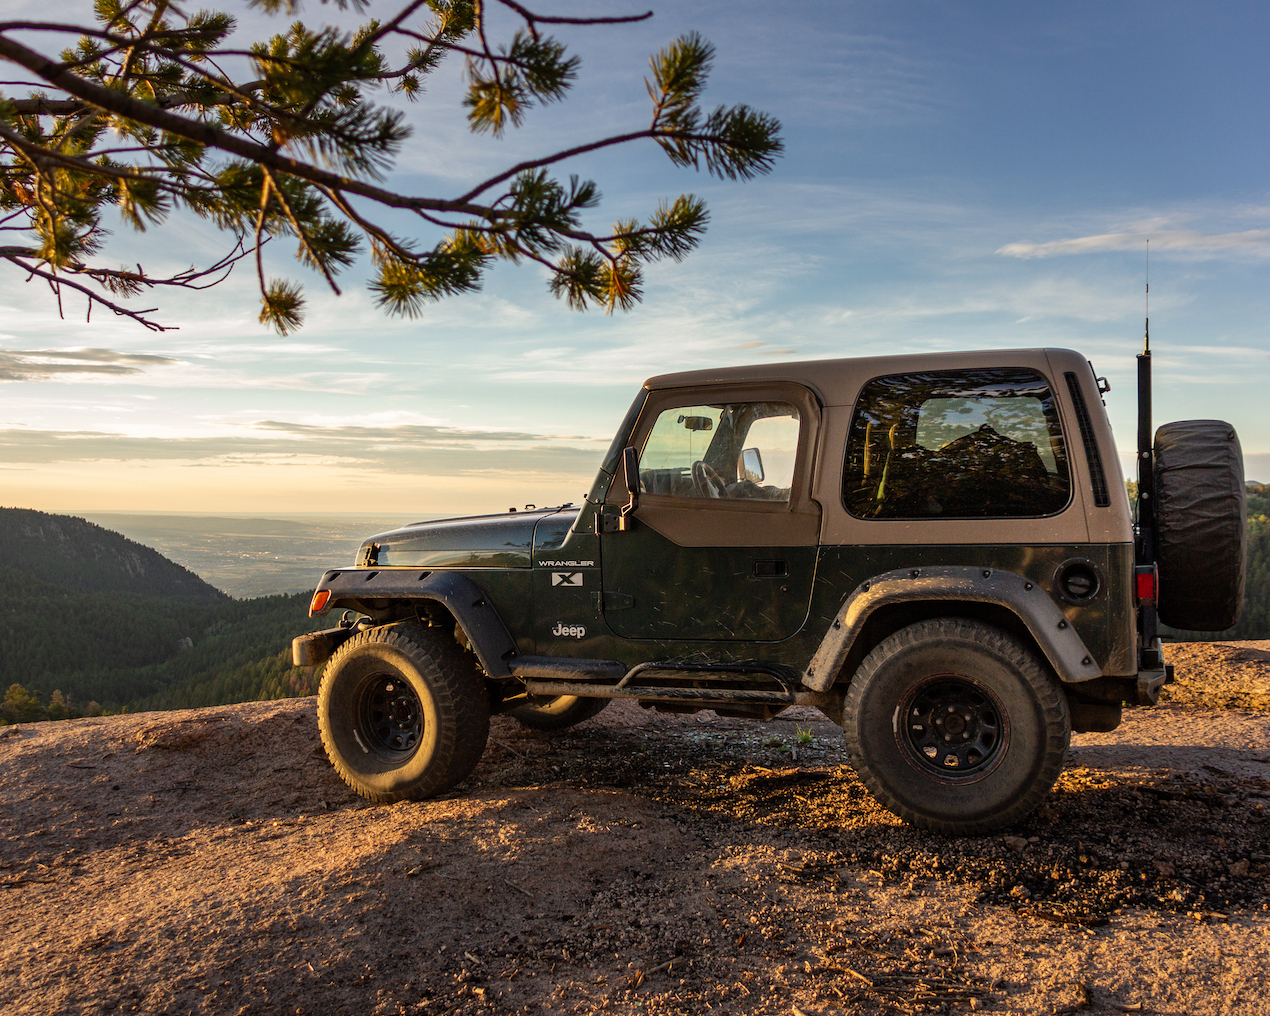
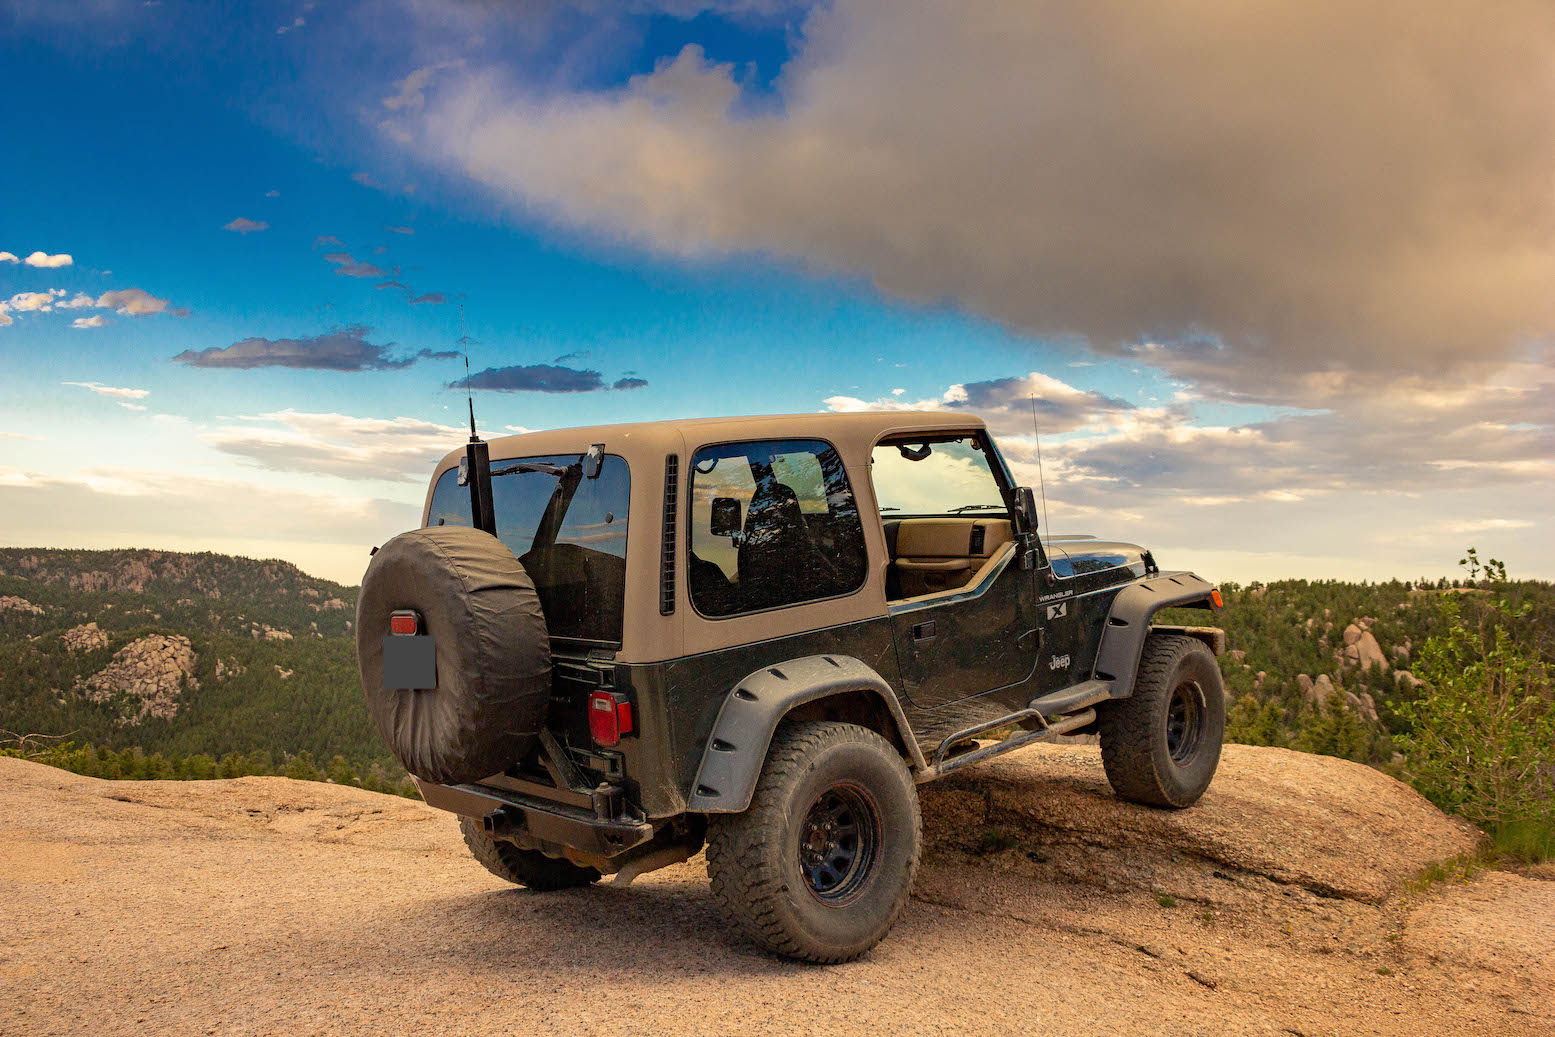
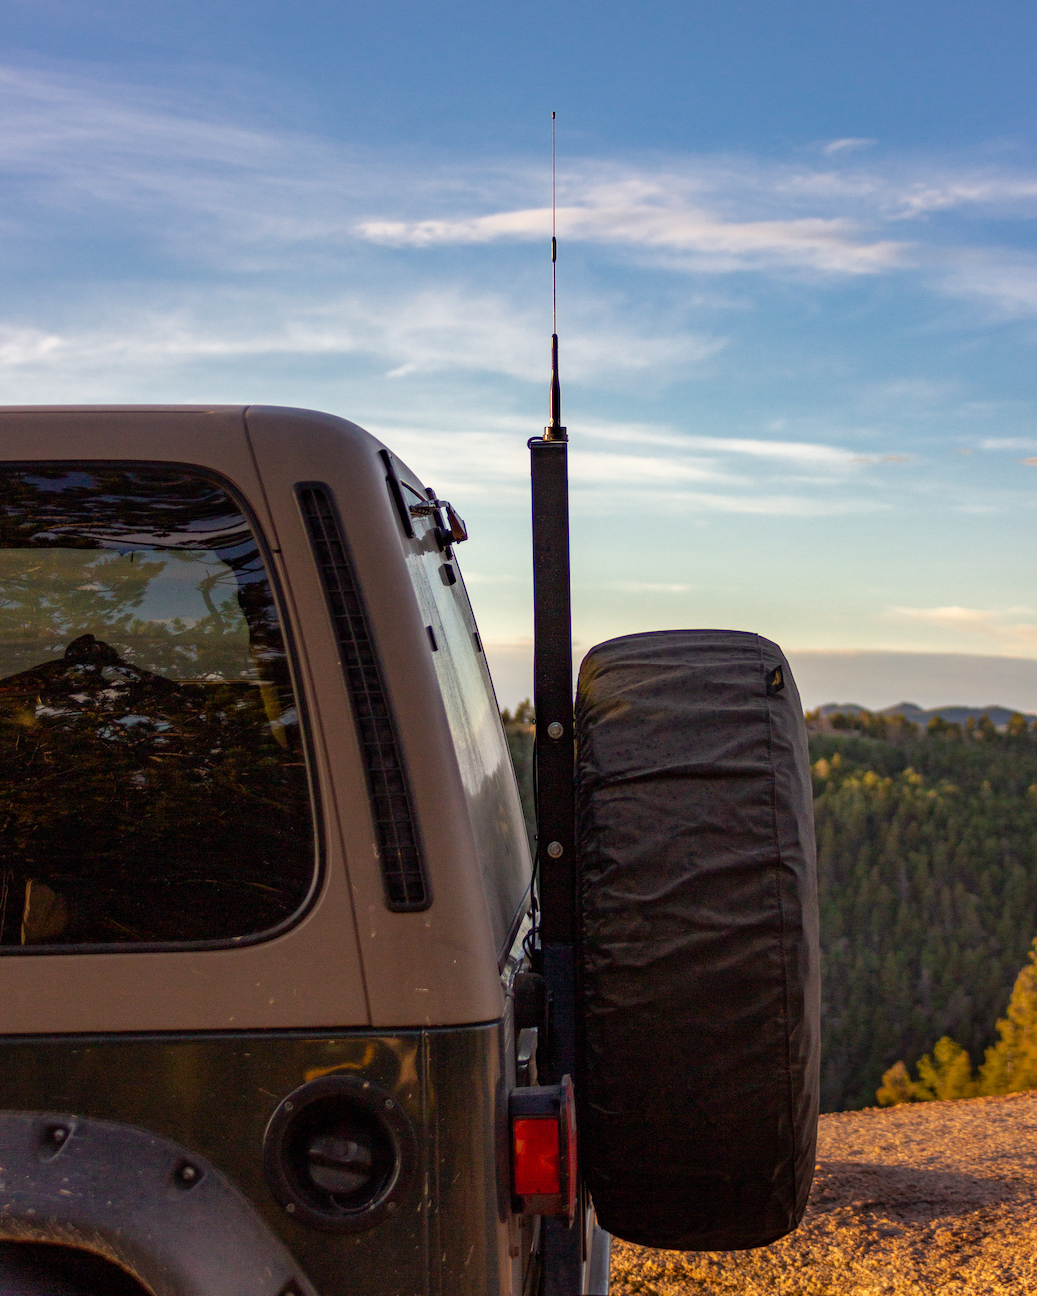
The End ResultI wanted to mount a mobile amateur radio antenna on my Wrangler for overlanding and scouting backcountry Jeep trails and Forest Service roads, where I'm often out of cell phone range. I wanted it to be more permanent than a magnetic mount (partly because mag mounts can damage the paint if you leave them on long-term), but I had a few specific design requirements for the project.
- Effective dual-band use of 2m/70cm bands, including ground plane considerations. This means I can't put it on a Wrangler's roof (no ground plane) or on the bumper (see propagation diagrams below)
- Semi-permanent install: no need to set up anything when I want to use the radio
- Clean install: no cables cluttering the interior area of the Jeep
- Antenna relatively safe from damage while offroading
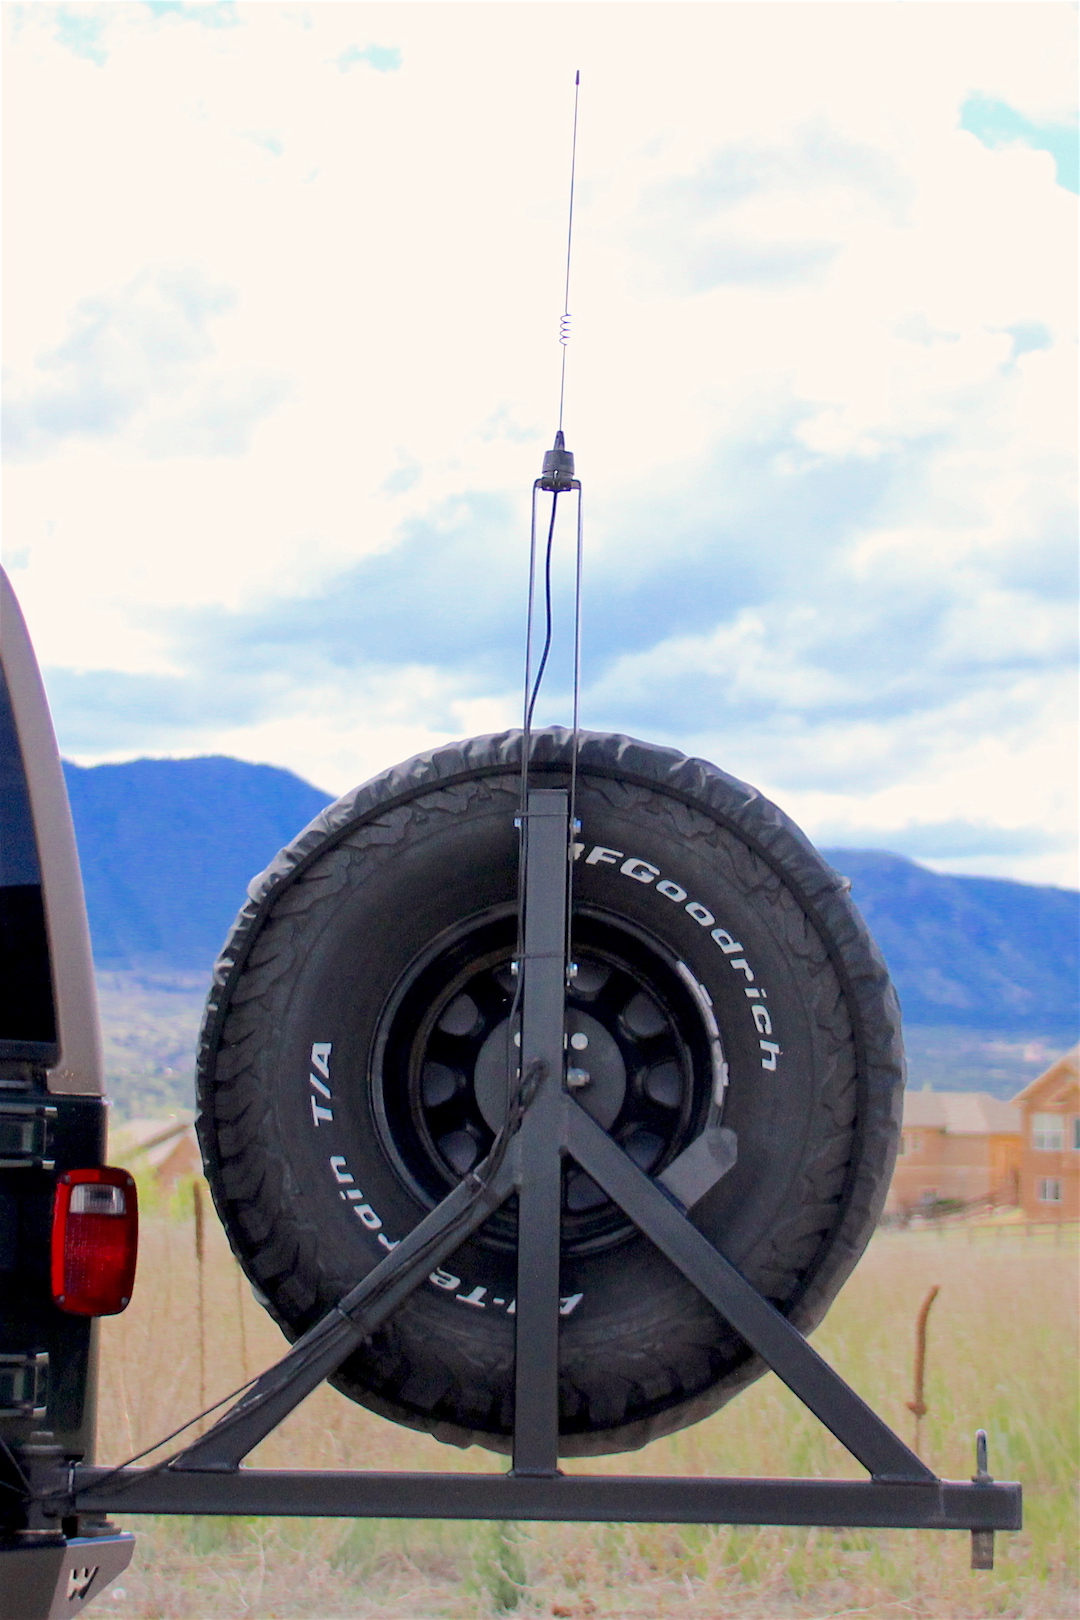
Every antenna is a compromise and this is no exception...so I looked for the best equipment to fit the criteria above. After some experimentation, I decided to fabricate (that's an exaggeration) a simple bracket to mount permanently to my Warn Rock Crawler Spare Tire Carrier. This design elevates the antenna above any metal pieces that would affect propagation (plus just provides additional antenna height), and the steel bracket provides an effective ground.
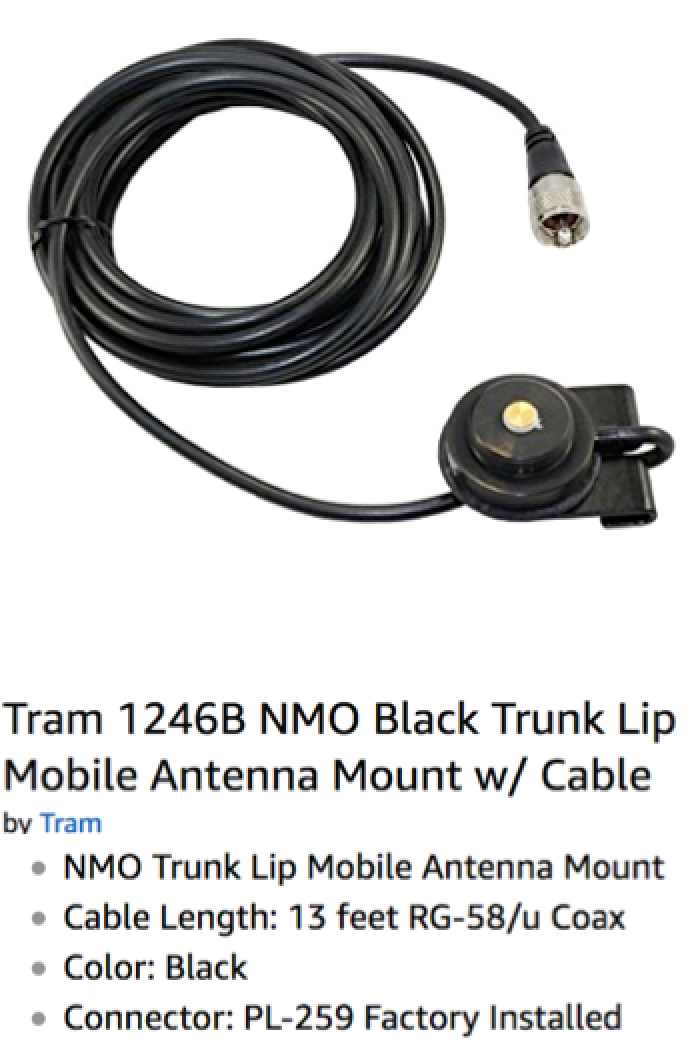
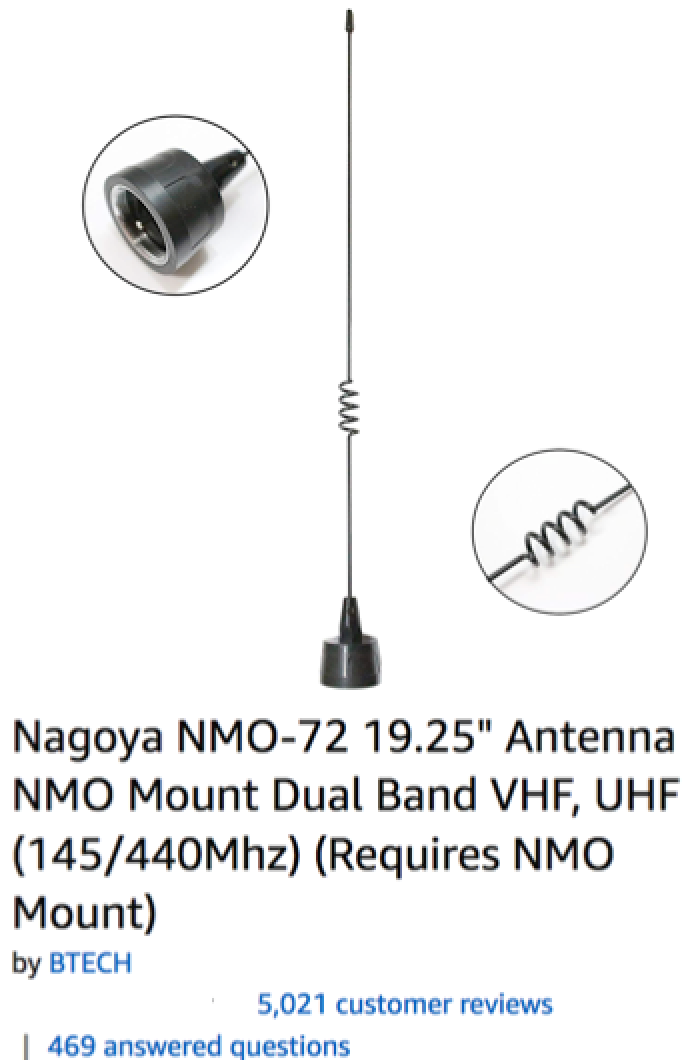
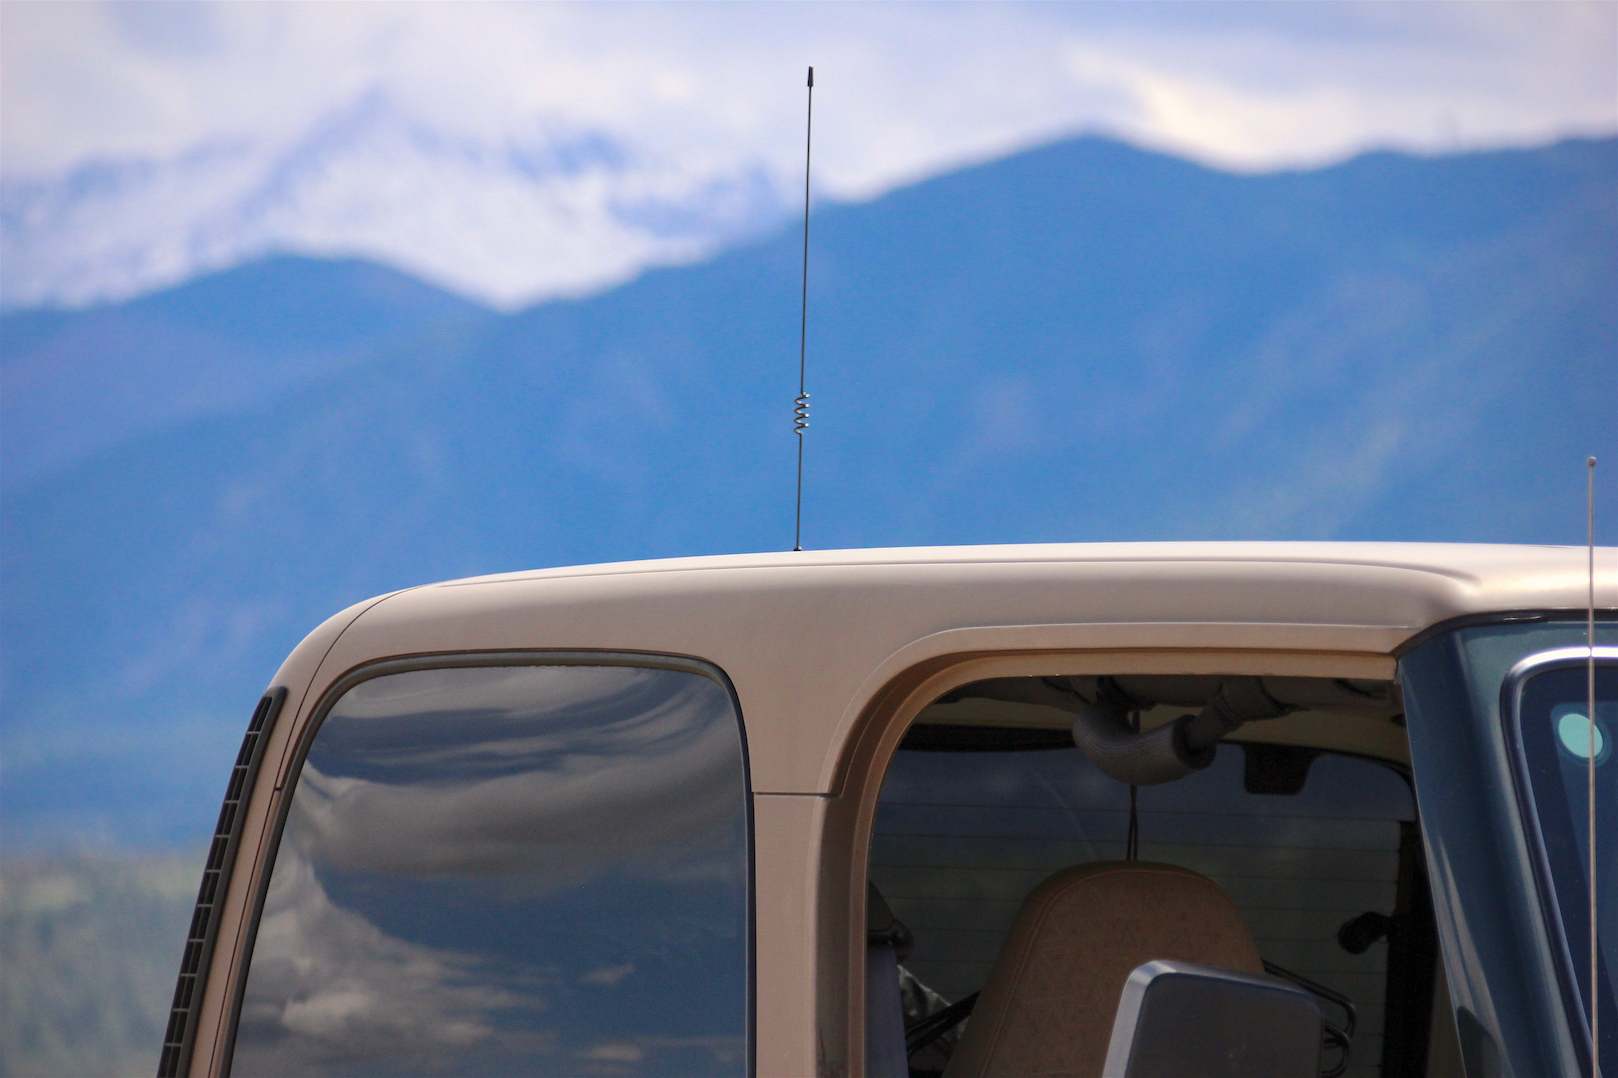
I measured SWR at 1.2 with the little Surecom mini, and usually get "full quieting" or 5x9 signal reports (depending on environmental factors like distance and terrain, obviously). This design will fit on most spare tire carriers that have a 2"x2" a vertical member, and is easily modified to fit other scenarios. For the antenna and mount, I reused the Nagoya NMO-72 19.25" NMO Mount Dual Band Antenna (145/440Mhz) and the Tram 1246B NMO Trunk Lip Mount from the hood cowl mounting. The hood cowl mount worked fine; I just wanted to try something new, and to mount the antenna higher, and above the roll cage. This does make the antenna a little more vulnerable to trail damage, and I've had some close calls when a branch scrapes across the roof, but it hasn't been a problem yet.
In the next section, I'll discuss some of details about antennas and how the mounting affects signal propagation, particularly as this relates to Jeep Wranglers. If you don't want to read the background, jump right to the Construction and Installation Instructions
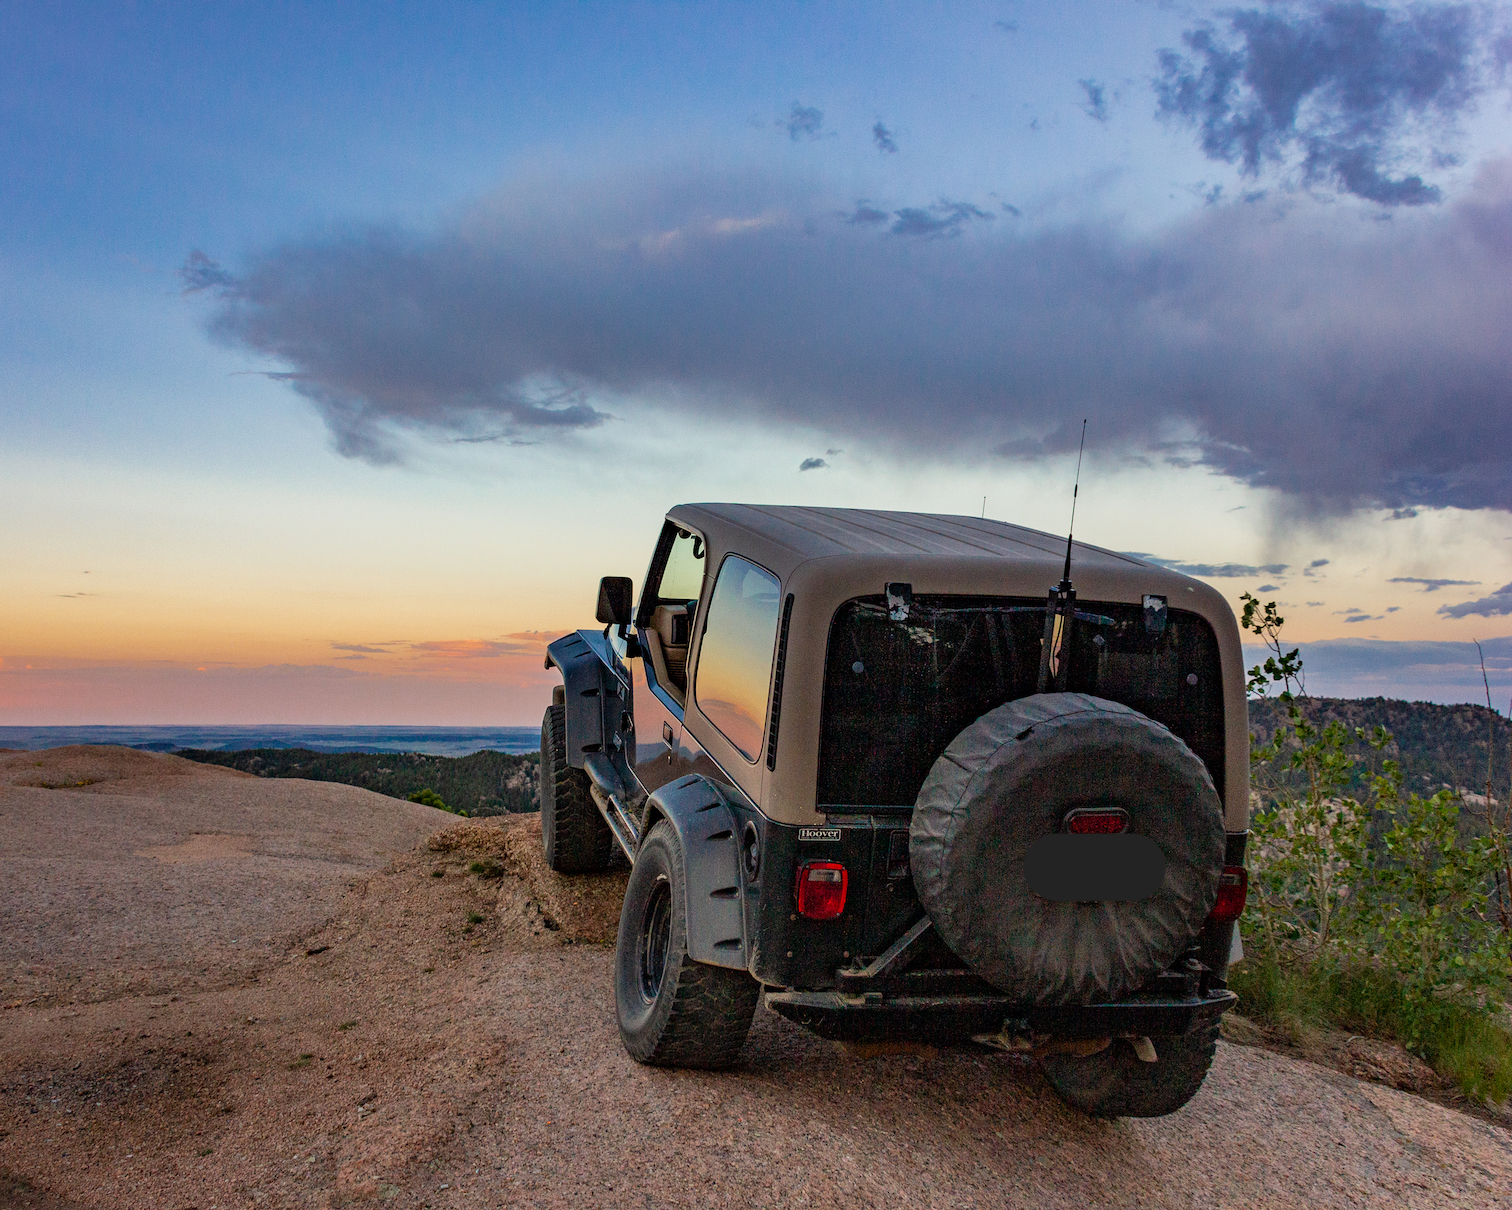
 Colorado Skies
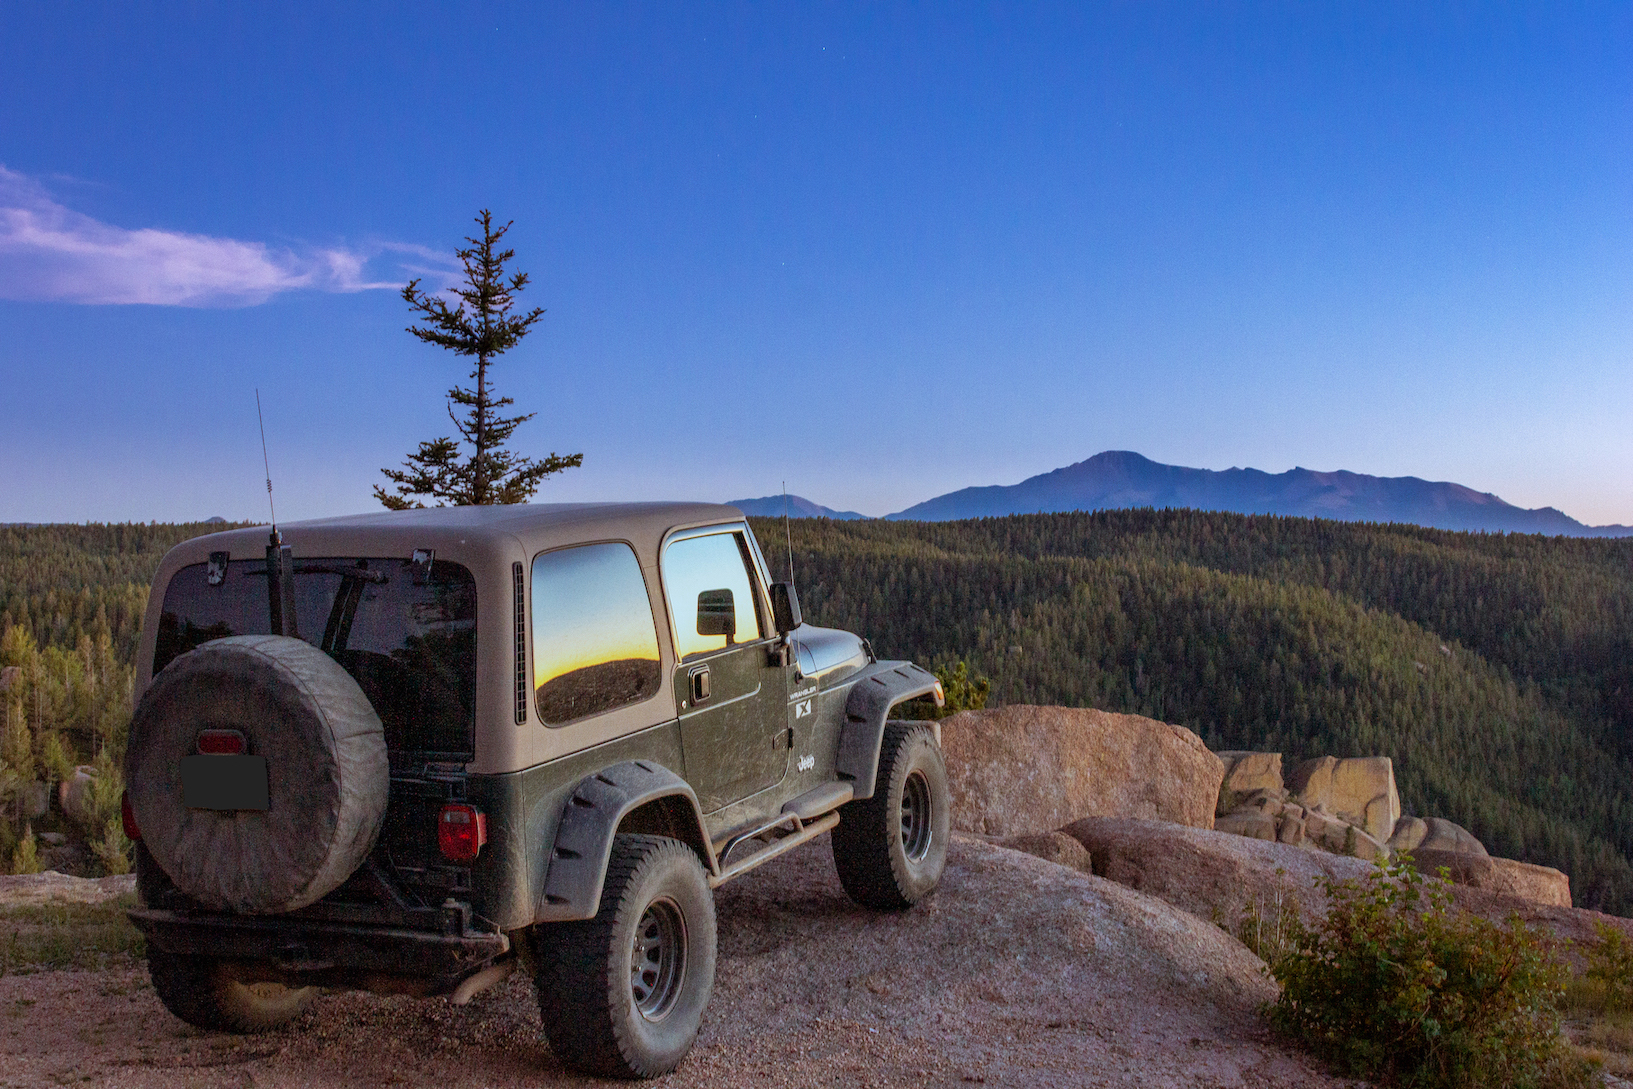 Pikes Peak After Sunset
An honest penny is better than a crooked dollar, so I want to tell you that some links below--like the Amazon ones--are affiliate links, meaning I'll get a few cents if you buy something from there. It doesn't change your costs at all because it comes from advertizing budgets, and it helps pay hosting costs for the page.
| Products Used for This Install |
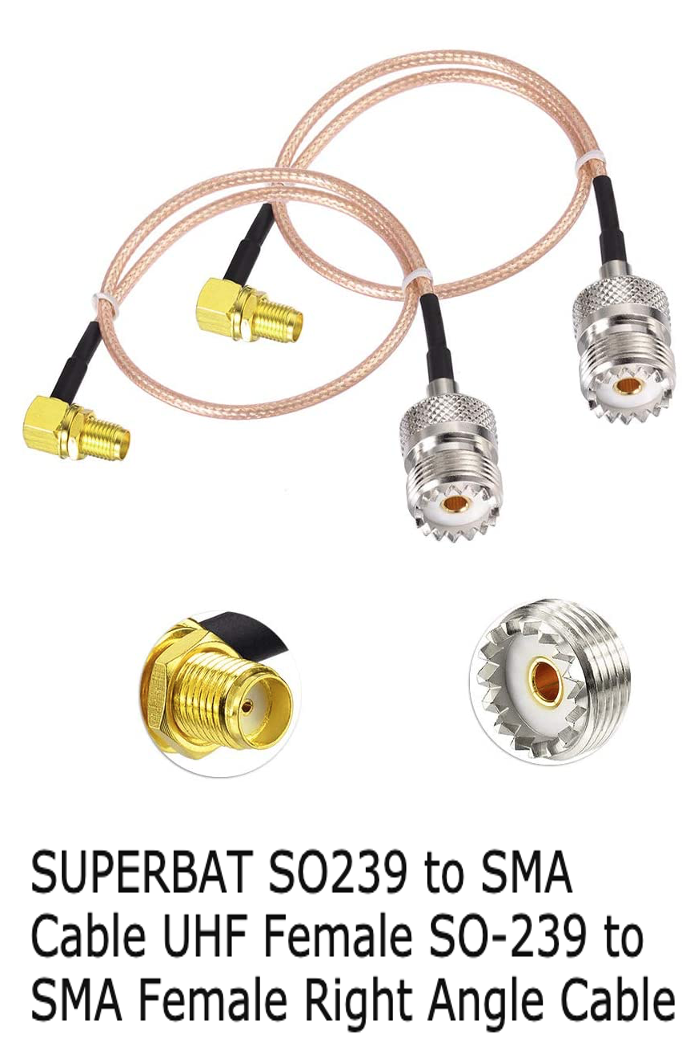
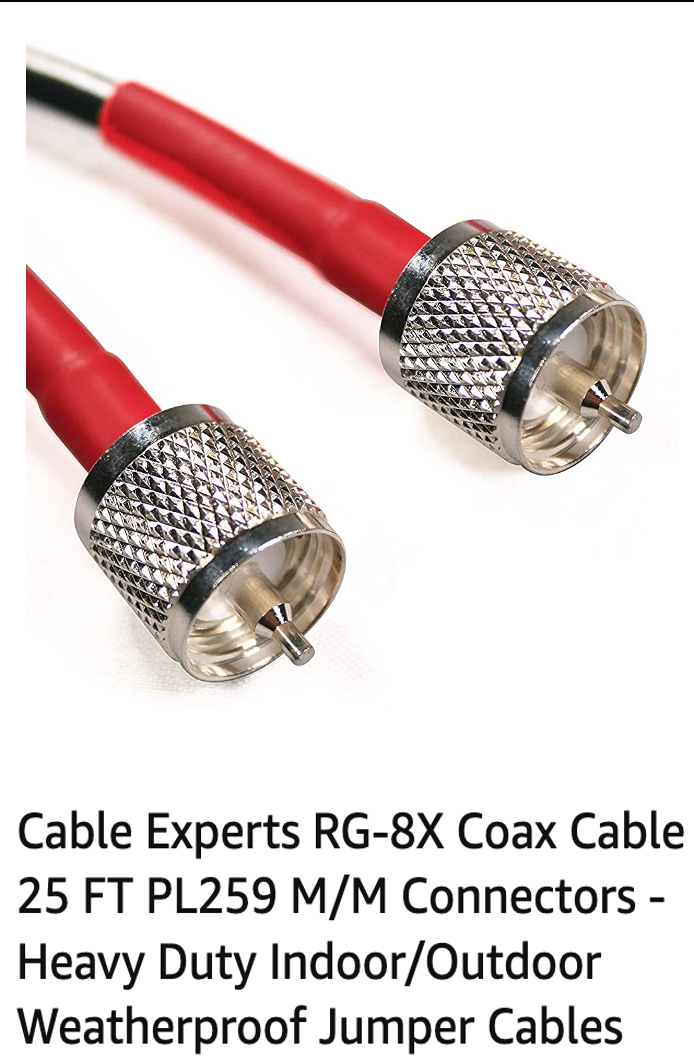
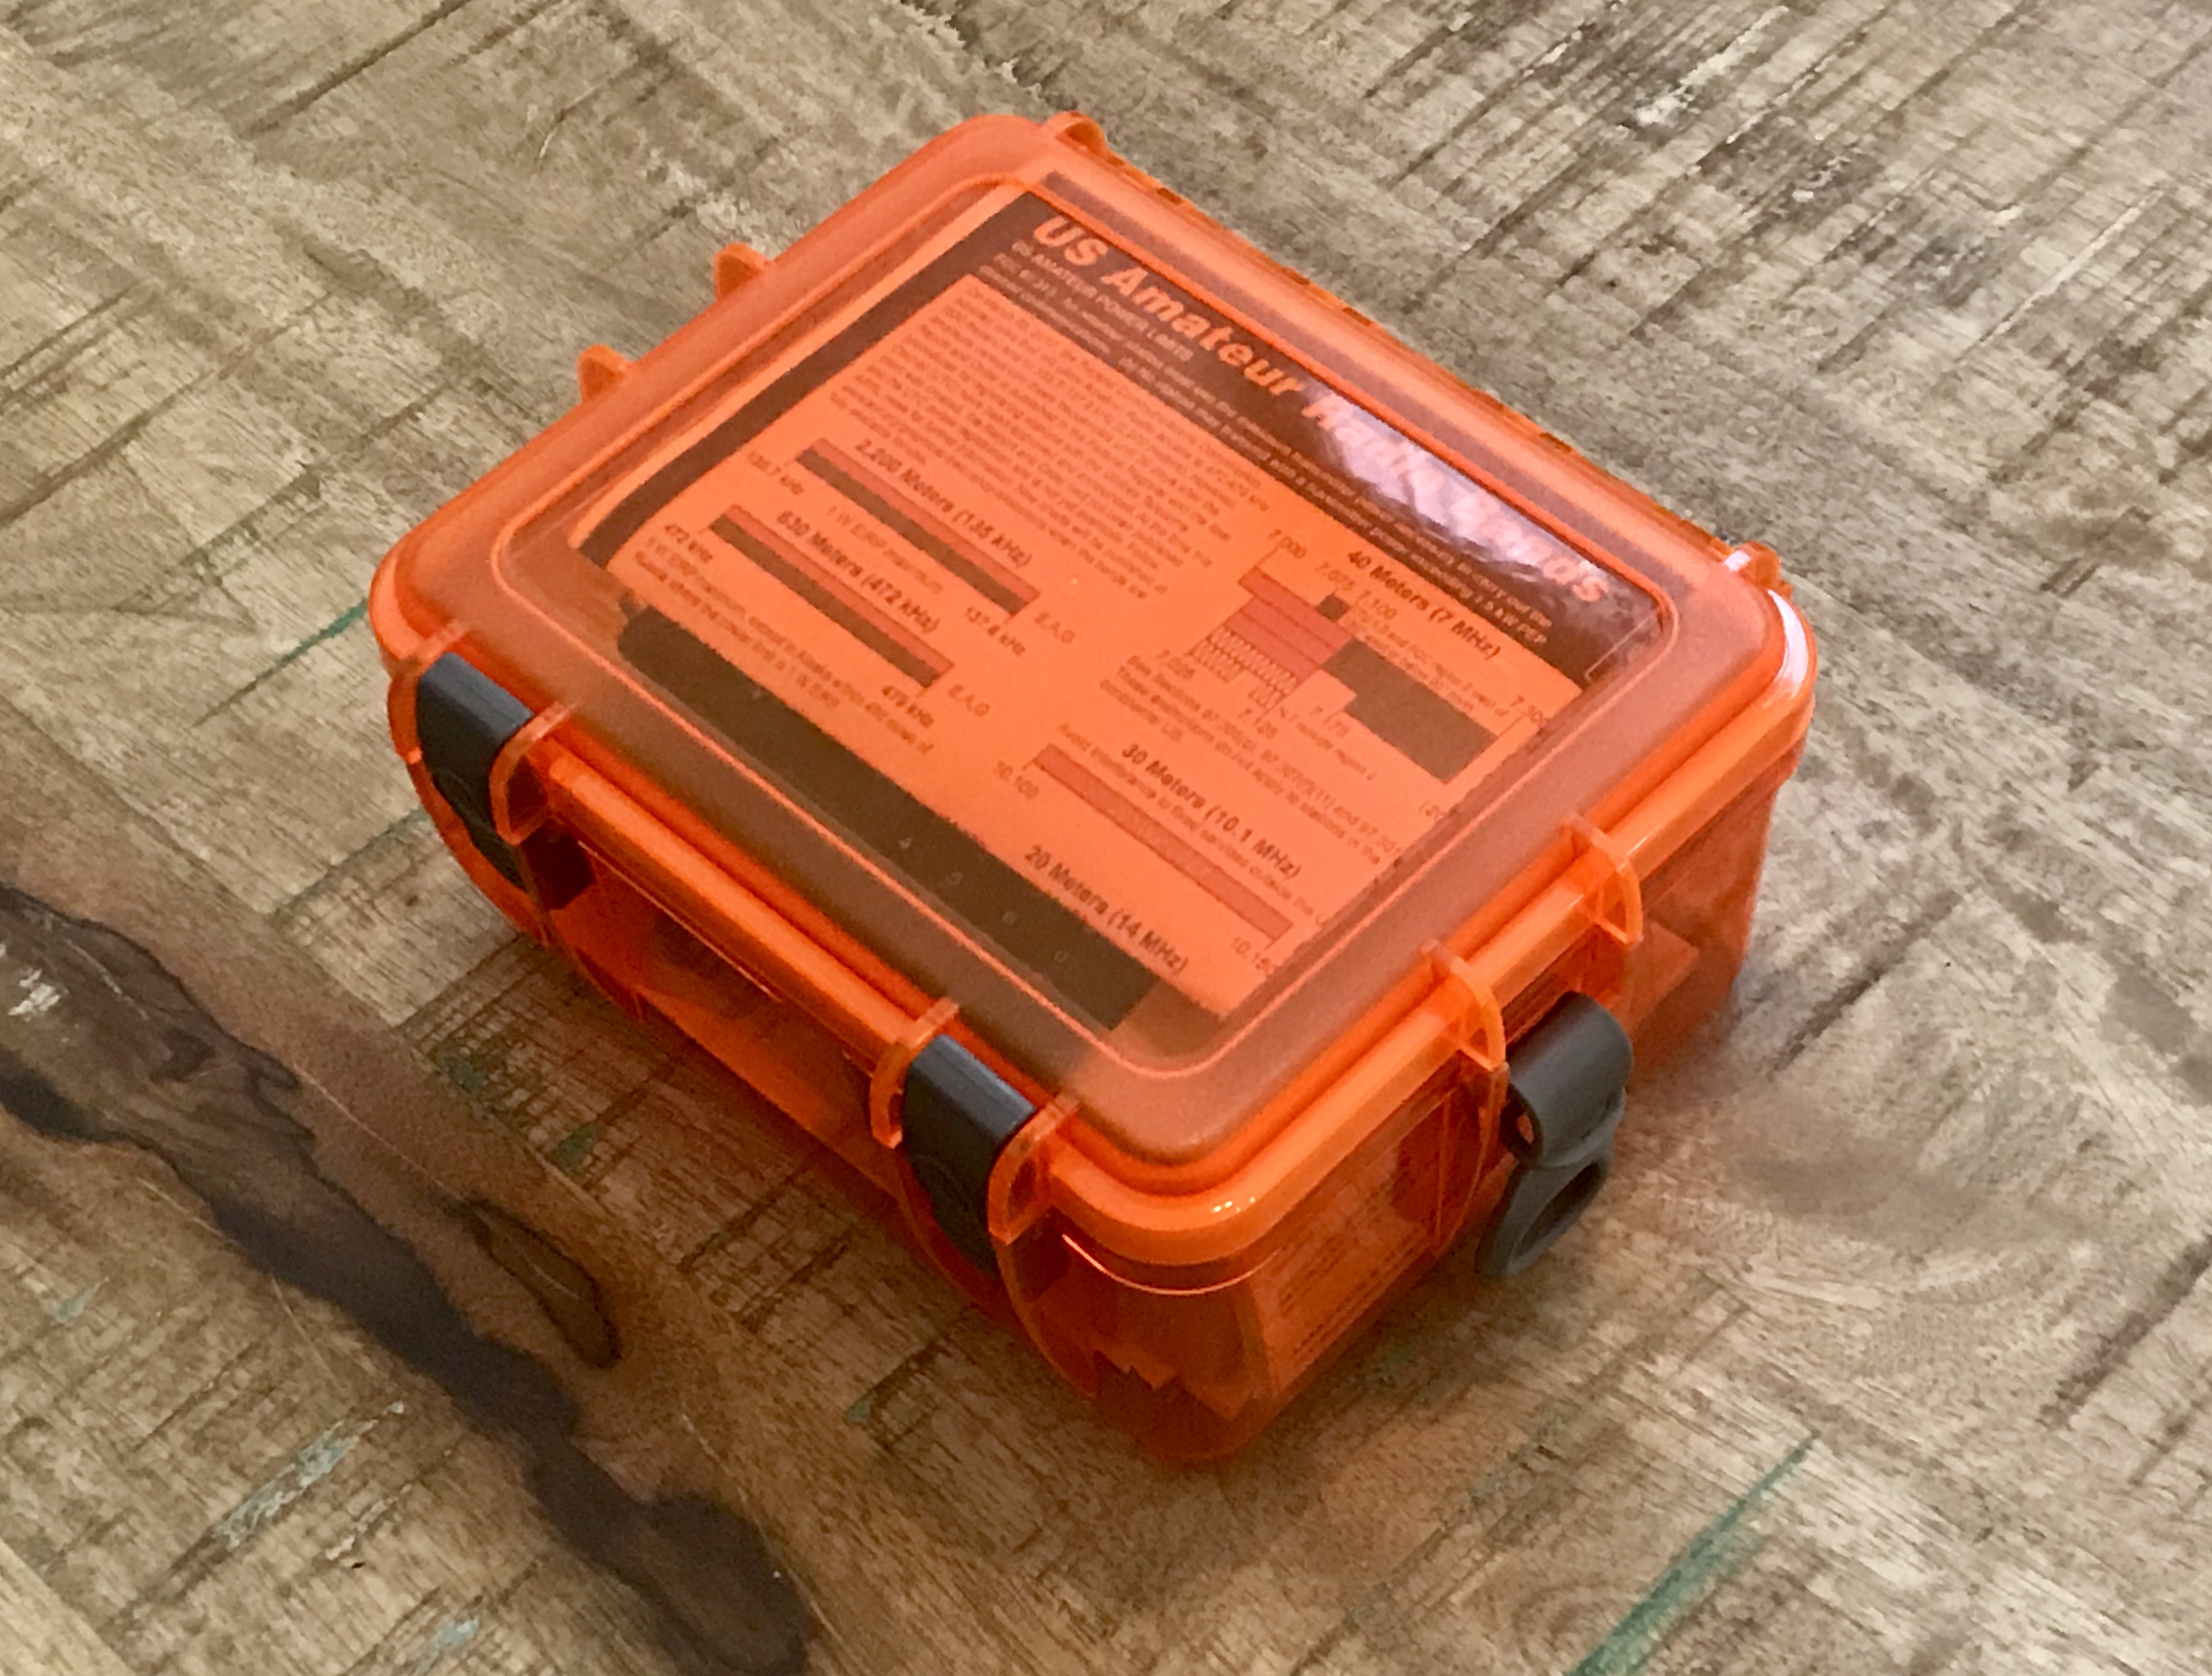
Here are the basic products I used for this install. Aside from the antenna and mount, the rain cap is used to protect the mount's electrical connections in case you need to remove the antenna for some reason and the SMA-to-SO-239 adapter is only used to connect this antenna to a Baofeng UV-5R platform radio (or any other radio with an SMA-male connection on the radio). You can also get a right-angle version if it fits your setup better.
You'll need four bolts and eight washers, too.
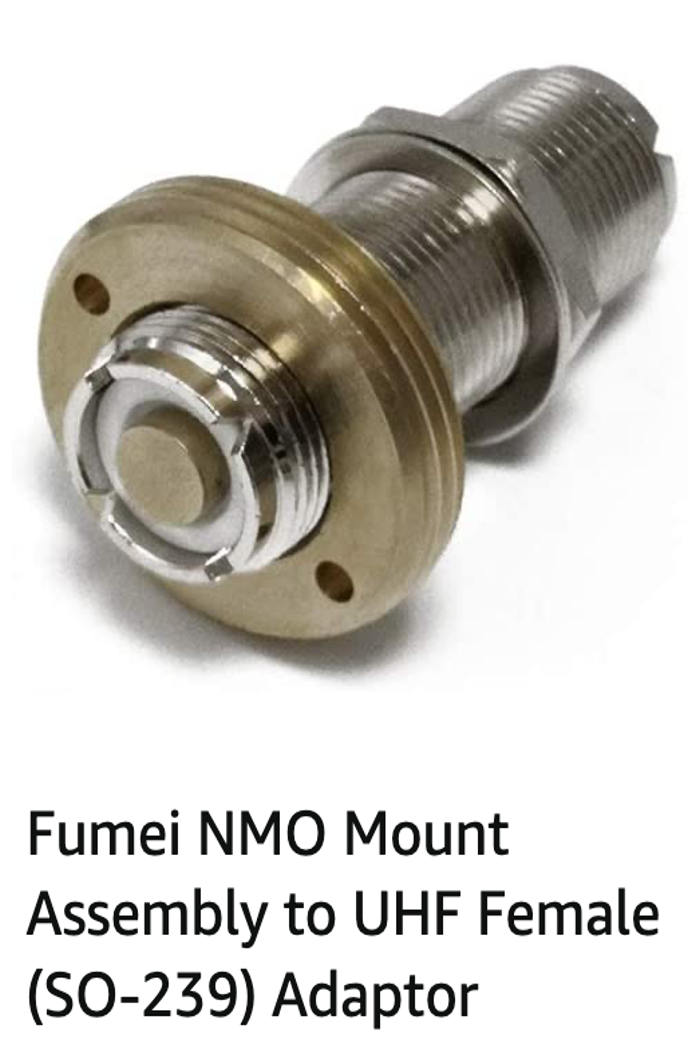
If you want to drill through the bracket and use a hole mount, which would be more secure, the coax should go straight down instead of at a 90-degree angle to the antenna. I struggled to find a good solution for this because most hole mounts are made with this 90-degree angle--especially weather-resistant ones. Eventually, I found this Fumei NMO Mount Assembly to UHF Female (SO-239) Adaptor. It's basically a female-to-female UHF adapter, with a couple pieces to allow an NMO antenna to mount to it. Then just use a male UHF (PL-239) coax and heat-shrink or tape it for weather resistance. I actually bought a couple of these so I coudl use one to retro-fit this bracket, and have an extra female-to-female UHF adapter in case I ever need to connect two coax cables as a makeshift extension.
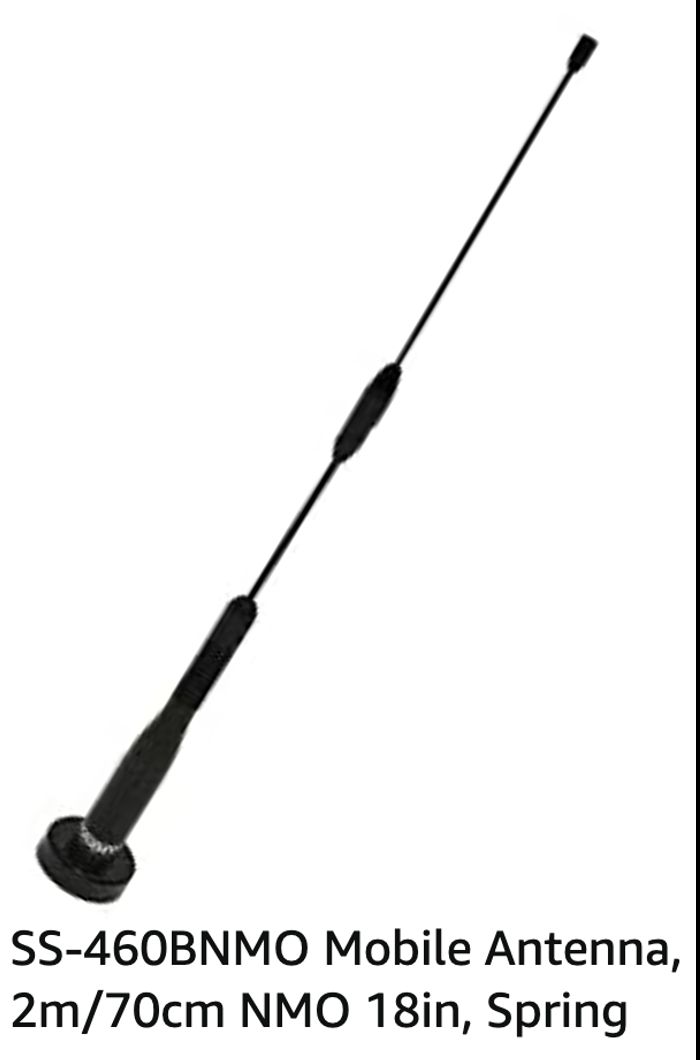
For what it's worth, I also upgraded to a Comet SS-460BNMO antenna because it's shorter than the NMO-72 and it has a spring. You'll see both antennas in the pictures here.
| Why Mount the Antenna on the Roof? |
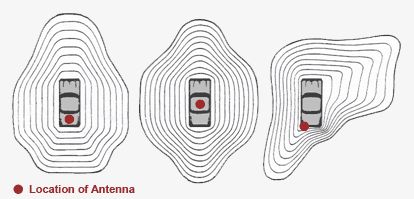
Check out the propagation image to the left, illustrating the impact antenna mounting location has on how the signal travels. Note that when you mount your antenna, you may not notice a difference on receive, and it will be difficult for you to detect the difference between each mounting location when you're the one transmitting...but transmissions are where mounting location has the most impact.
There are three primary reasons why mounting location affects signal propagation.
ONE. The main reason driving the difference between the first two examples is ground plane. When an antenna is mounted on the trunk, as in the first example, the antenna has a stronger grounding surface toward the front the vehicle than the small surface toward the back. As long as nothing on the vehicle blocks the signal toward the front, the signal will propagate stronger in that direction.
Mounting the antenna in the center of the roof, which is the best location for signal propagation, offers a ground plane that's balanced in all directions. Does this matter? That answer depends on your use-case. If you primarily use your radio to get traffic reports from in front you on a straight road like an interstate, you may not care much what the propagation pattern looks like behind you. But if you're the lead Jeep on a mountain road and need to communicate with the tail end of the formation, the propagation toward the rear will limit the distance at which you can communicate.
Additionally, mounting the antenna on the roof offers a height advantage, making it less likely that other vehicles can interfere with your signal. That is not illustrated on this propagation chart.
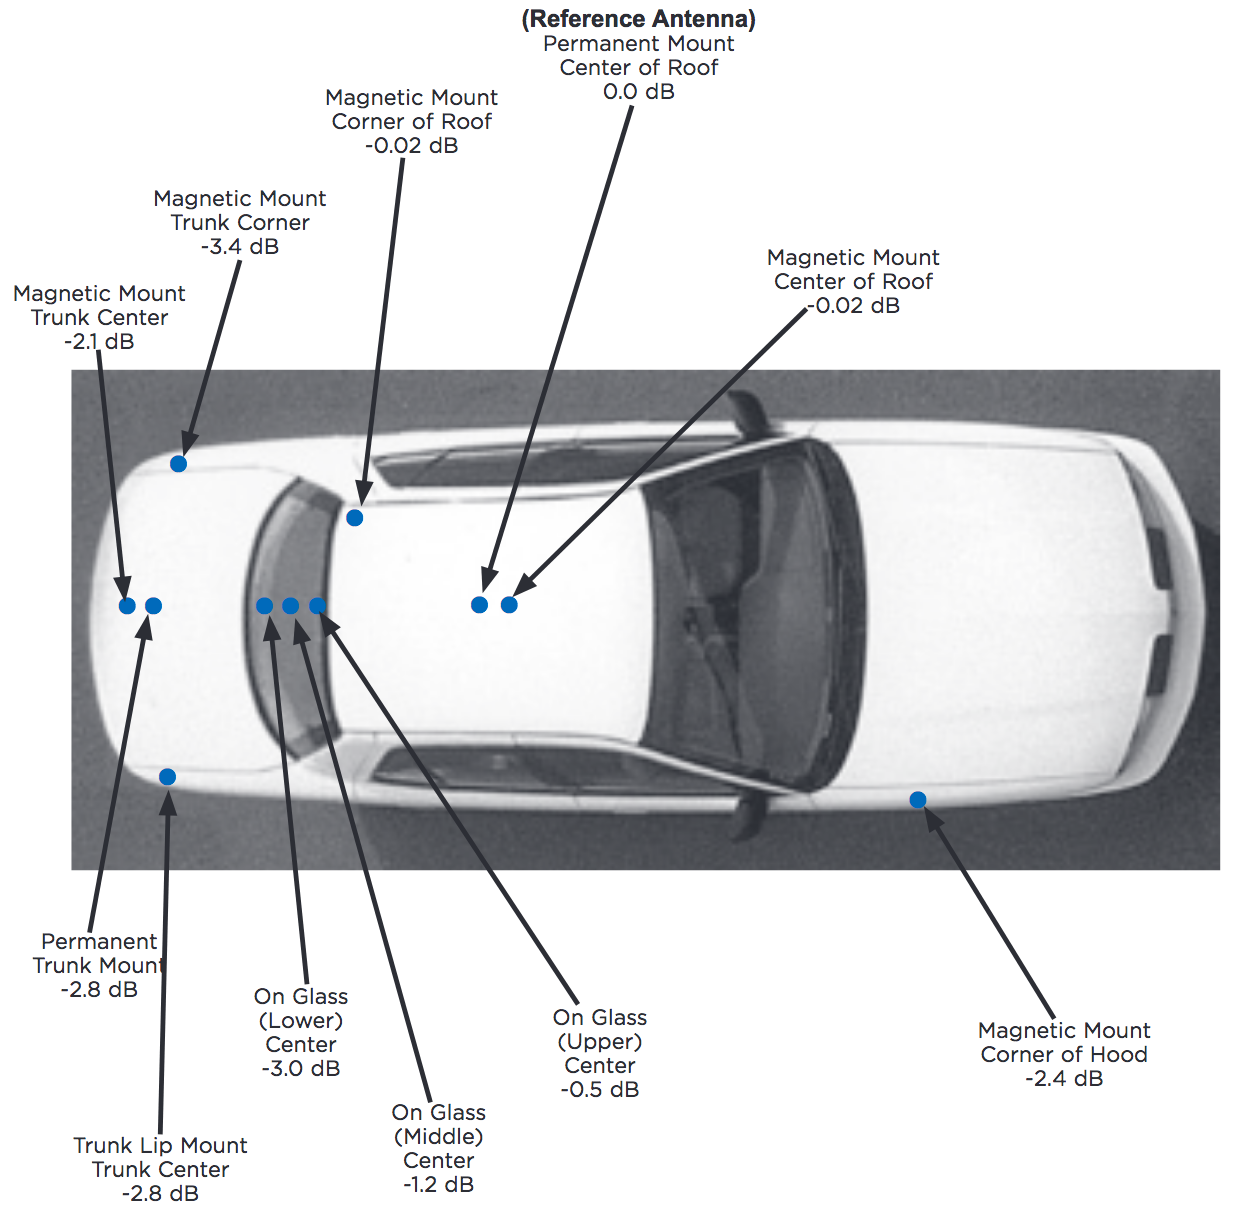
"...the center of an automobile roof is considered the best for mobile antenna placement, followed by the center of the trunk lid, the fenders, and then on-glass mounting. This ranking is determined by the amount of ground plane provided by the positioning, and clearance from obstruction (i.e.: the roof line), and is the reason the center of the roof is considered the ideal mounting location, provided the roof is metal."
Source: Larsen Antennas, Amateur Antenna Products, vol 2, pp.17.
Click for Larger Image
TWO. The second reason, which generally has less of an impact than ground plane considerations, is whether parts of the vehicle will block the transmissions in any direction. (This is the main reason we want an external antenna in the first place--sitting inside the vehicle basically means you're in an electrically-shielded box, so transmitting with a handheld means a lot of the signals will bounce around inside the vehicle.)
But this applies a little differently for Wrangler owners than for other vehicles. First, our roofs are not metal. Assuming we can get a good antenna orientation (without hitting the NA-771 on the ceiling, for example) the roof will not block our signals. Second, we often have roof racks or other equipment that might interfere with effective transmission. If your antenna is mounted to the roof rack, and it's behind the spare tire or Pelican case full of metal tools up there, you will experience degraded performance.
THREE. This brings us to the third reason, which isn't illustrated in that image but directly affects many Wrangler owners. Jeepers often mount antennas to the spare tire carrier because it's so convenient...but that's a TERRIBLE location! Not only does it lack a ground plane almost entirely (unless you design one into the mount), but much of the antenna itself is between the metal tailgate and metal wheel. This has two major impacts. First, not as much of your signal escapes that shielding, so your signal won't travel as far at a given power. Second, and most importantly, all that metal is reflecting the signal back into your antenna and sending it back toward your radio! If you measure the standing wave ratio (SWR) of an antenna mounted on the hood/roof/trunk with one mounted on the spare tire carrier, you're likely to find a dangerously high SWR, cause your radio to decrease power if it has a self-protect mode, or degrade performance in other ways.
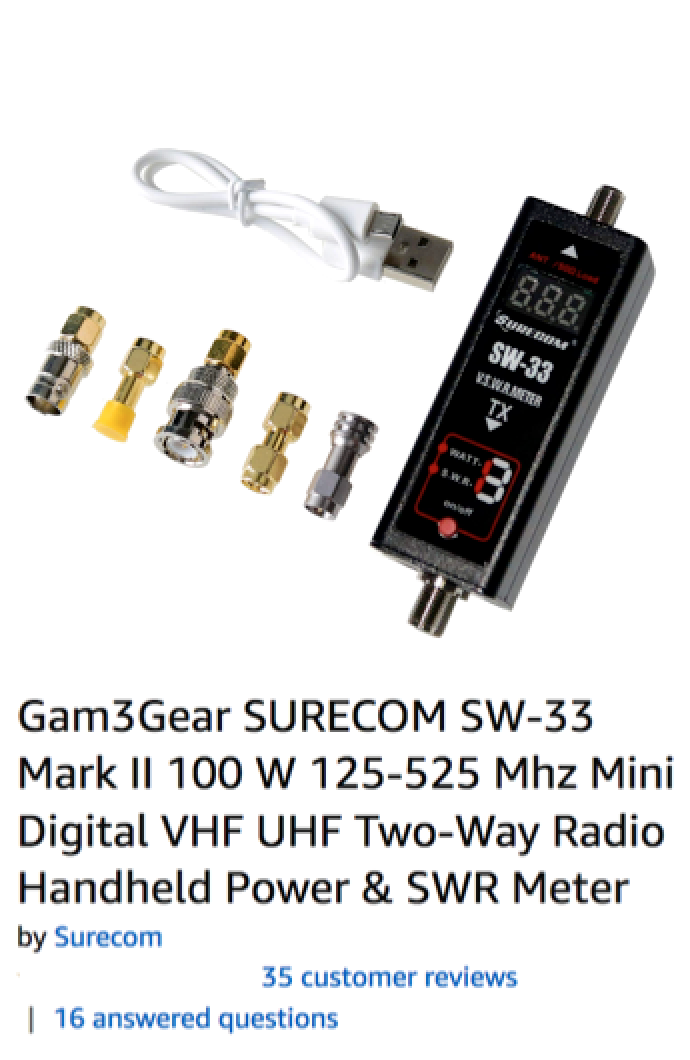
(I use the cheap and tiny Surecom SW-33 Mk II SWR Meter and directional watt meter for these measurements.)
Often, people with bad mounting locations will compensate by turning their radio volume up and just dealing with the static. (Here, for example.) Then when someone transmits with a properly mounted radio, their clear signal comes blasting through louder than the other operators and people think they're the problem.
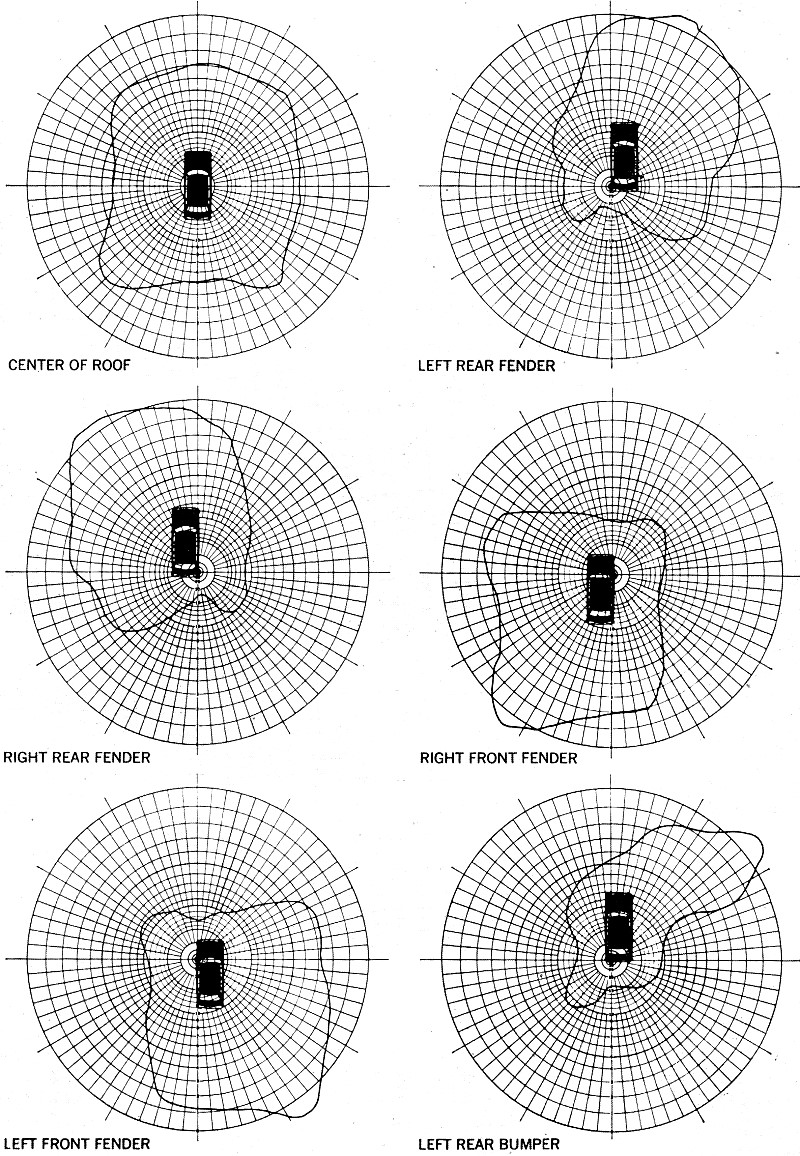
"The illuminated areas [to the left] represent actual intensity and azimuth measurements made at the testing facilities of Hy-Gain Electronics. The antenna used was a full-length 108-inch whip tuned to 27.065 MHz. The roof-top mount is the best position for all-round radiation, the left rear bumper just about the worst - except in its favored direction where the lobe is substantially stronger. When the car is in motion and turning, you can see why there are extreme variations in signal strength."
Source: Ruyle, Robert L. (W0FCH, KGI-3471). "A Blindfolded Choice is No Choice at All," Popular Electronics, November 1966. Citation and image from RF Cafe.
Click for Larger Image
| So How Does This Apply to Wranglers? |
So how to those basics apply to Wranglers? Basically, we can't put an antenna on roof unless we add a ground plane somehow. But some other principles apply. Here are some general guidelines:
- Mount the antenna above the body tub. This helps to avoid vertical metal surfaces, like the tailgate (license plate mount), body panels (bumper mount), and spare tire. Technically even the roll cage affects propagation; I don't know how much of an impact this actually has for my purposes.
- Maximize the ground plane. On a Wrangler, the hood really is the only large horizontal surface usable as a ground plane. That means creating another way to ground the antenna, like this bracket.
- Separate antennas by at least 18". Don't put your ham radio antenna next to the FM radio antenna.
- Consider SWR--putting an antenna between the tailgate and spare tire is a terrible idea. It might sound like it works, but it might be damaging your radio.
- Protect the antenna so it's less likely to be torn off by trail obstacles. That's where this antenna compromises, but you could mount it well below the roof line but still above the spare tire and be ok.
For these reasons, I first decided to mount the antenna on the hood cowling. It required very little permanent alteration and provided a good balance of performance, ease of install, and reversability when I decided to remove it.
That mount worked fine, but I like to tinker. I suspect this spare tire carrier mount provides better propagation (but I haven't actually measured that donut), while the hood mount protects the antenna better from trail damage.
| Construction and Installation Instructions |
The instructions are really simple, so I don't really have step-by-step pictures of the construction.
- I just bought some 2-inch flat bar from Home Depot, stuck it in my vice, and used a hammer to pound two right angles into it, as you see below. Remember to make the corners a more than two inches apart to account for the thickness of the bar and for the rounding around the corners.
- Then I used C-clamps to position the bracket at the height I wanted: slightly lower than flush with the roof, so any limbs scraping across the roof will hit the bendable antenna instead of the bracket or antenna mount.
 Mount Below Roof Level
- Then I drilled two offset holes on each side, straight through the bar and carrier. Wear eye pro any time you drill metal--it's not worth a steel shard in your eye!
- If you have a tap-and-die set, thread these holes to fit your bolts. If you don't, well, you should...but it'll last a while if you just screw the bolts in there really tight.
- If you're using a hole mount, now's the time to drill out the center of the platform on top of the bracket.
- Next, I spray painted the bar and the bare steel in the holes I just made. That'll provide a little more corrosion resistance when water inevitably leaks inside the bolts.
- At each bolt, I put a washer between the flat bar and carrier, and at the bolt head. I thought some extra space here would make it easier to remove any debris caught between, and would also decrease the likelihood that debris (like all the tiny rocks on Colorado's backroads) would scratch the coating inside, making the carrier rust faster.
 Bolt Positions
- At this point, I put the lip mount on the bracket and marked where the set screws would contact the bracket. I drilled some divots for the screws to set in, partly to make it more stable when off-roading and partly to remove little spots of paint for a better grounding connection.
- Then I just installed the lip mount to the bracket. If you use a lip mount with set screws and do any serious off-roading, I recommend putting some Blue Loc-Tite on them. I had two fall out before I added the Loc-Tite. We have some bad washboard roads, though.
- I zip-tied the coax to the tire carrier, running it to the hinge side so the carrier would swing freely. The extra cables are for the third brake light and the light on the license plate relocation bracket.
 Cable Routing
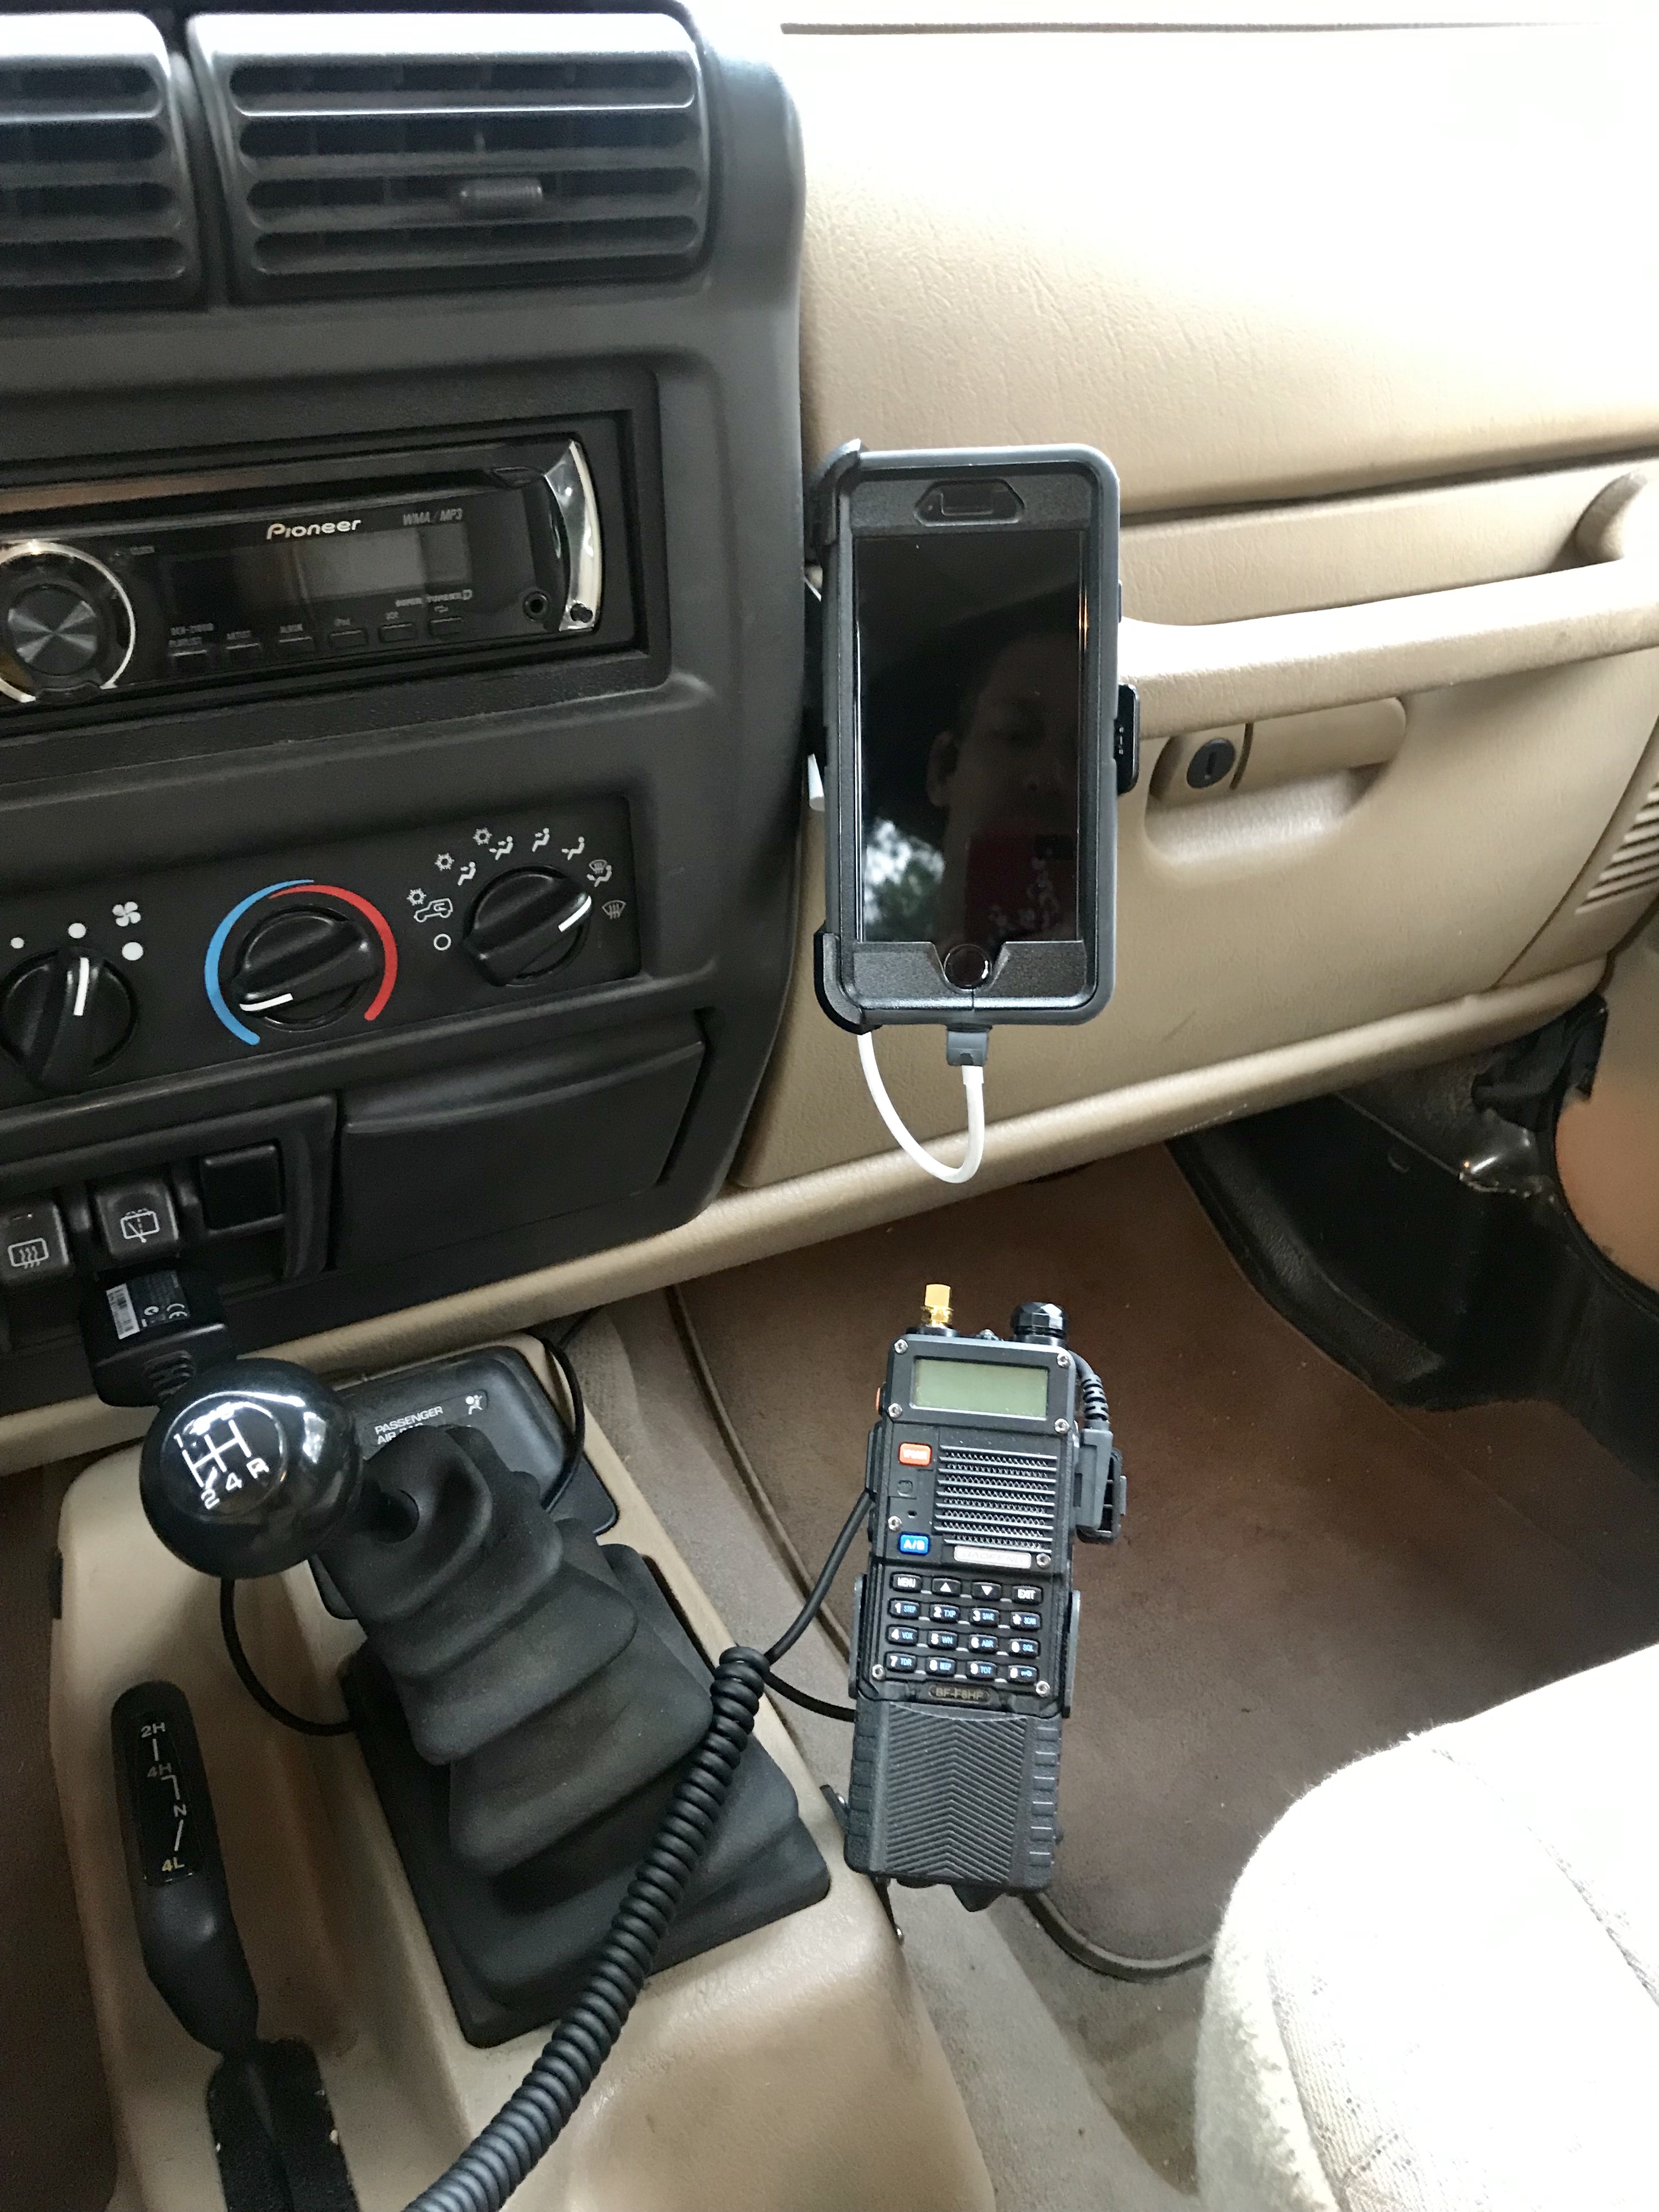
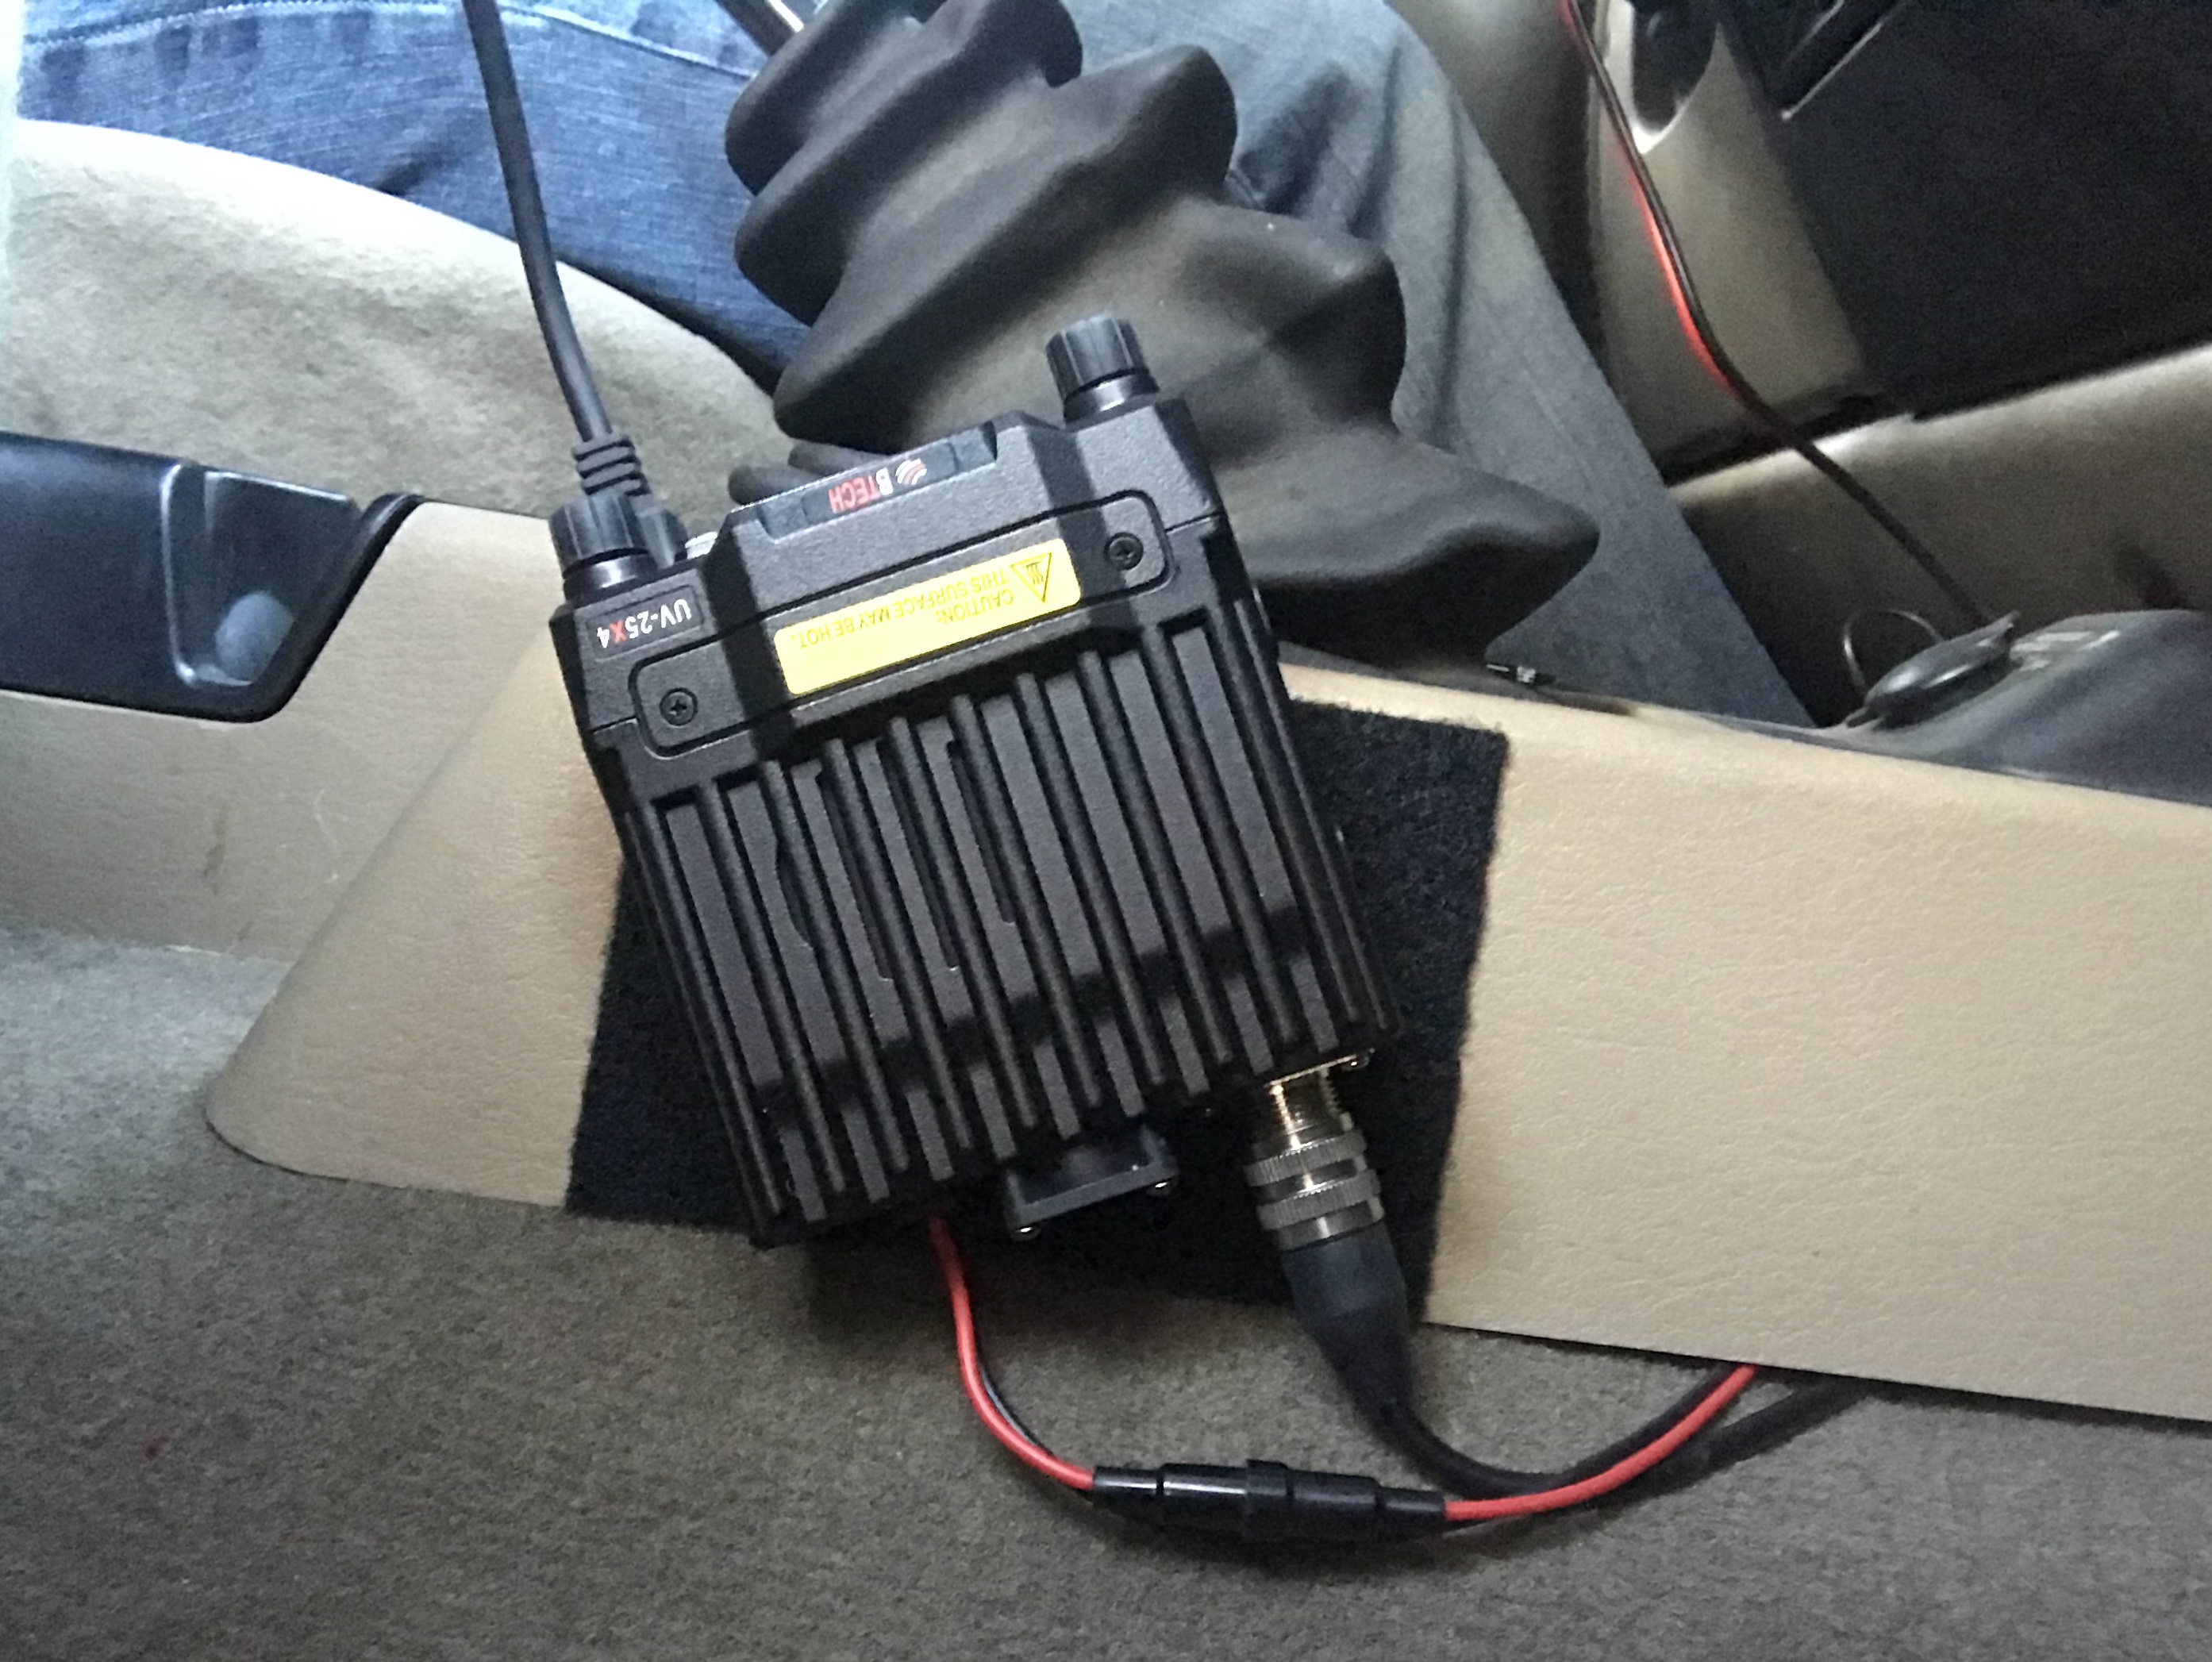
- Lastly, I routed the coax through the tailgate (at the bottom to make water intrusion less likely) inside my DIY security trunk, under the passenger seat, and to the radio mounted to the passenger side of my center console. (You could also use this antenna with a handheld, like this Baofeng UV-5R mounted to my console before I got the mobile.)
| Also See How I Mounted the Baofeng BF-F8 in the Wrangler! |
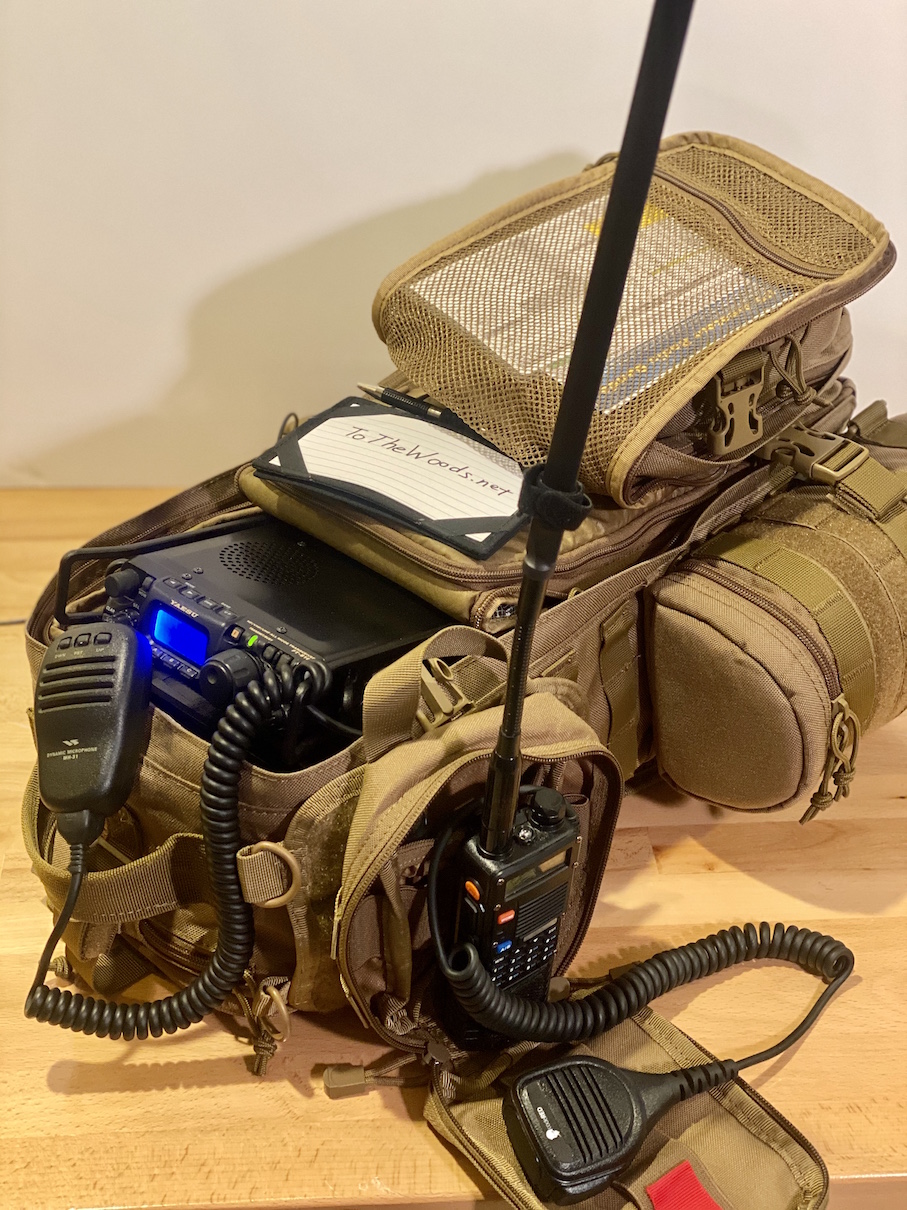
On the trail, I often use the UV-5R platform radios because they work, they're cheap, and it doesn't matter much if one breaks or I drop it in the river. I keep at least two in each vehicle as part of my EMCOMM kits, so it made sense to find a way to mount it inside the Jeep.
Kinda need a hand mic to use it this way, which is much more convenient if you have an externally-mounted antenna so you don't have to fiddle with the cable when you talk on the radio. It's not entirely necessary, but it helps. I use the Code Red Signal 21-K.
Check out the Mounting Instructions Here!
Please email me with any questions about this project and I'll try to answer them!
Back to the Amateur Radio Homepage