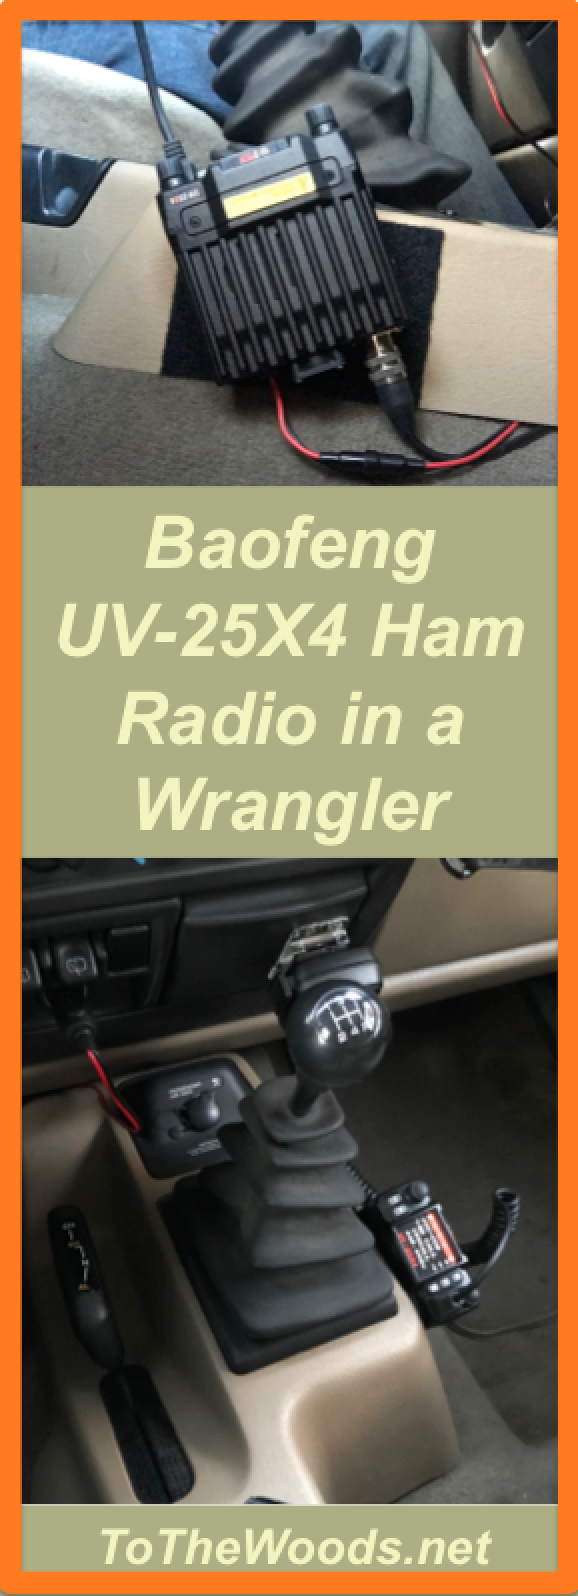
| How I Mounted a Baofeng UV-25X4 Triband Radio in my Jeep Wrangler (2002 TJ) |
UV-25X4 Triband in Wrangler
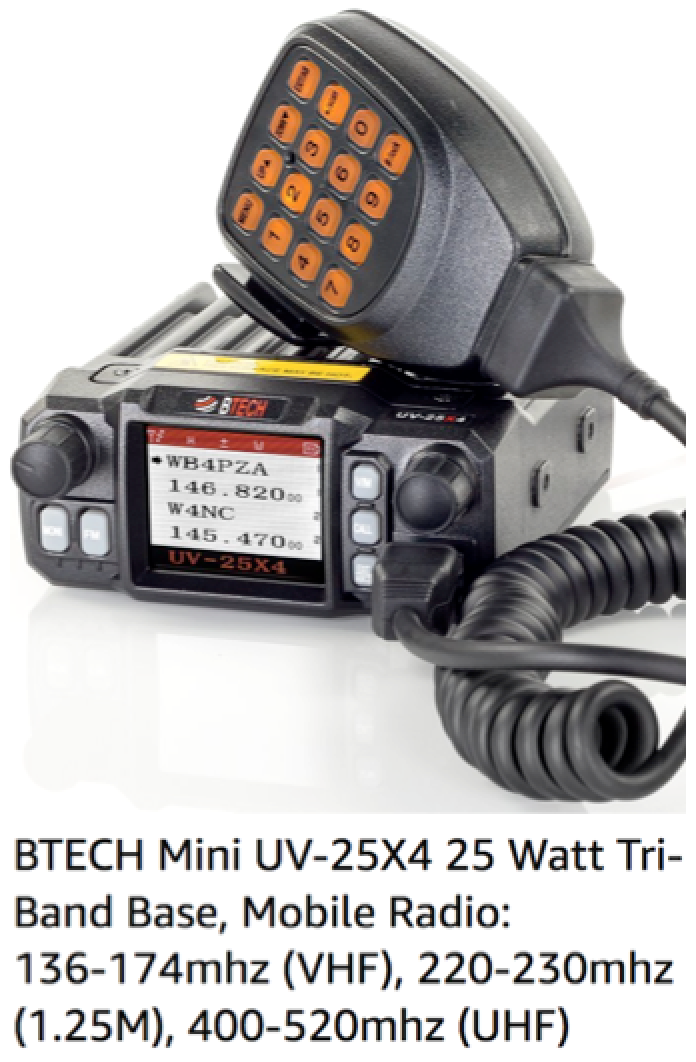
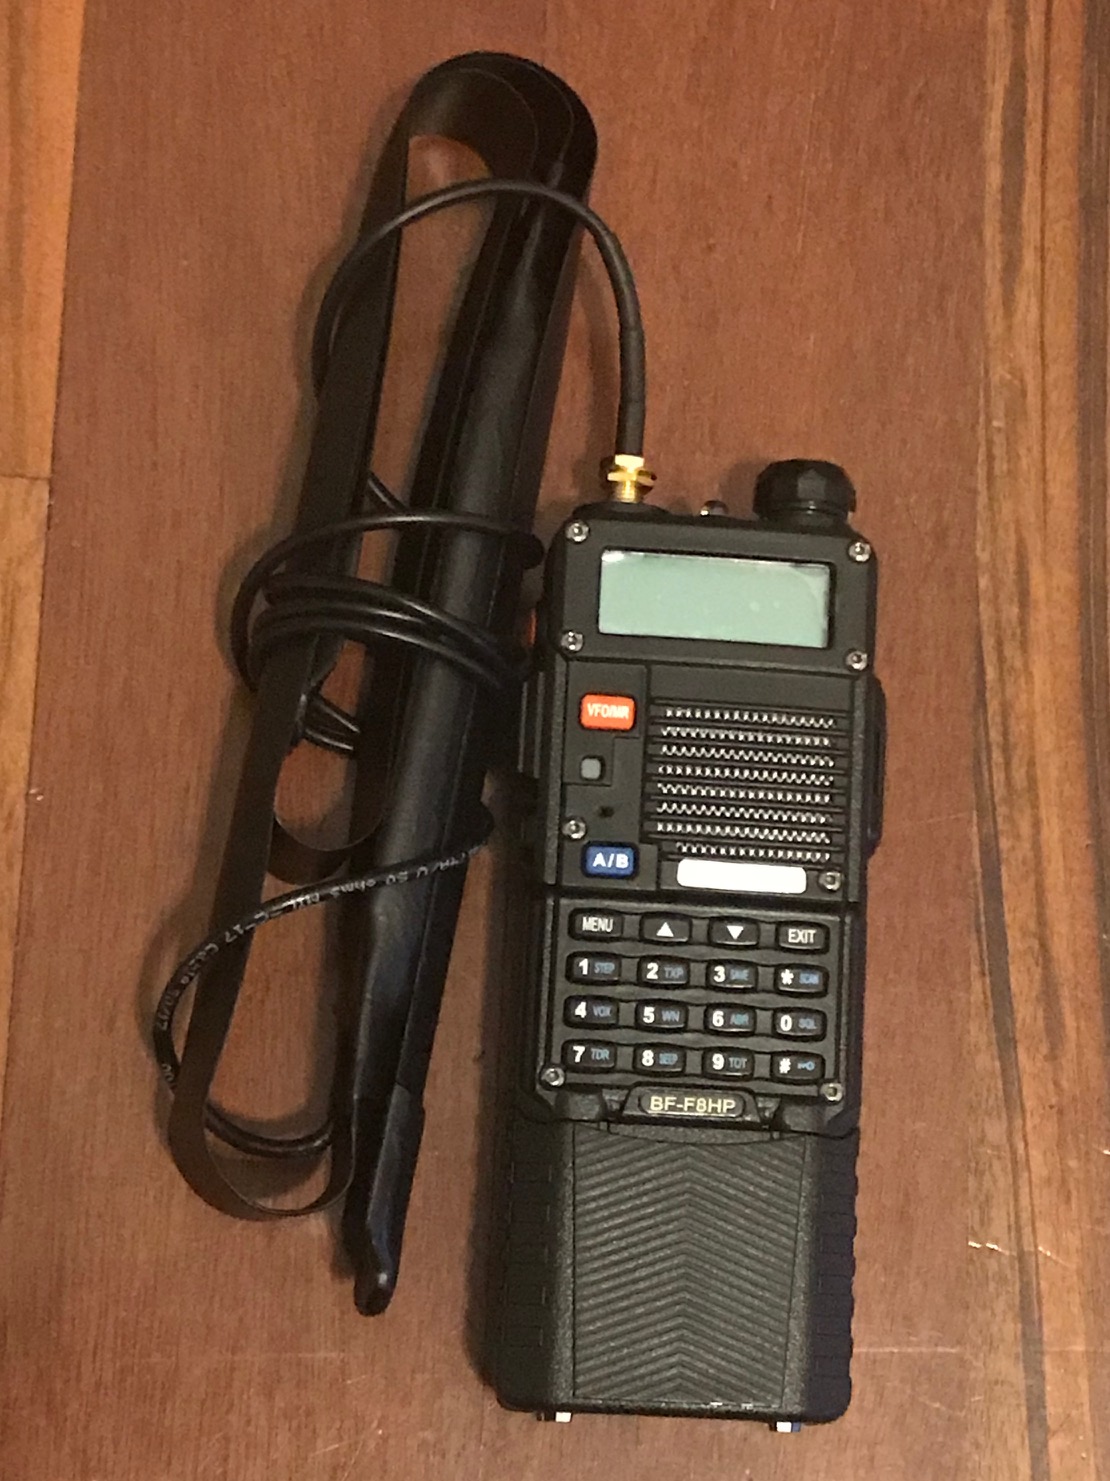
The BF-F8HP Install worked well for a while, but I wanted to upgrade to a little more power. I found a great Black Friday deal on the UV-25X4 Tri-band 25-Watt radio, so I jumped on it. It holds more channels than the UV-5R-platform radios, has more power, a hand mic that controls the radio so it's easier to use while driving, and does this cool frequency-hopping thing if you talk to another UV-series radio. Plus, it's a small rugged package and works well for offroading and a manpackable kit. And if it gets wet or stolen because I have the doors off, I'm not out $600-$1000 for a Yaesu.
Design Criteria remained the same as the BF-F8HP Install:
- Hold the radio stable on Jeep trails and Forest Service roads
- Clean and clutter-free installation
- No significant permanent alterations
- Able to remove radio easily from the mount use use outside the vehicle
- Easy to manipulate buttons while mounted
- Accommodate externally-mounted antenna and hand mic (see my Wrangler Antenna Install instructions)
I also wanted a mounting location that's not at dash level so the lights could distract me while driving at night, and keeping it off the dash makes it a little less noticeable by passers-by so it's less likely to attract thieves looking for a target of opportunity.
A side effect of the velcro mount is that it cushions the radio from vibrations. An entirely solid mount would transfer the vehicle's vibrations into the radio, possibly damaging internal parts. This install provides some vibration dampening that I expect will extend the life of the radio.
So keep reading and check out the details...it's a pretty simple install. Like my other projects, there's a full parts list at the end of the instructions. And for transparency, sometimes links like the Amazon and eBay ones are affiliate links, meaning I'll get a few cents if you buy something from there...but it doesn't change your costs at all because it comes from advertizing budgets. It helps pay hosting costs for the page.
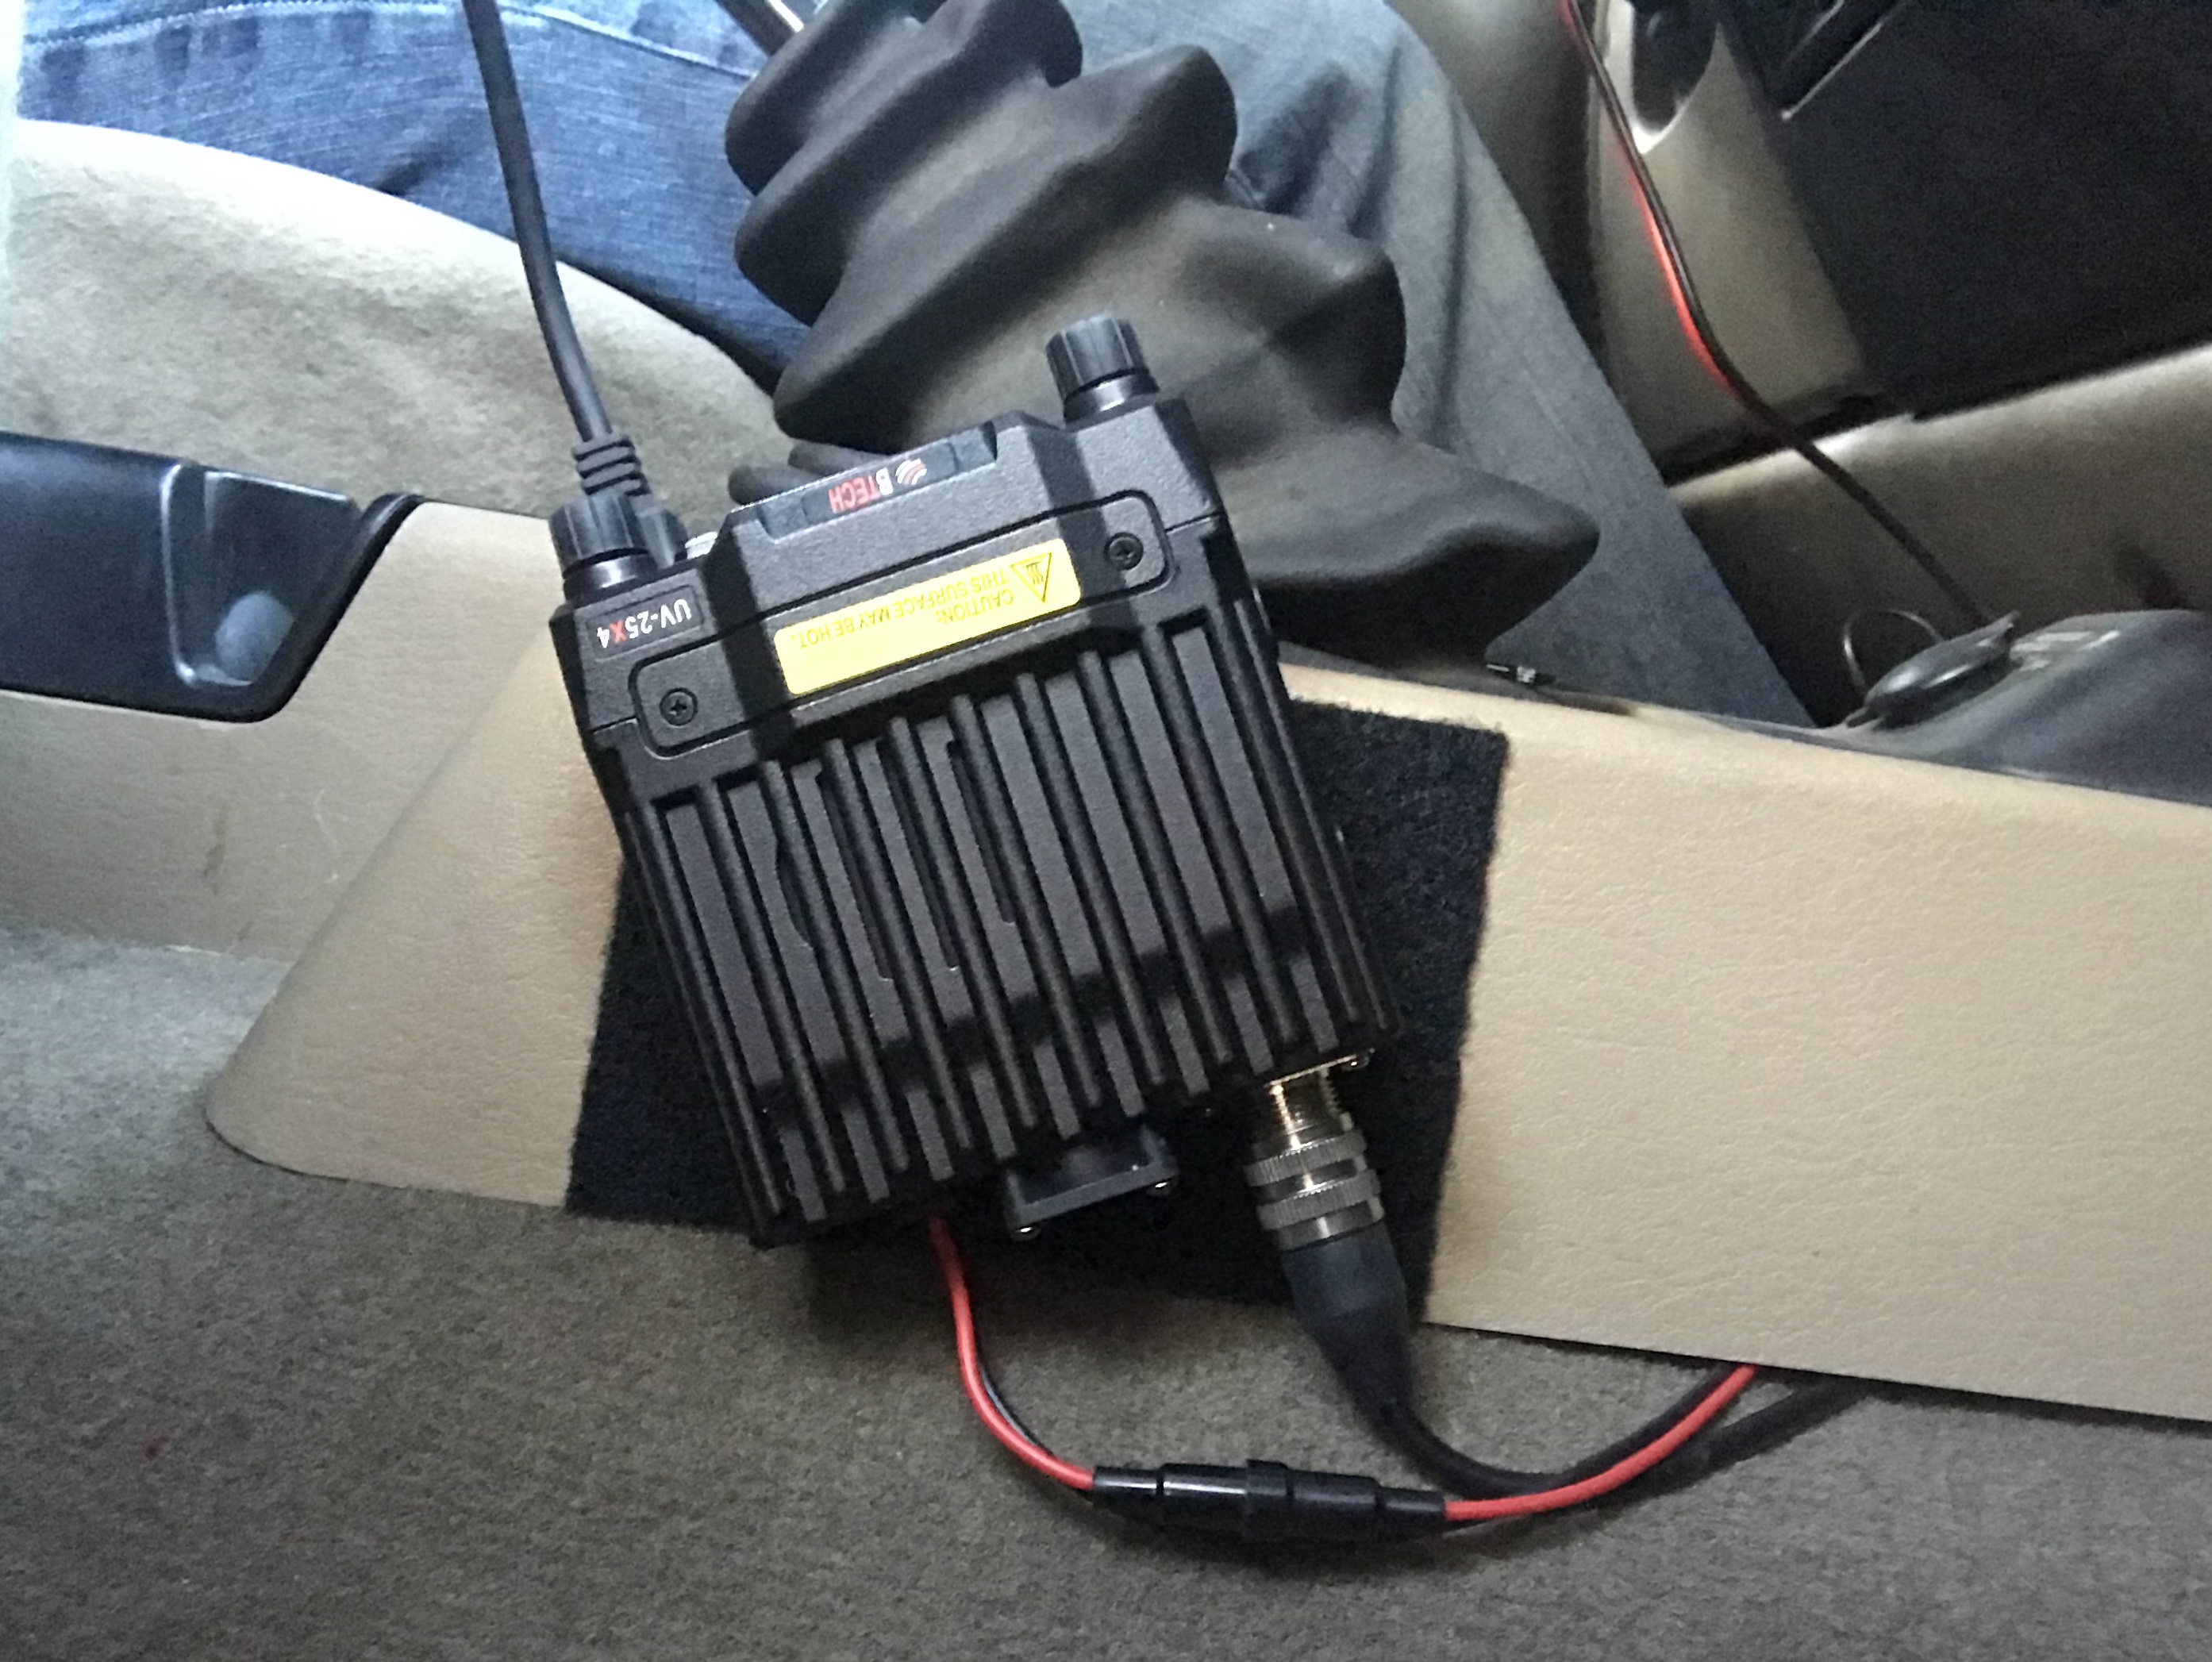
Pic 1: Installing Velcro onto Radio
The basic idea here is pretty simple: just put some velcro on the radio and on the Jeep, and stick it on. But there are a few details to consider.
Step One: Put Velcro on the Radio
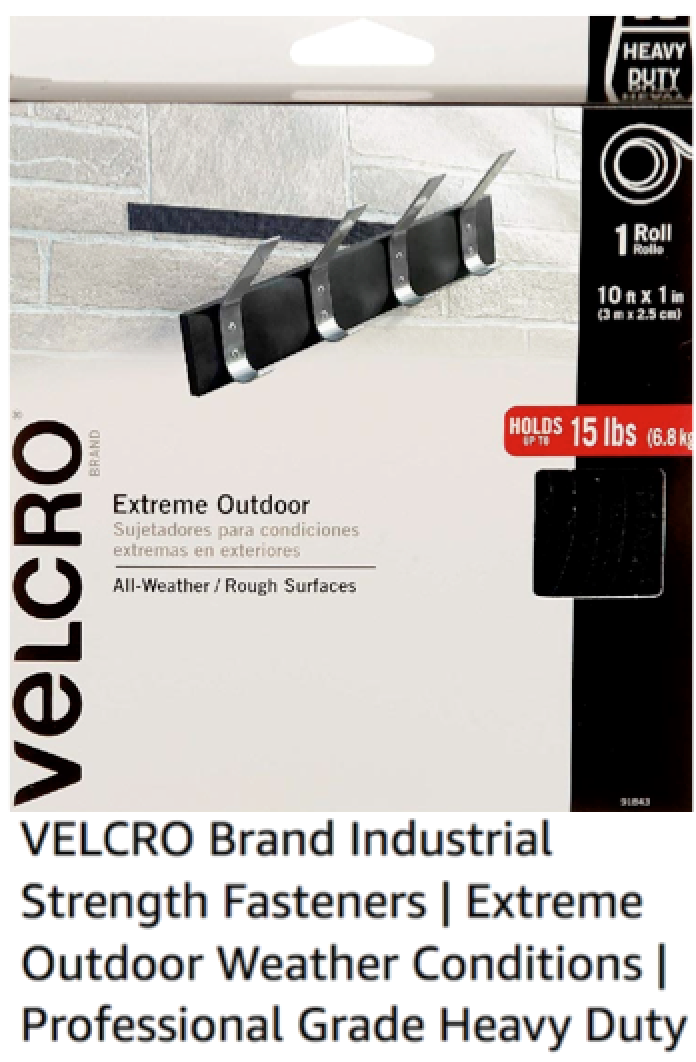
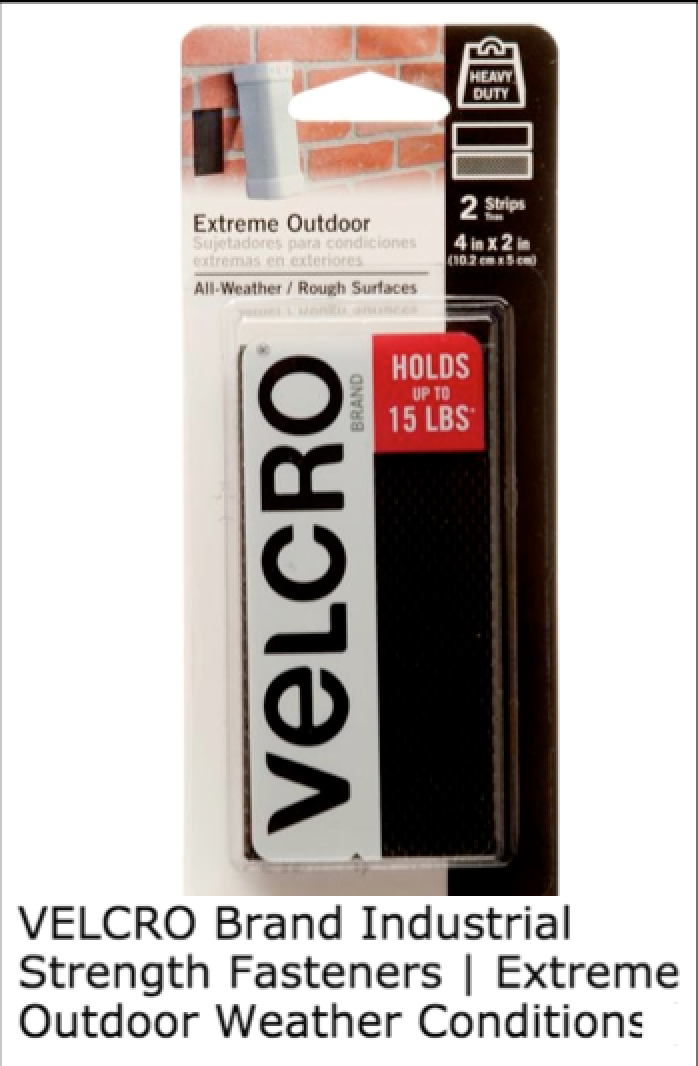
First is making sure you the velcro is strong enough to hold the radio on bumpy roads, and the adhesive will stand up to the thermal cycling--from the weather and from the radio heating up during heavy use. I chose Extreme Outdoor Velcro from the 10-foot by 1-inch box that's rated for 15 pounds. They also make a box with 4"x2" strips that's probably enough for this project, but it's more expensive per square inch in case you have other projects to use it on. So I just cut the one inch strips from the large roll down to size.
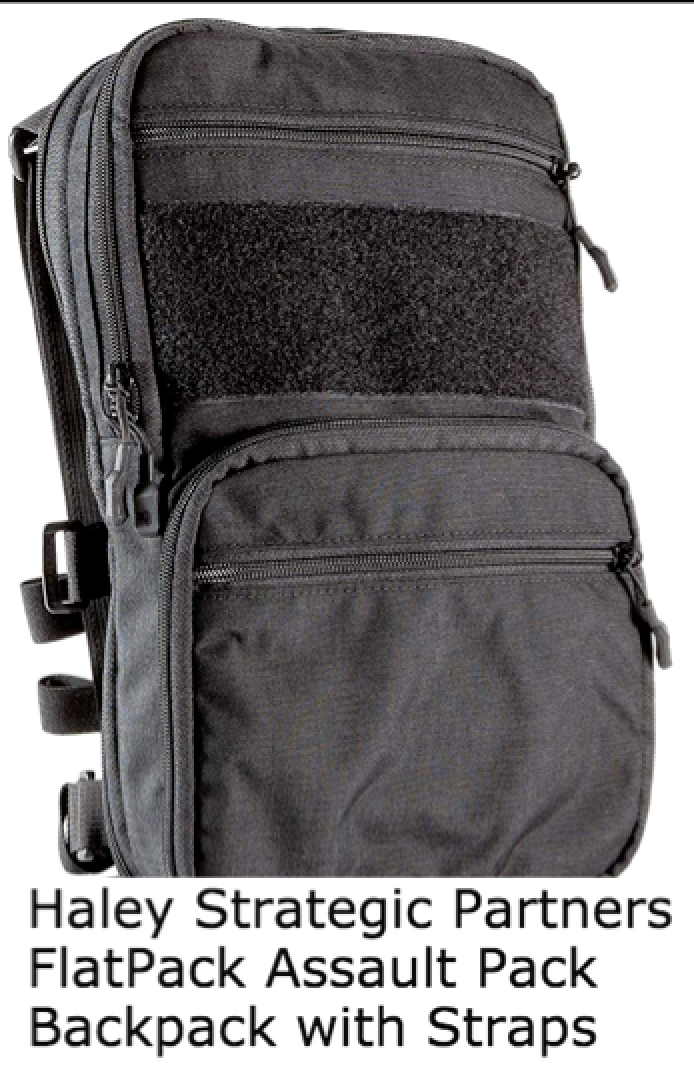
Next, decide whether you want the hook side or the loop side on the radio. There really isn't a right answer here, but I put the hook side on the radio for two reasons. First, I didn't want the hooks on the console gathering lint when the radio isn't on there. Second, I'm building a manpackable kit with a backpack that has big panels of velcro (loop side) on the inside, and I want to be able to stick the radio to it. (It's the Haley Strategic Flatpack Plus; I'll put a pic below.)
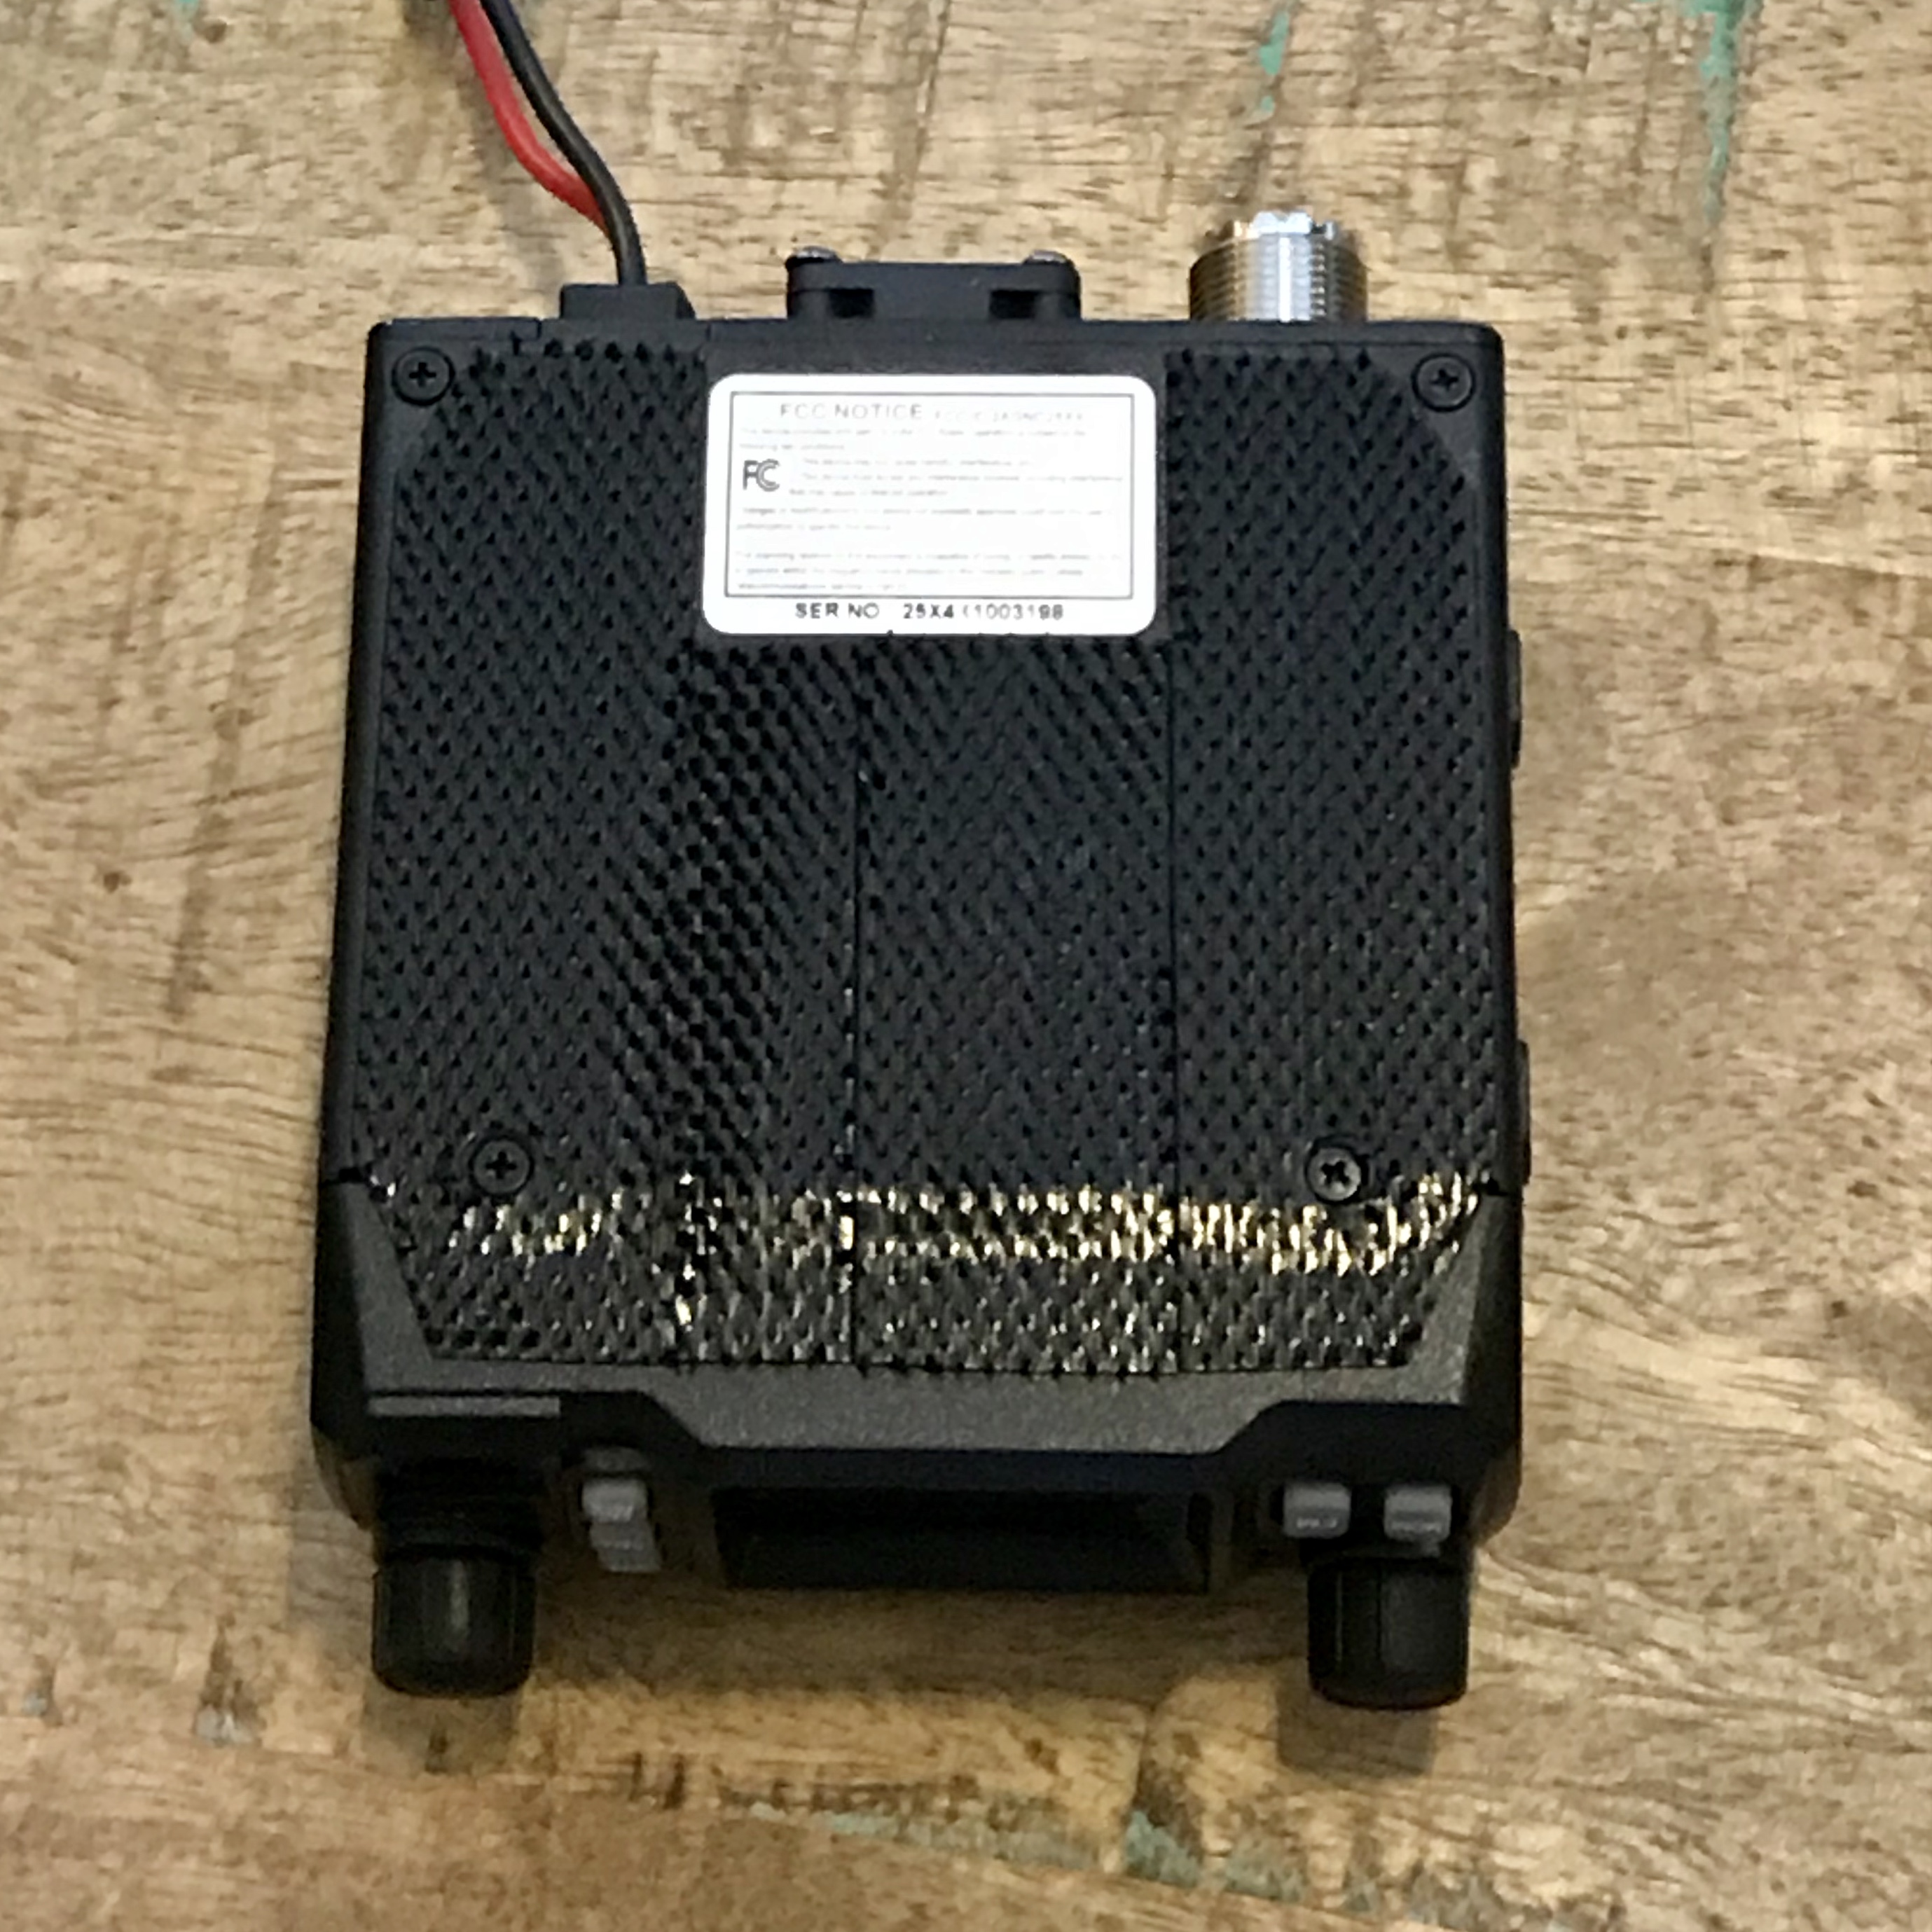
Third, I wanted to be able to access the screws without removing the velcro, in case I need to take apart the radio someday. Same with the serial number, in case of warranty issues. This was pretty simple, but I made a template so I could maximize the coverage.
It's important to make sure the surface is clean before sticking on the velcro. This is a new radio (Christmas present) so I didn't use alcohol to clean it like I did on the console.
Step Two: Put Velcro on the Console
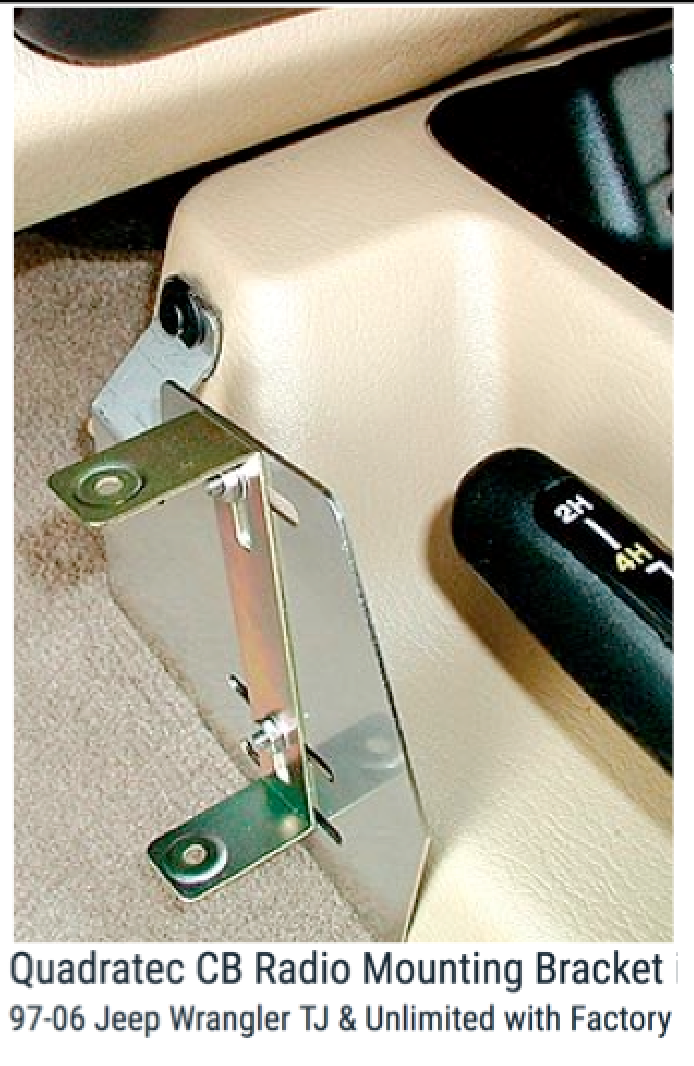
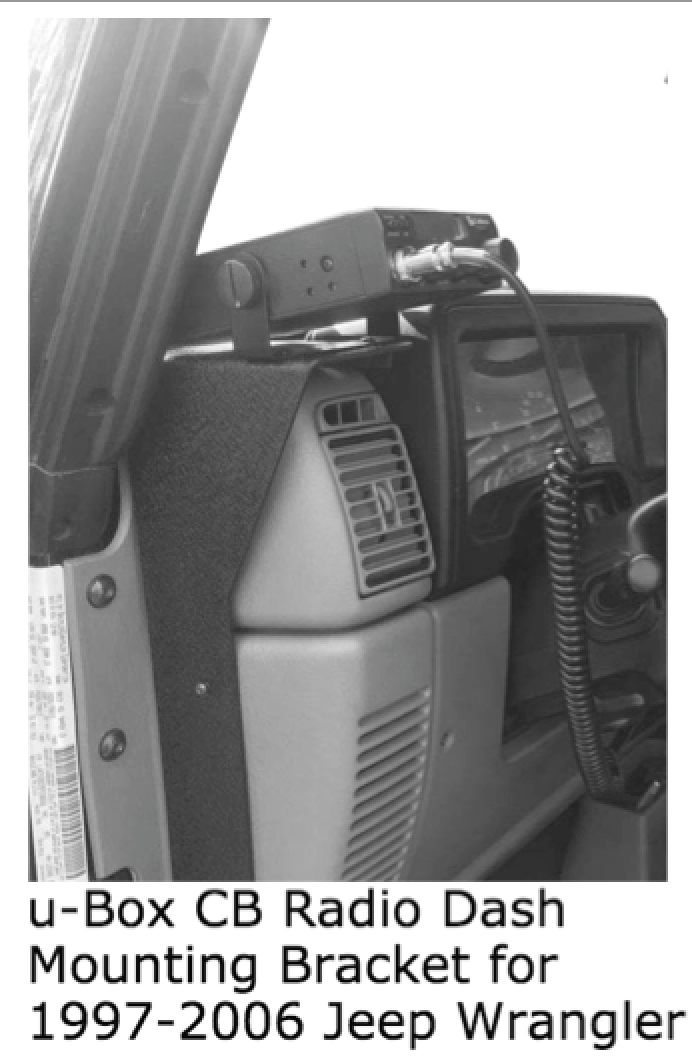
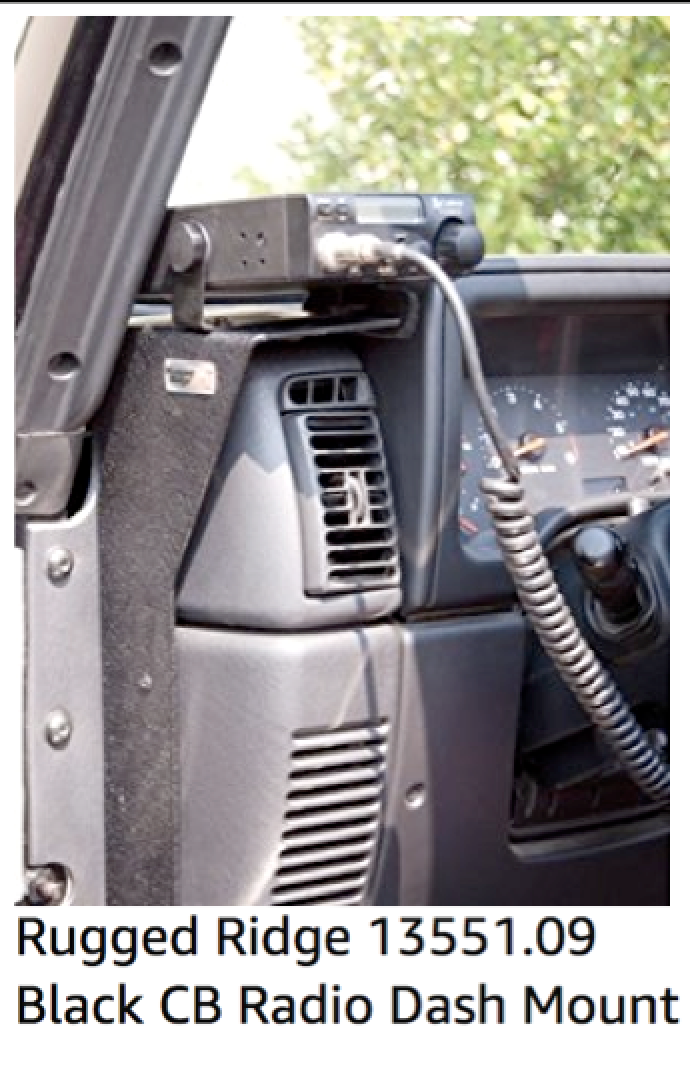
The next step is deciding where you want to mount the radio and putting on the velcro. You can see where I put it in the picture below. I chose this location because it's easy to reach from the driver's seat (unlike this Quadratec mount, for example), and it's not on the dash where the lights might distract me at night (like the u-Box Dash Bracket or the Rugged Ridge Radio Dash Mount.)
Also, keeping it down low makes it just a little less visible to thieves looking for a target of opportunity. And since I take the doors off during the summer, I like that I can just pull the radio off the velcro if I'm leaving the Jeep in an area I'm unsure of...no screws or mounting brackets to remove.
So with the location decided, the next step is to put the velcro on the console. I cleaned it with a lint-free microfiber cloth and isopropyl alcohol first, to be sure I'd get the best adhesion for the velcro.
Rather than matching the shape exactly to the radio, I wanted to put a bigger patch so I can adust the radio or put other accessories on there. I still had to adjust the shape because the console isn't perfectly flat or perfectly square, and I rounded the front edge a little to discourage it from peeling. You can see the outcome in Pic 2 below.
Then just sit in the driver's seat and pick the right angle for the radio and stick it on (pics 3 and 4).
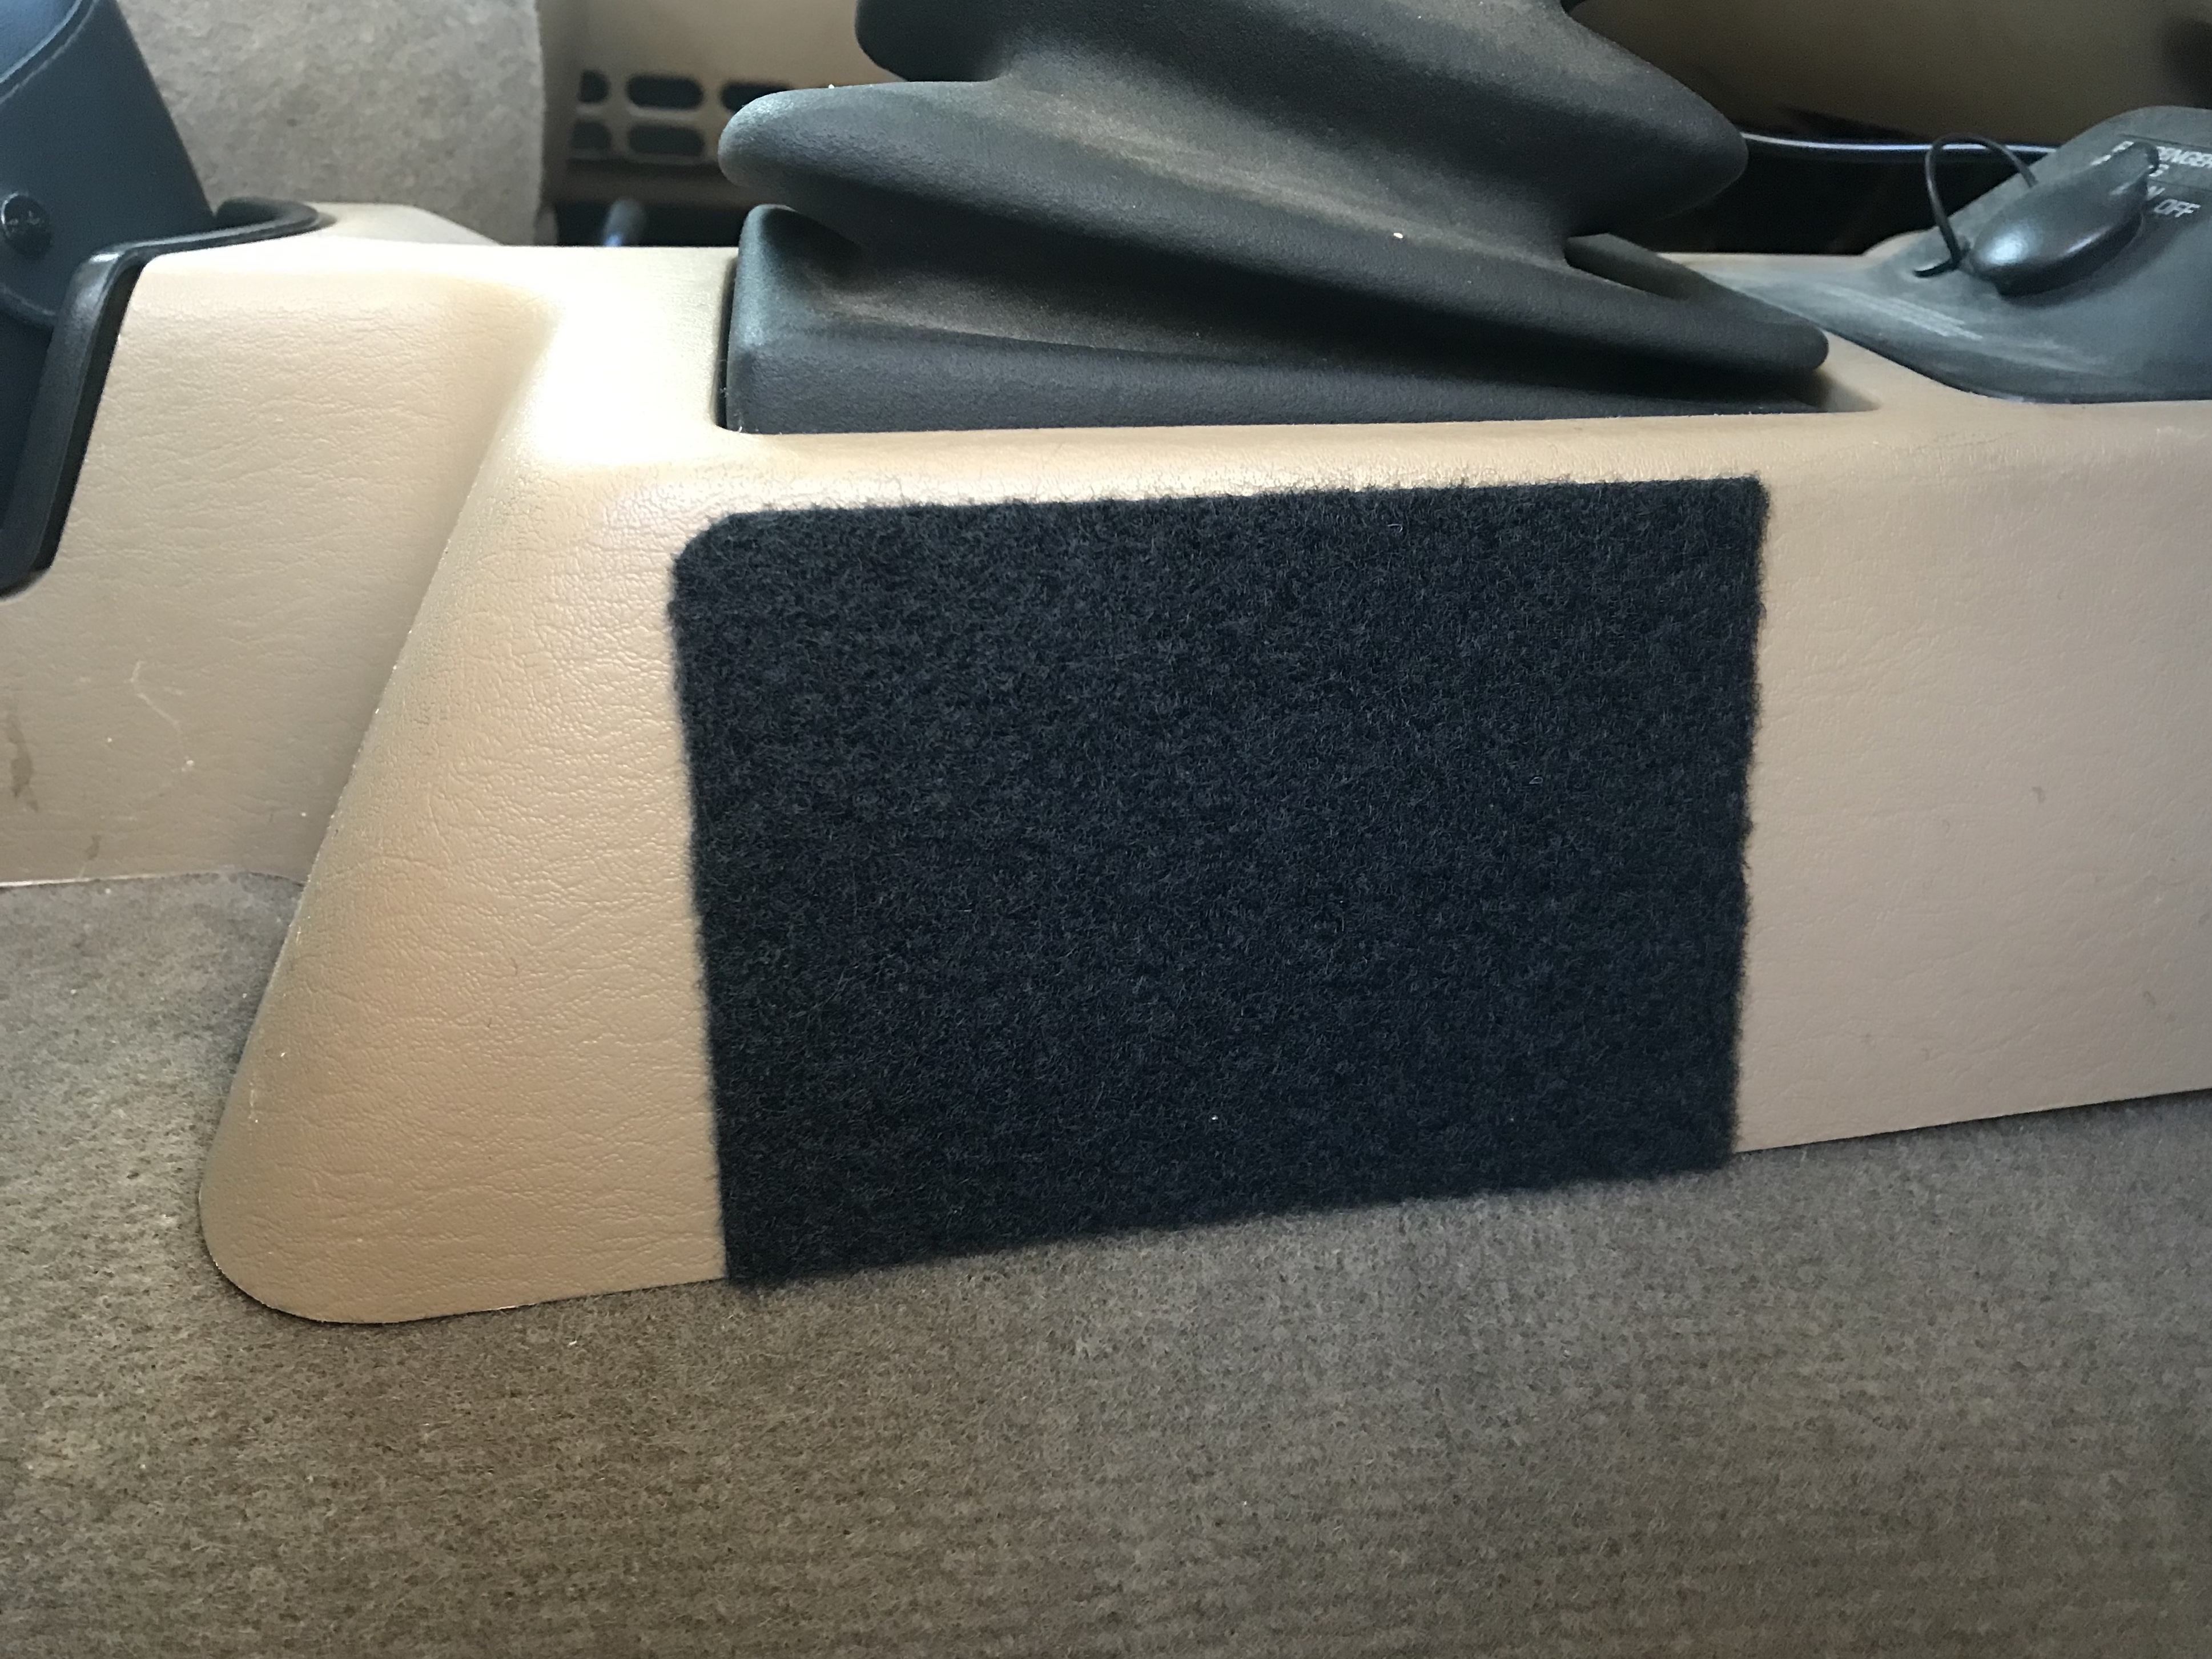
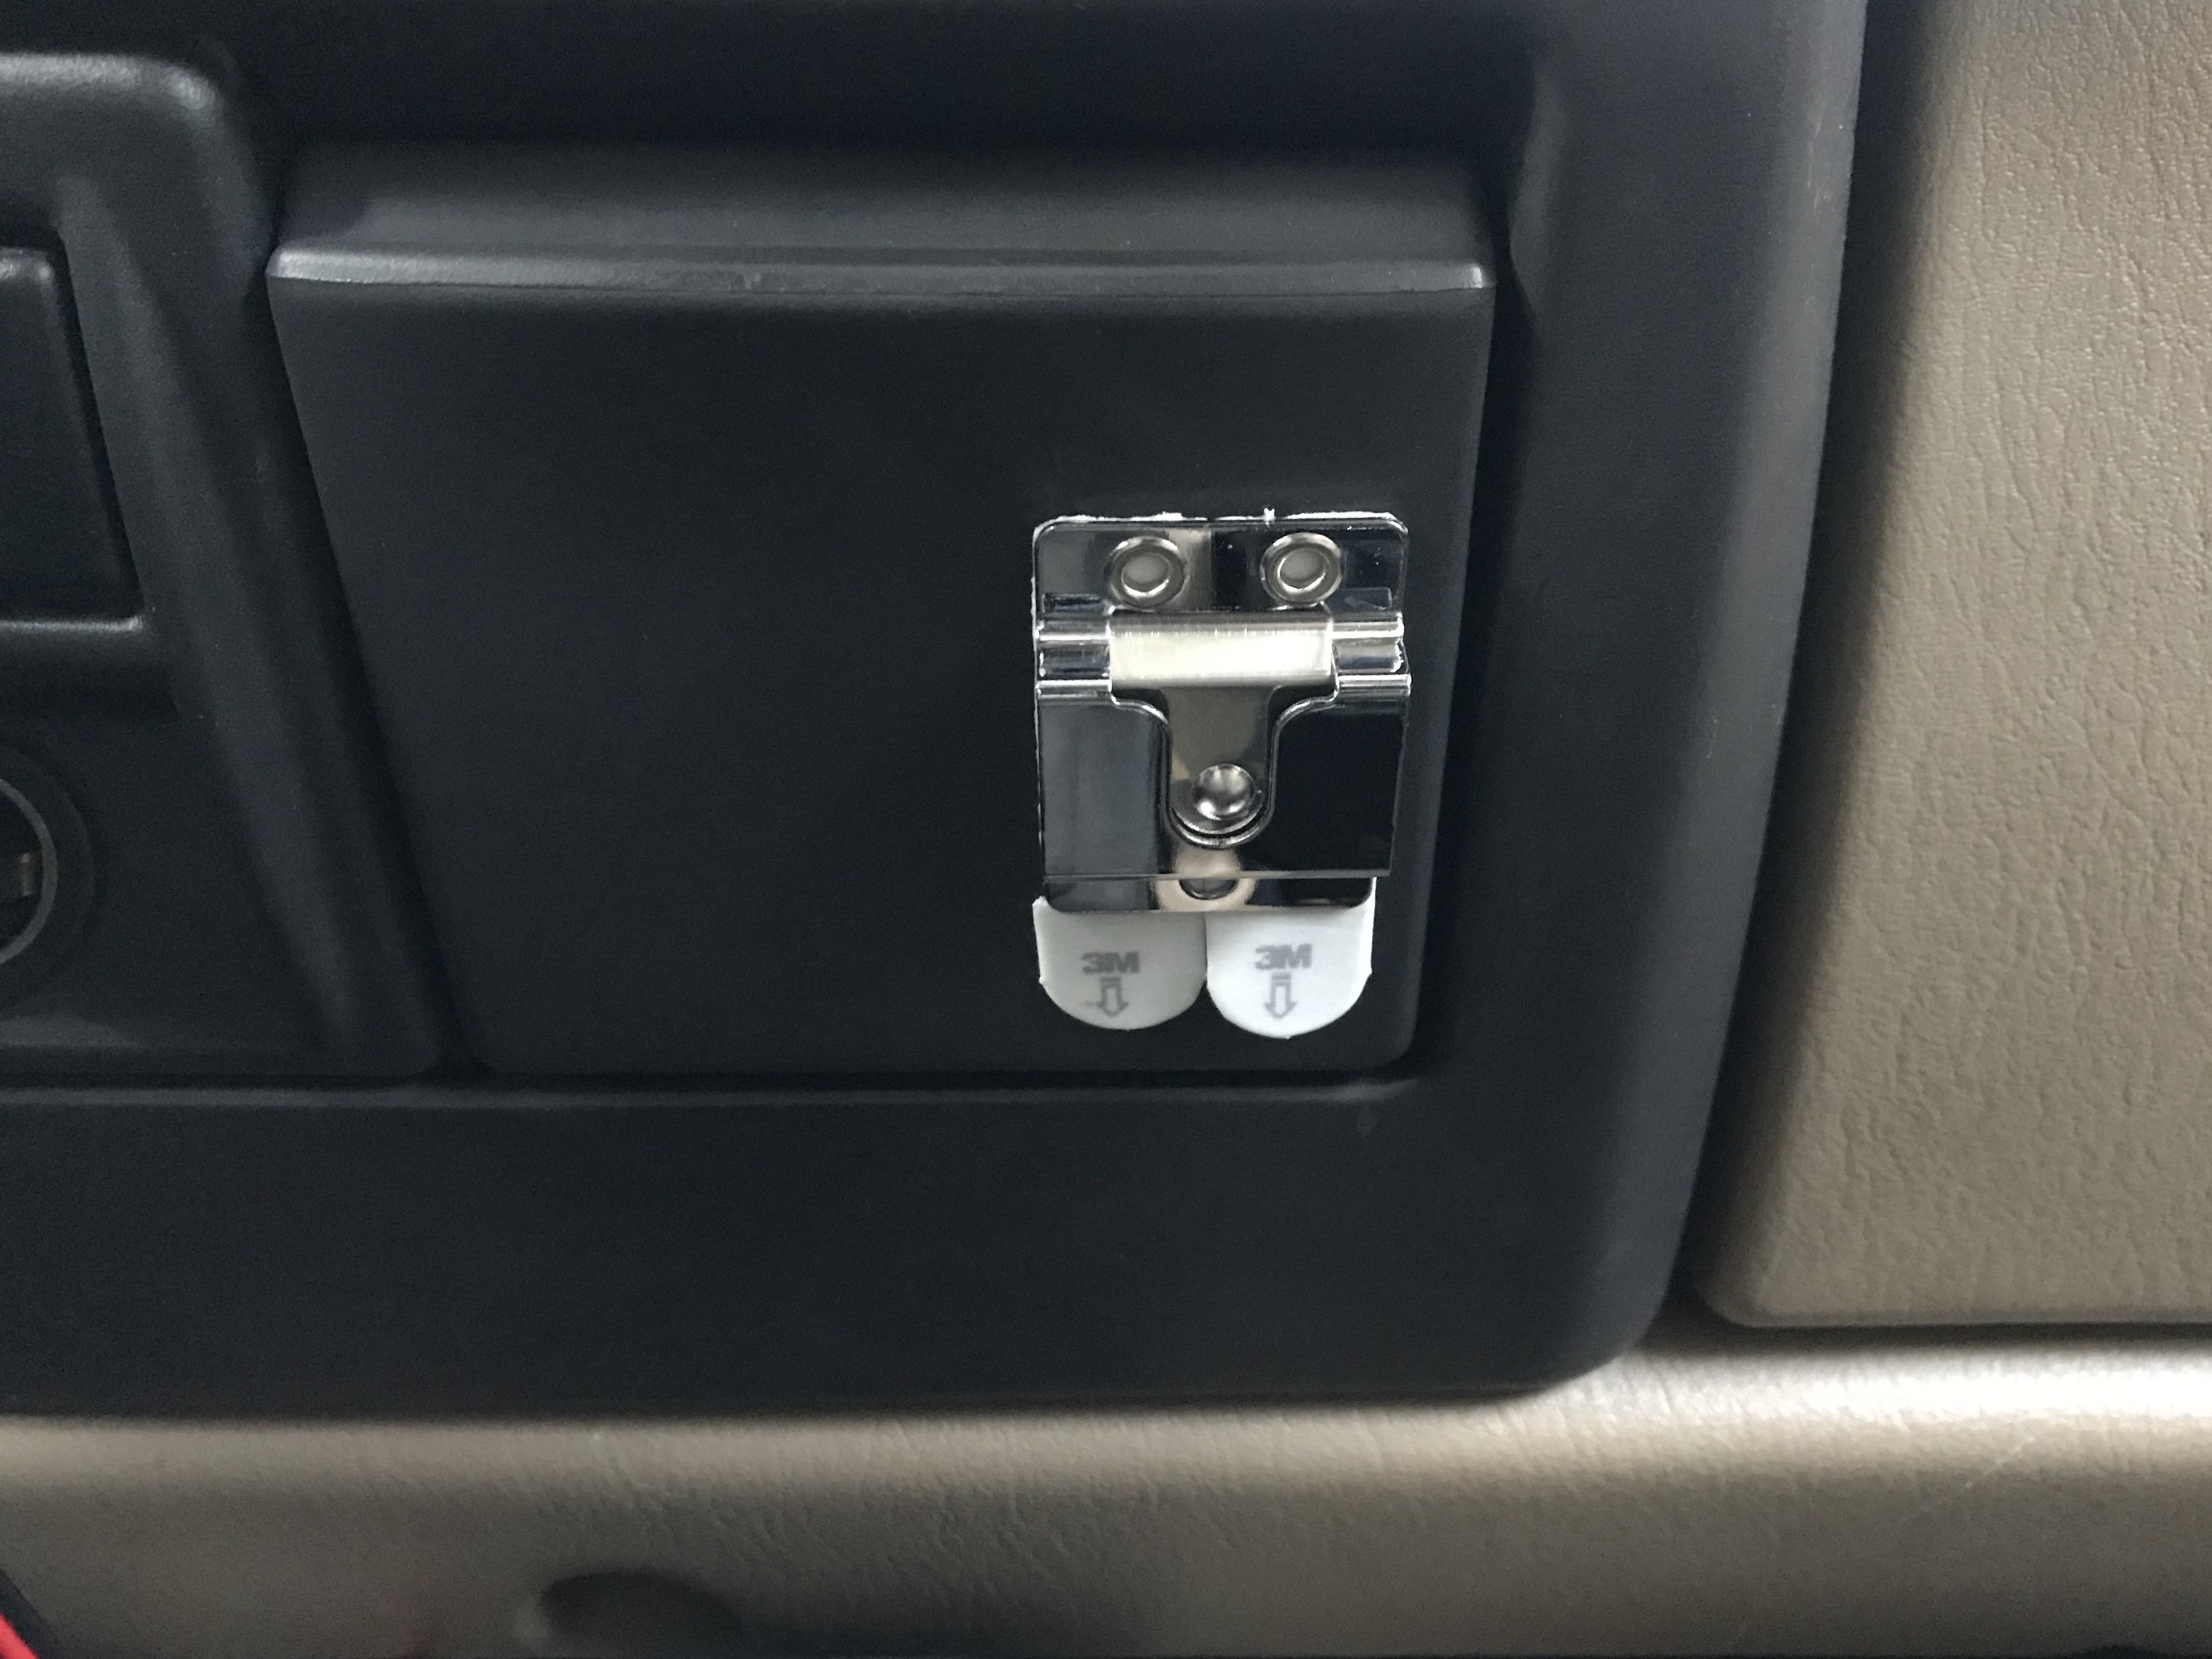
Pic 2: Installing Velcro onto Jeep Console
Pic 3: Sticking Radio onto Console
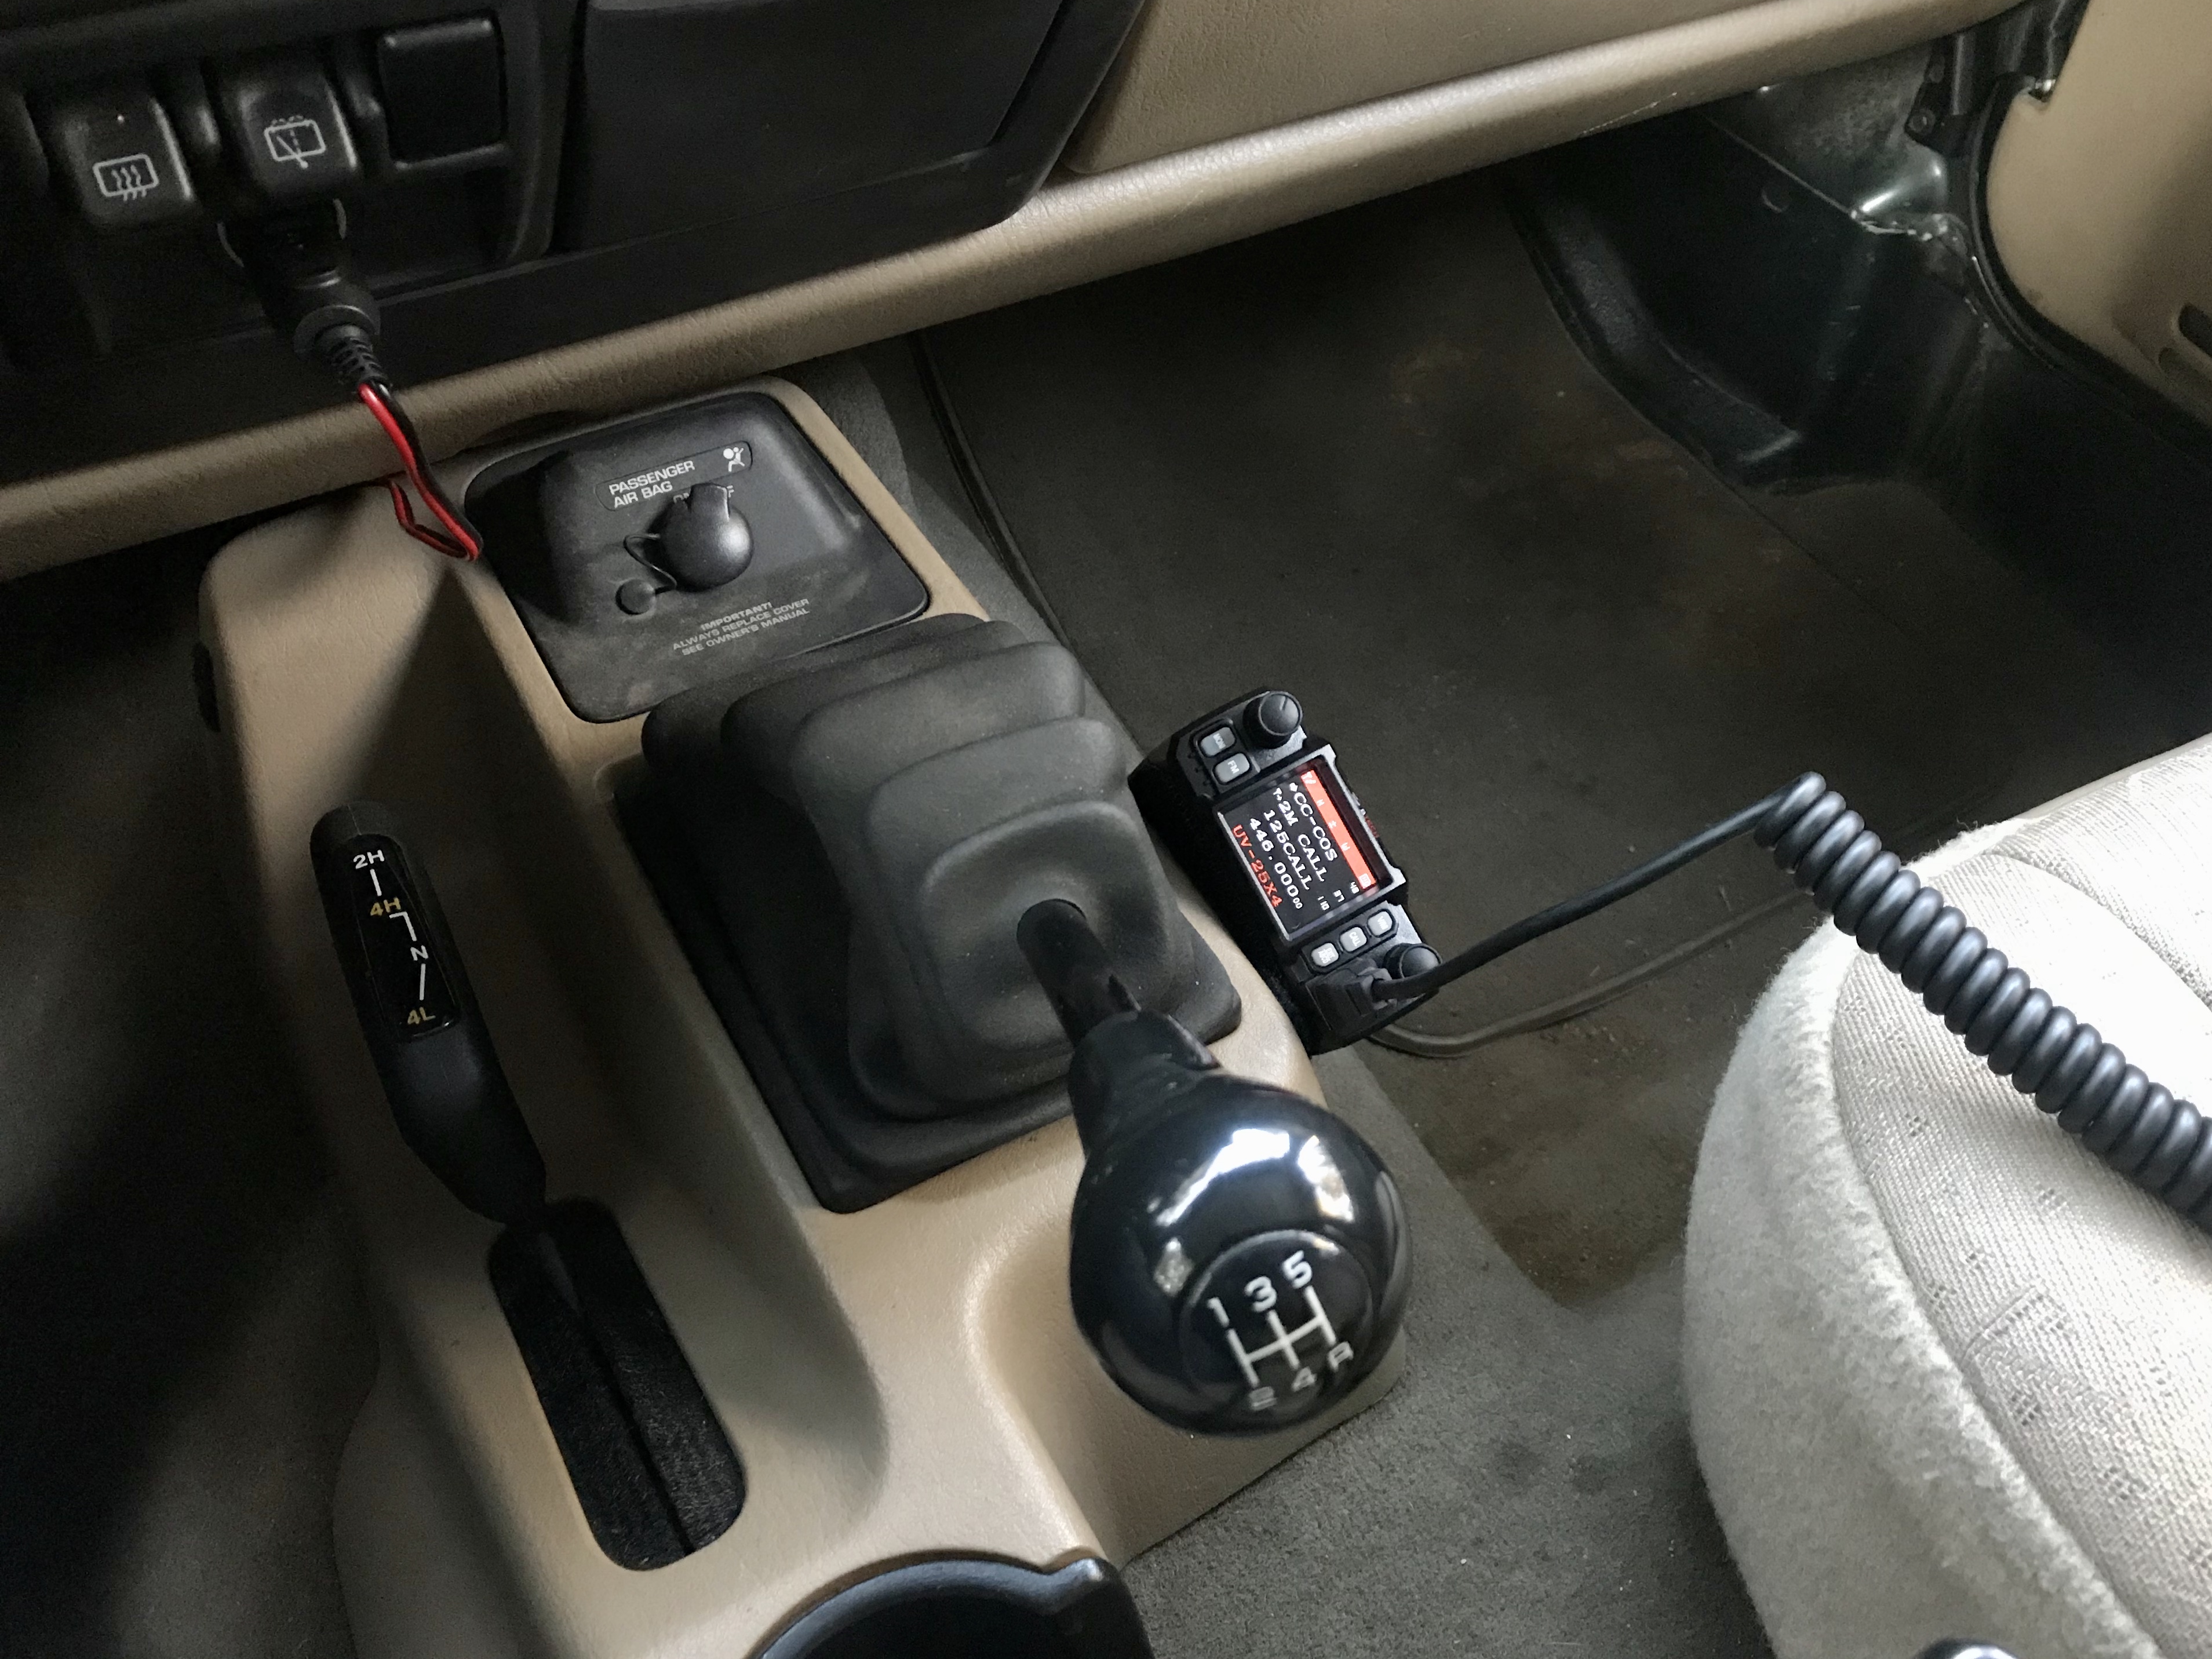
Pic 4: View from Driver's Seat
Step Three: Cable Management
You can see the power cable and antenna coax in Pic 3 above. For now, I'm using the cigarette lighter adapter for power, and I just tucked the power cable underneath the console to keep it out of the way. Soon I'll add a Powerwerx Panel Housing for two Anderson Powerpole connectors (and convert the radio power cable to powerpoles), with the fused primary wire hooked directly to the battery. This will power my small 300W inverter, too.
I did the same with the antenna coax, that runs through the firewall above the gas pedal and onto the hood cowl. You can see the full antenna install here.
And Pic 4 above shows the view from the diver's seat.
Step Four: Mount the Microphone Holder
Pic 5: Microphone Holder
The next step is finding a place to mount the hand mic. Putting it in the cup holder or on the seat is a good way to accidentally key the mic, tying up the repeater or blocking the group's assigned frequency, which is not good amateur radio practice...and it irritates people.
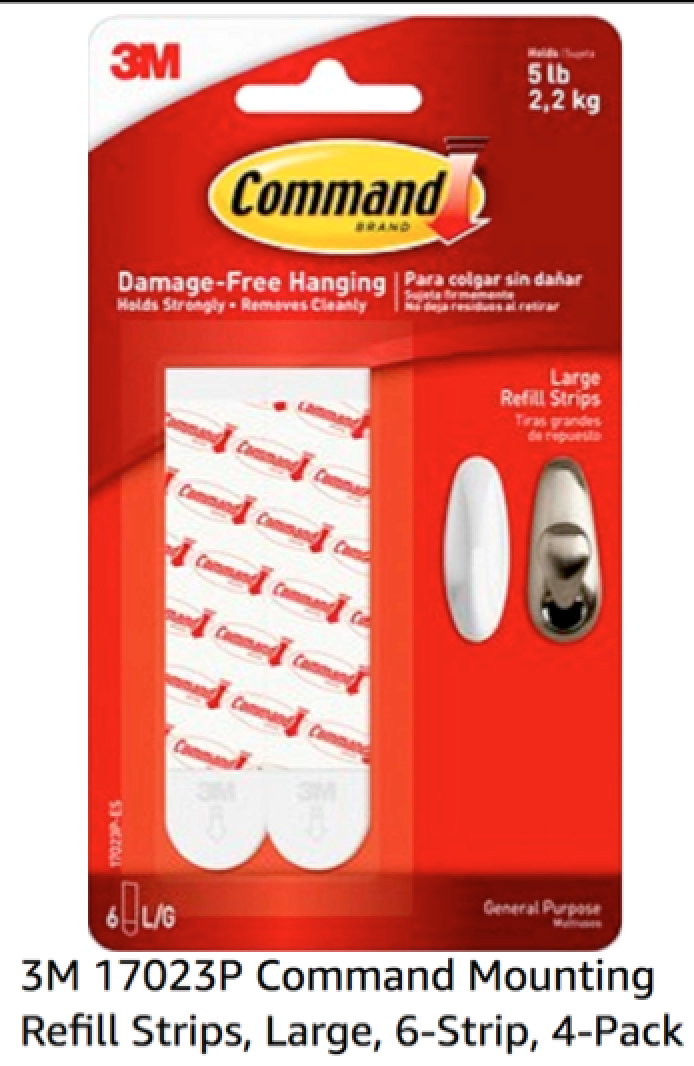
The UV-25X4 comes with a mic mount and the screws to install it, but I didn't really want to drill into my console in case I change the location later, or even change the radio to one with a different mic mount. So I put it on the ashtray temporarily with some large Command Strips (non-velcro version) that I trimmed down. I might make this more permanent later after I test the location for a while.
It's convenient to reach from either seat, it's out of the way so it won't get bumped or knocked off, and it seems to be secure enough. I'll update if the Command Strips don't hold up.
Pics 6 and 7 below show the mic holder from the driver's seat.
And here's the final installation from the driver's view! This was a super simple install (assuming the antenna is already in place). The Jeep is in 5th gear in Pic 7, and the mic doesn't interfere with the gear shifter. I could still reach the radio with the Jeep in reverse if I needed to...there's no interference anywhere.
I'm happy with this project!
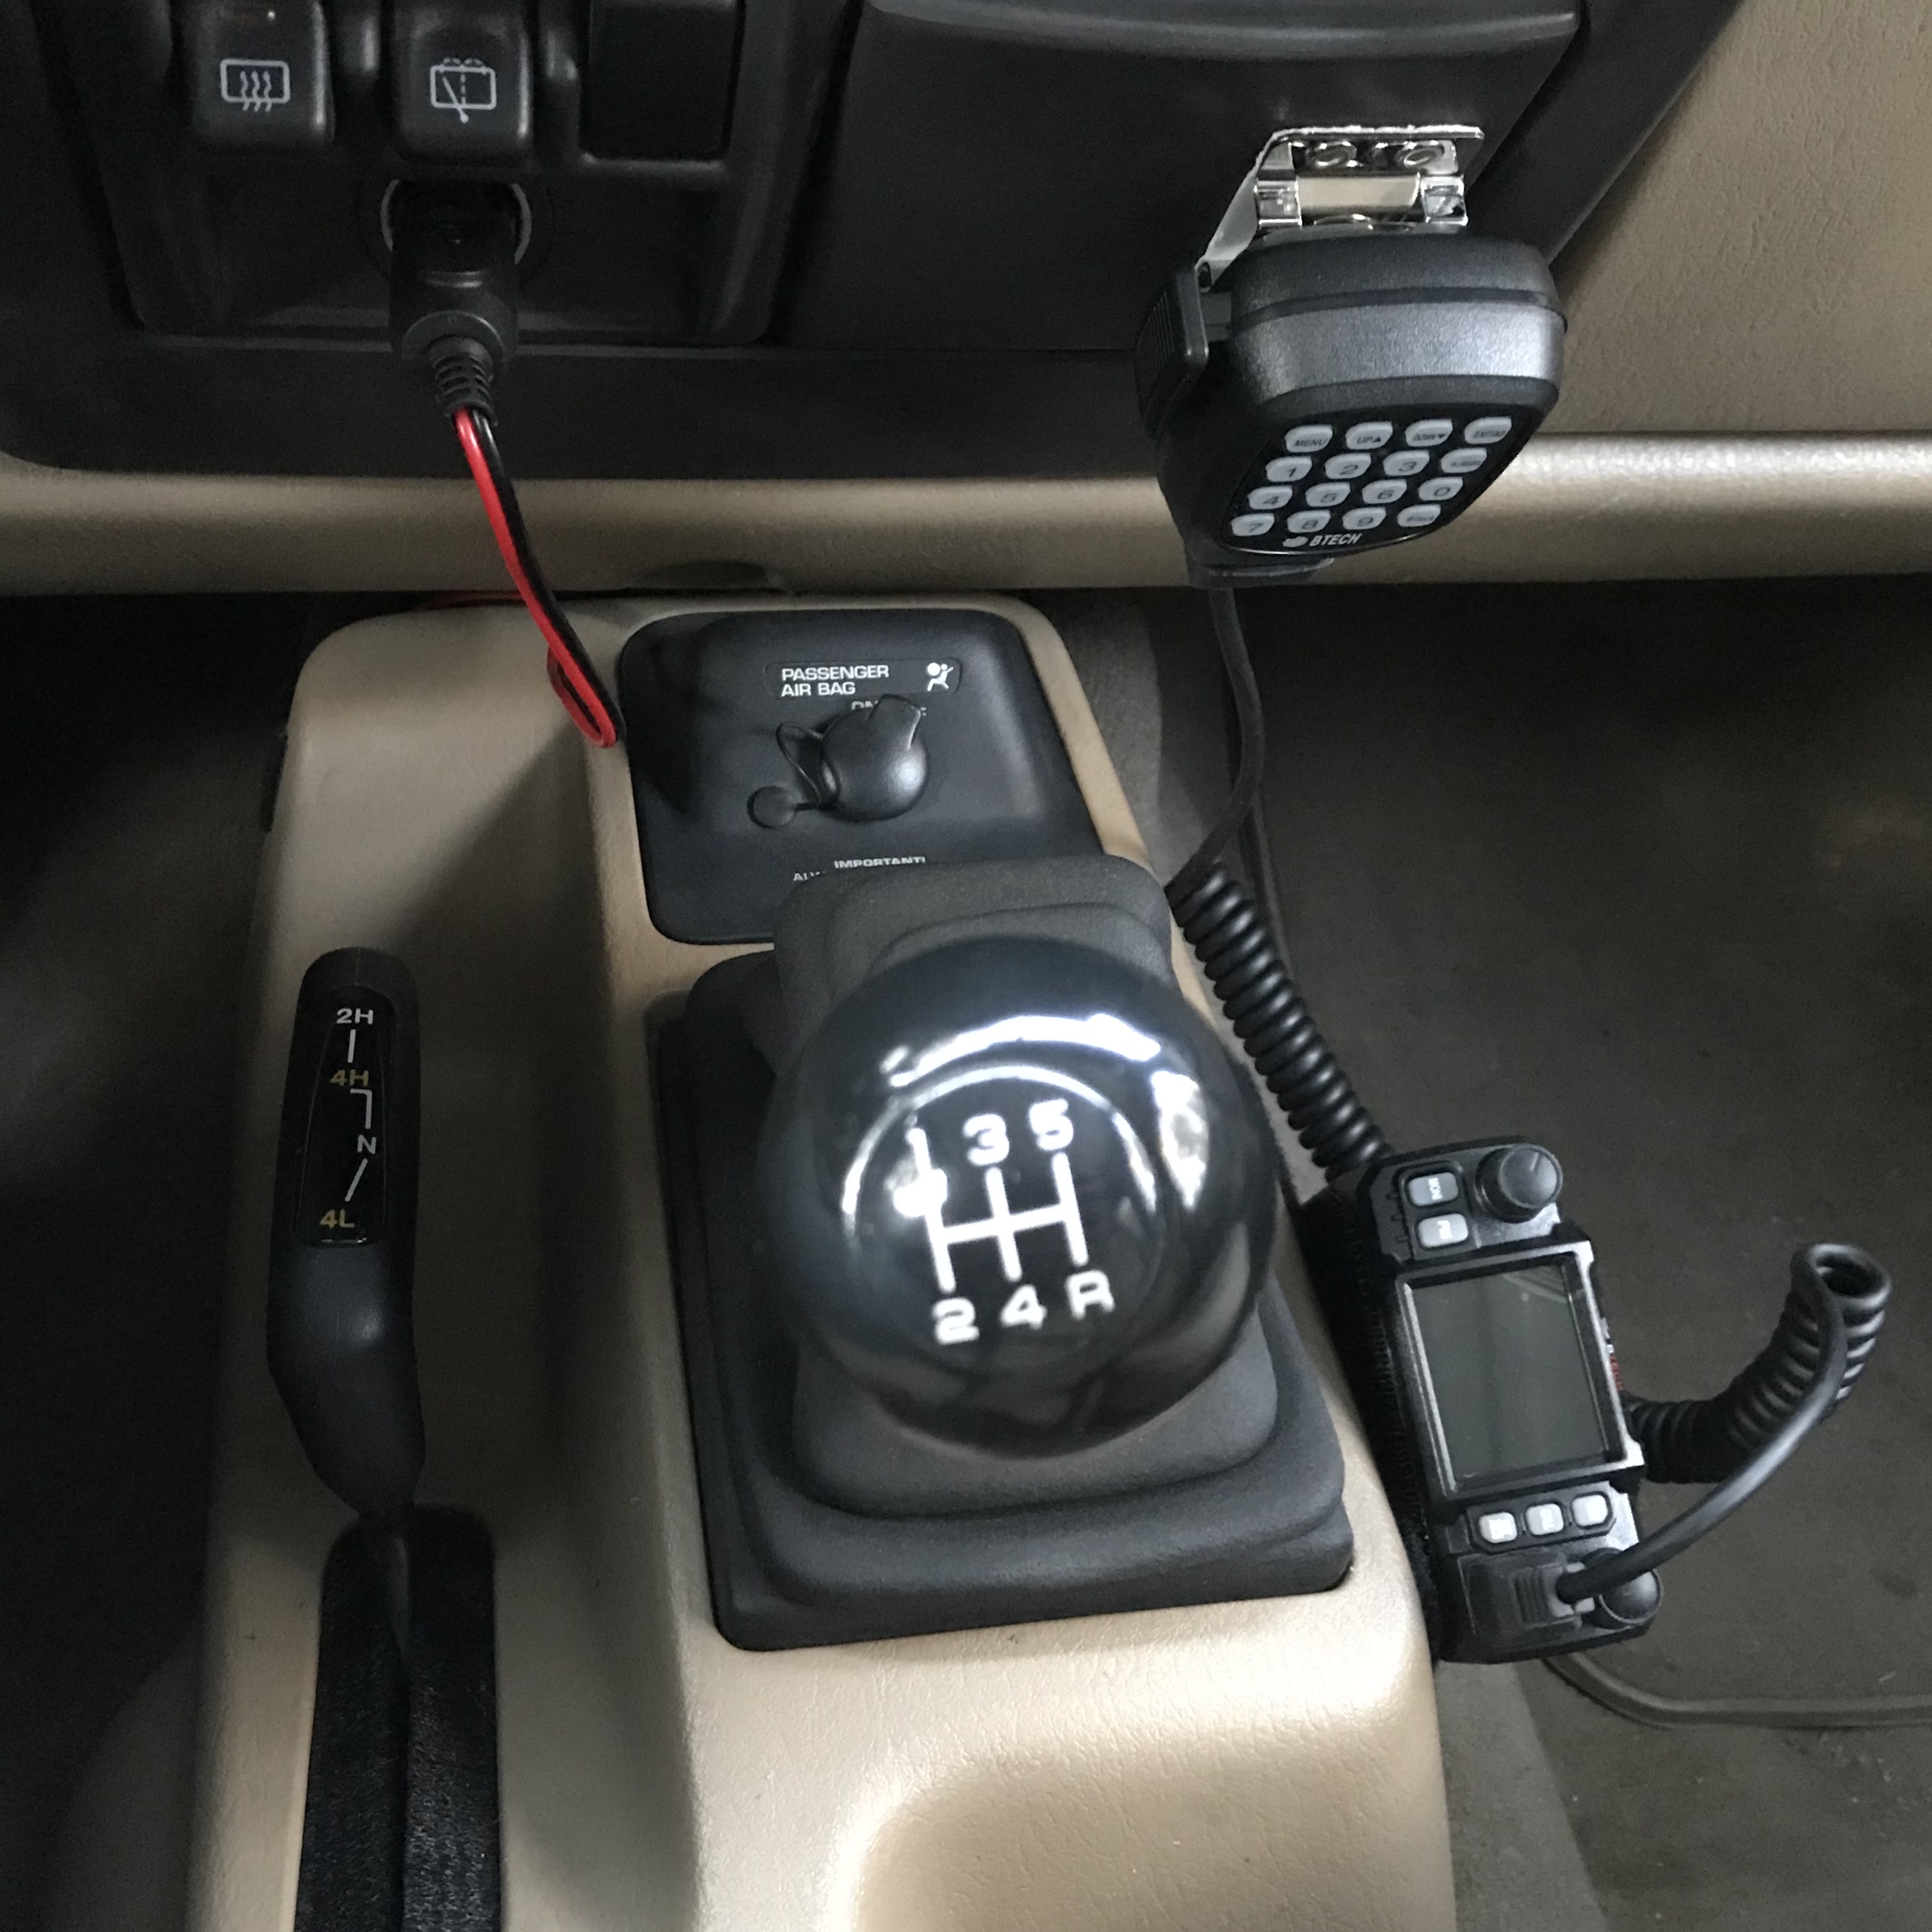
Pic 6: Completed Installation
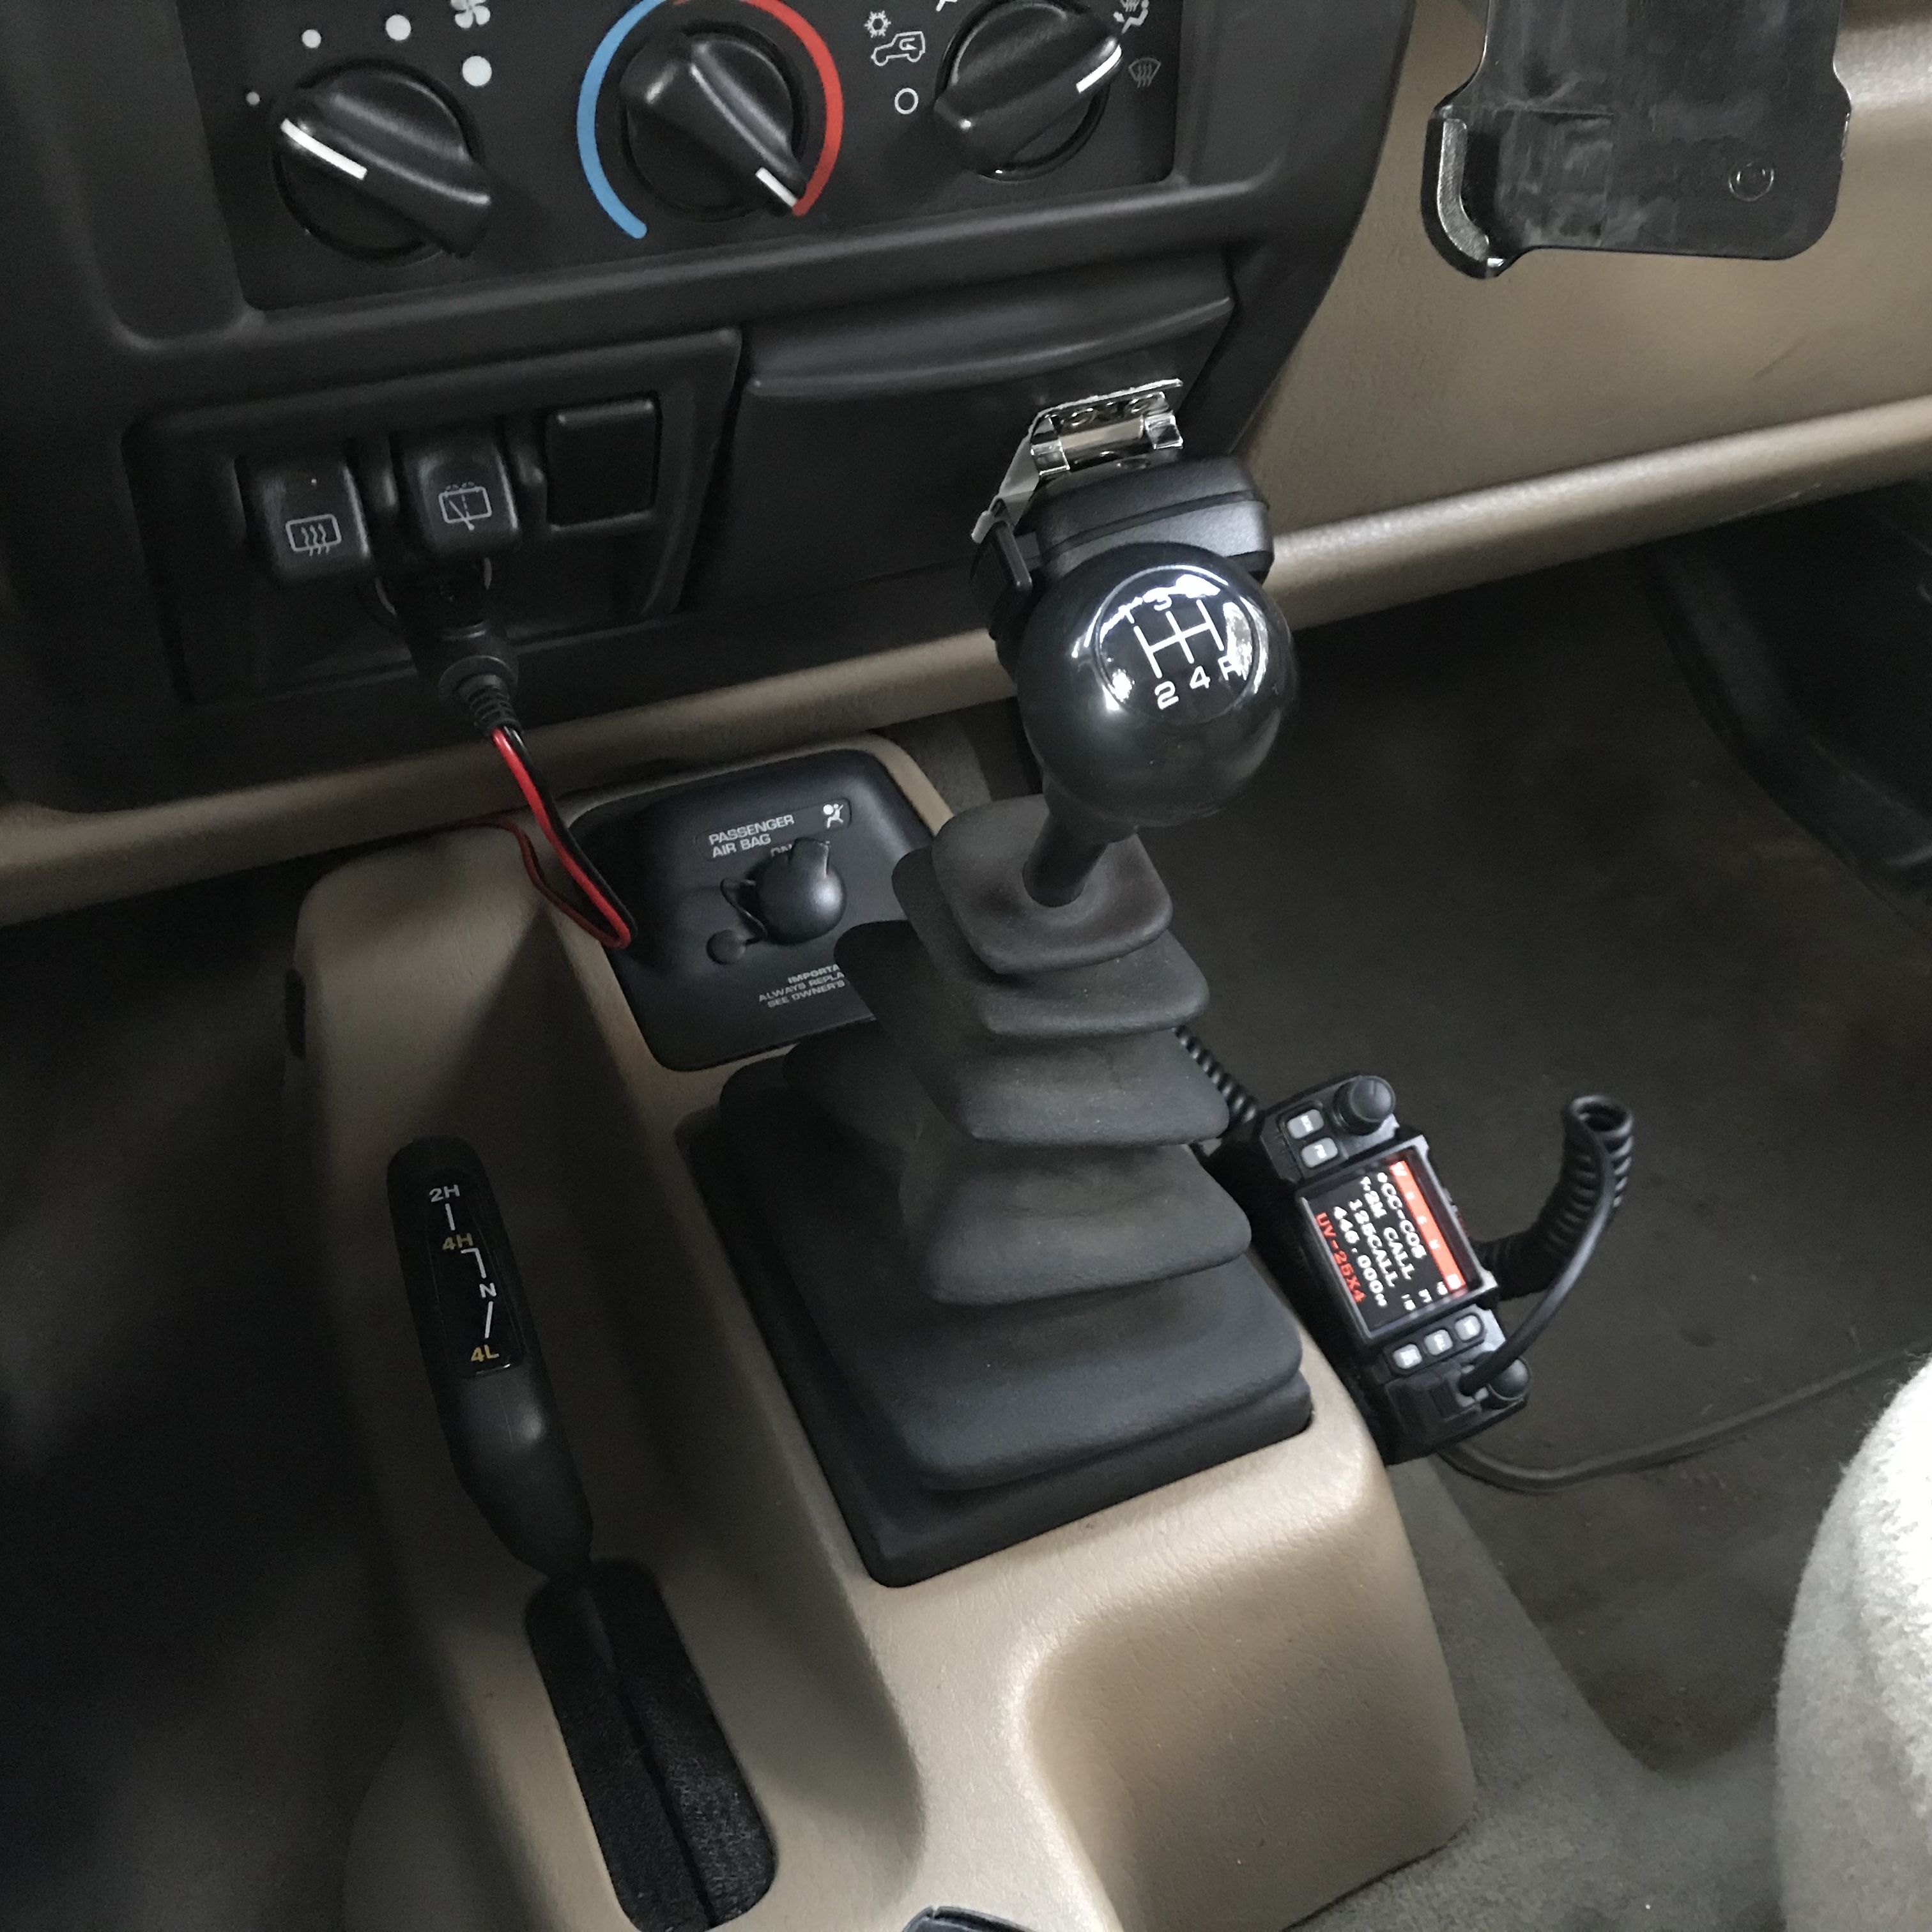
Pic 7: No Interference in 5th Gear
| Future Manpack Plans with the Flatpack Plus |
Flatpack Yaesu Manpack
I haven't dialed in the Flatpack Plus Manpack yet, but I made a little progress when I built the
Yaesu FT-818ND Manpack Insert. Check that link, or go directly to the Flatpack Plus section by clicking
here.
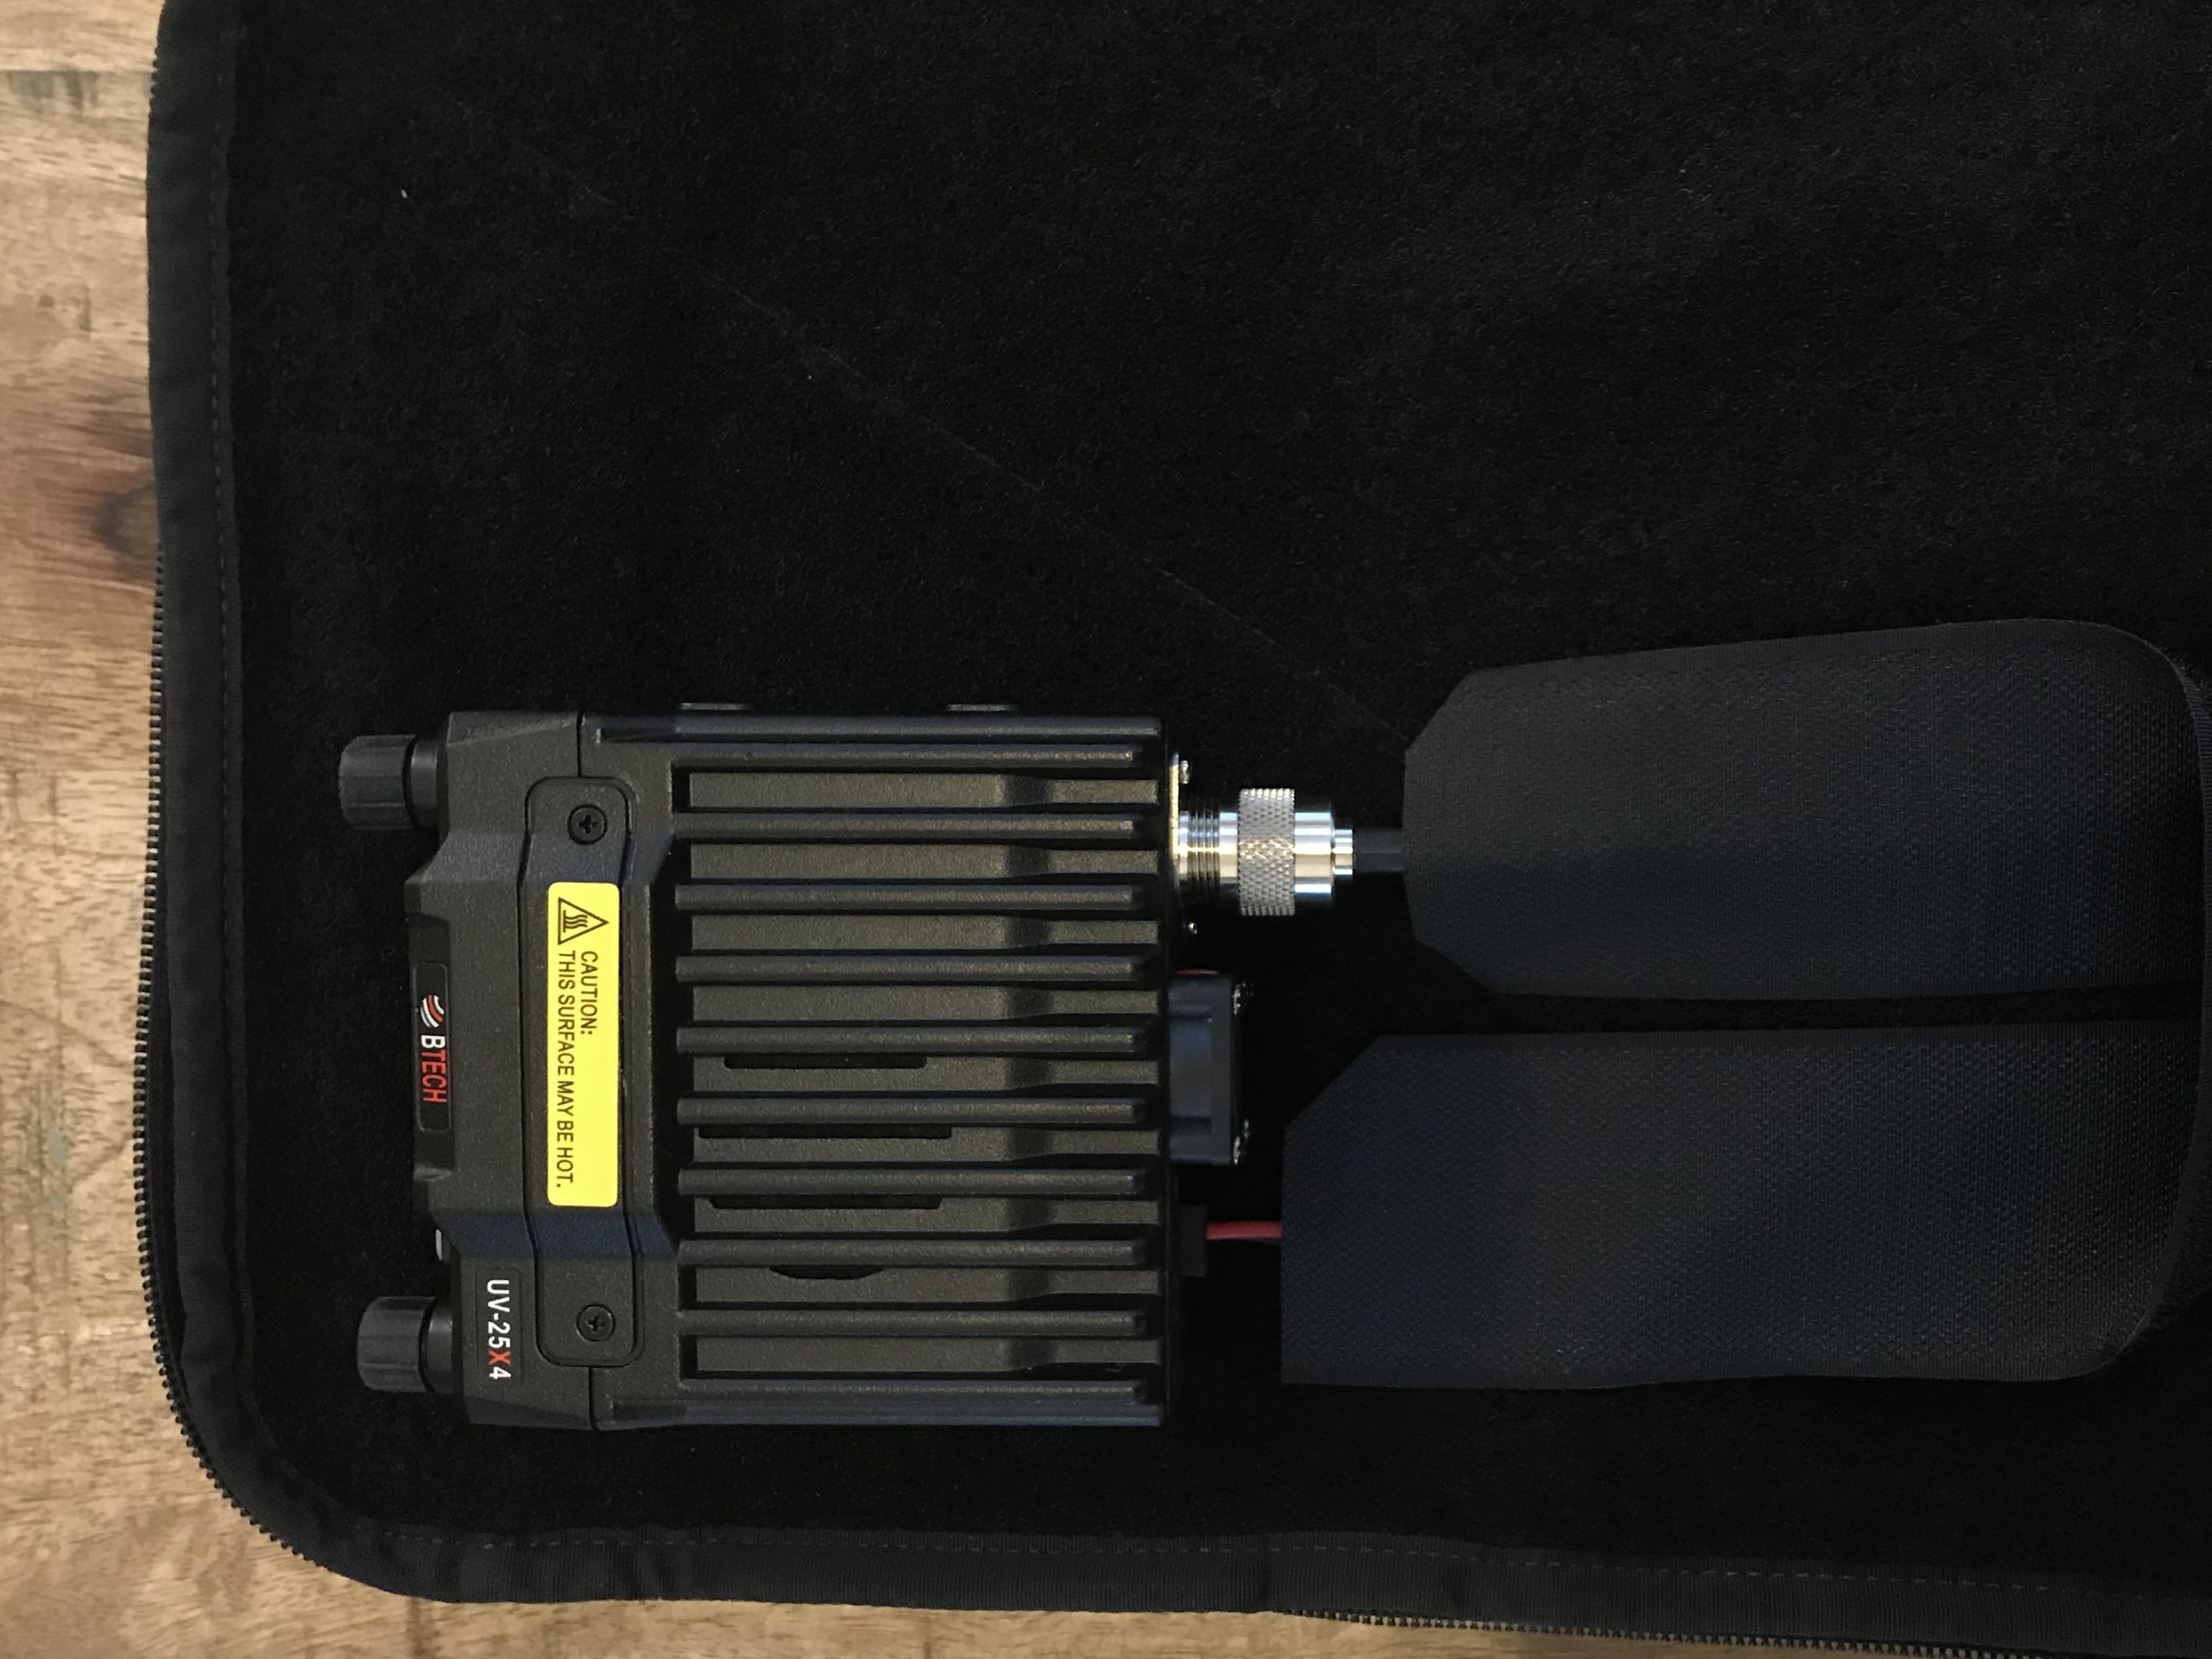
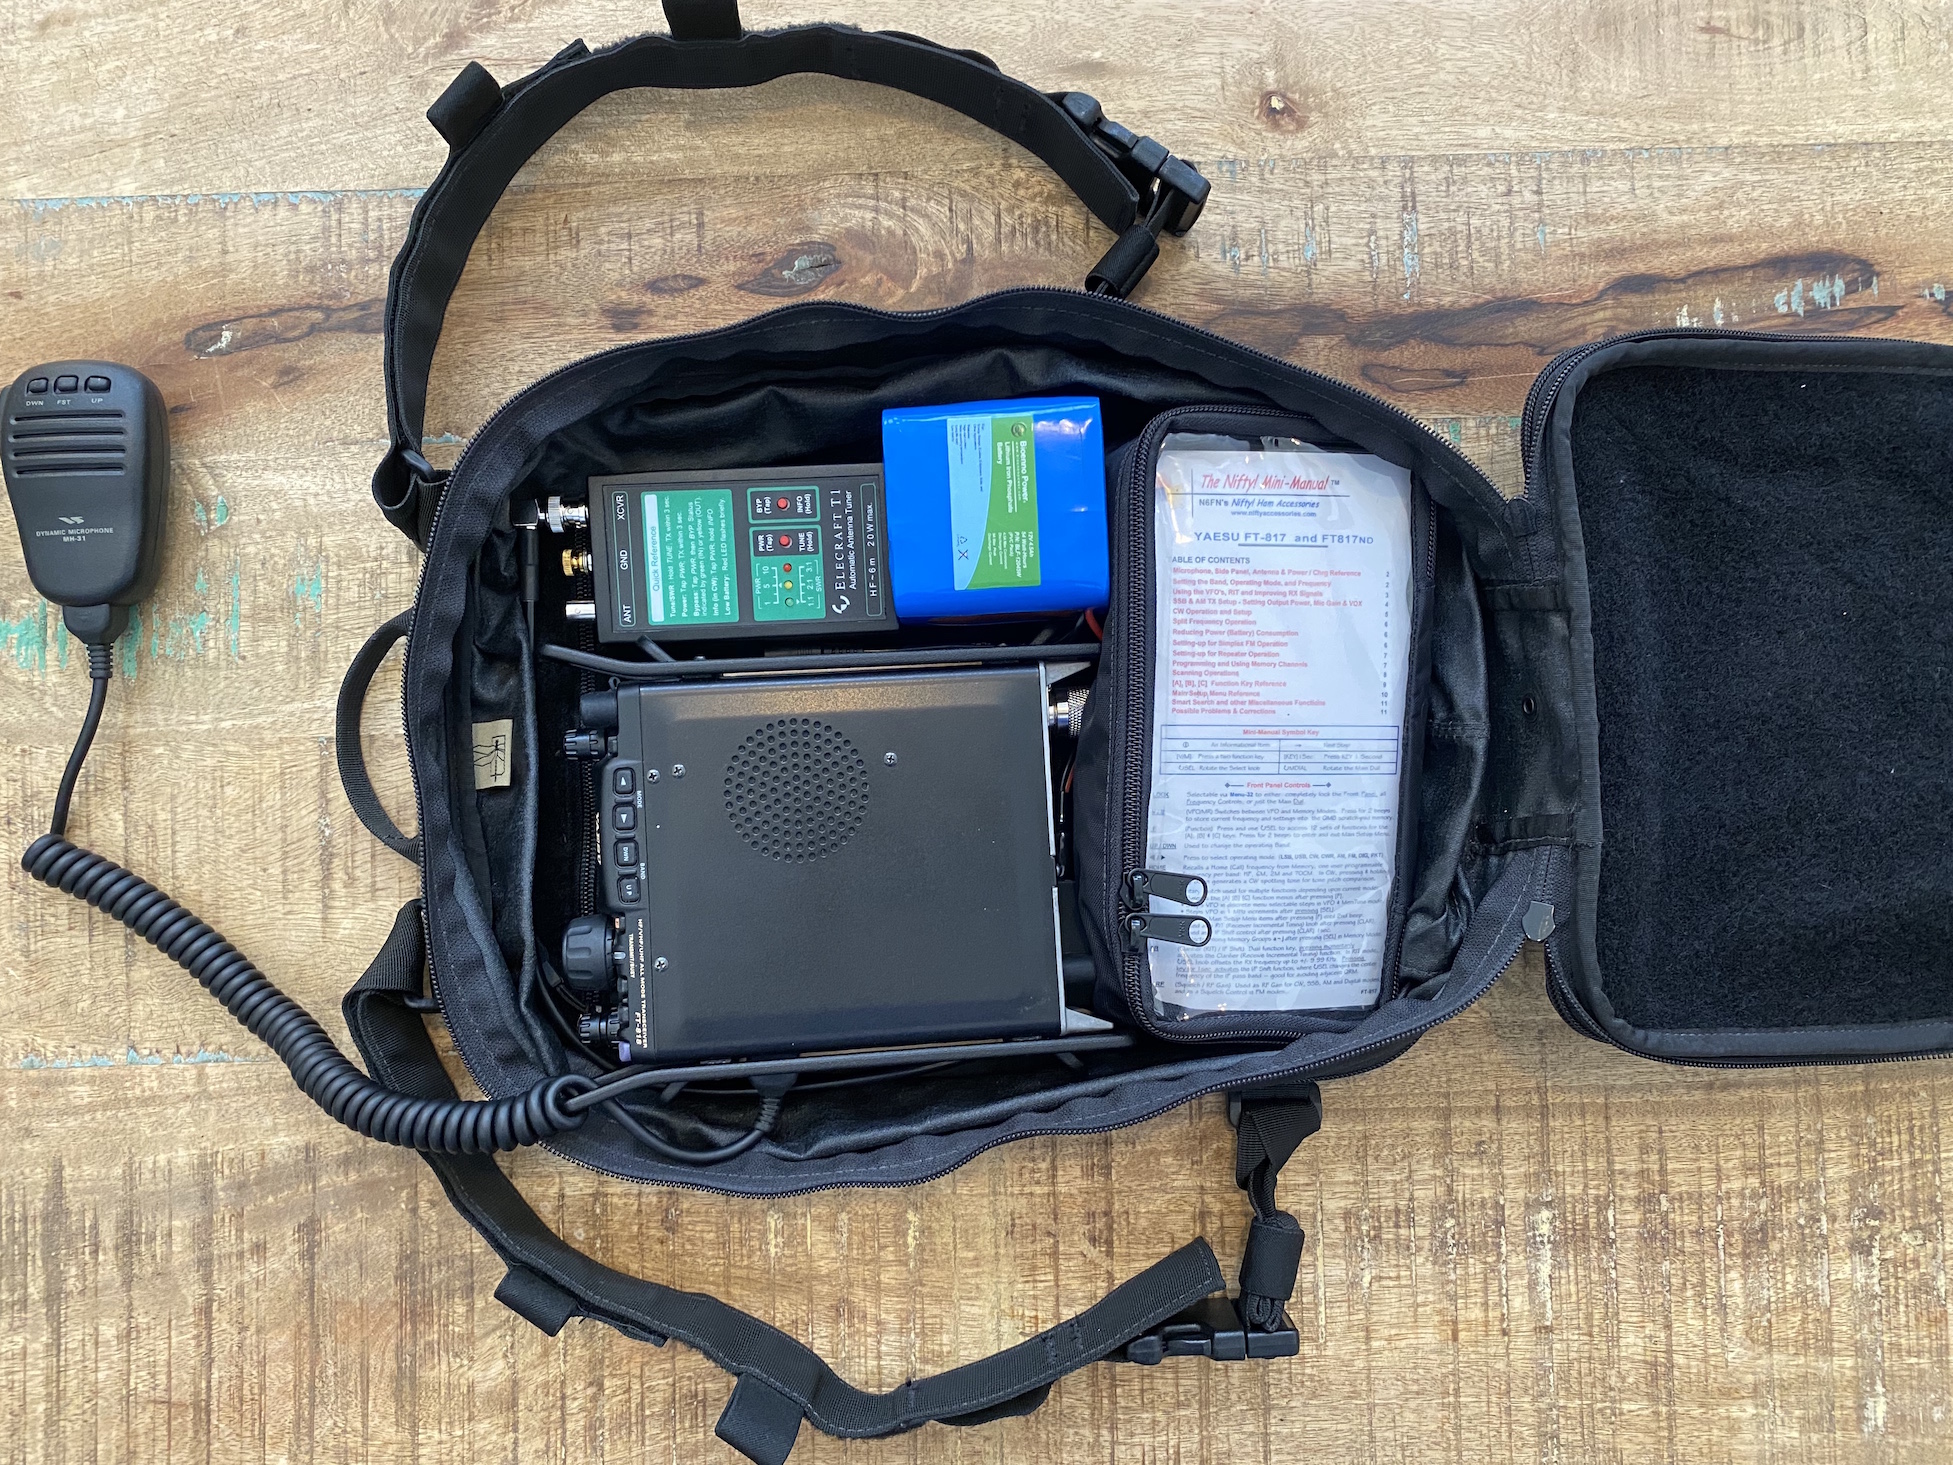
Pic 8: Velcroed to the Flatpack Plus
I mentioned above that I also plan to make a manpackable radio kit using the Haley Strategic Flatpack Plus. This pack makes a great small platform because of some important details (and all the accessories available in the larger system). One relevant detail is that the front and back panels are full sheets of velcro loop inside the pack, which allows me to stick on the radio and customize the layout depending on which one I'm using. (The Yaesu FT-818ND will also be in the manpack sometimes.) And 2" strips of velcro (non-adhesive type) offers an inexpensive and simple method of cable management.
Also, the part that goes against your back has MOLLE on it, so it can be attached to a larger pack for hiking, then removed in camp in with no radio setup required.
One of the accessories that will be helpful is the Evike Insert Bag, which velcros onto the panels where I want them. I have a large and small bag, and can adjust placement based on that day's activities.
Pic 8 shows the inside of the front panel, with some velcro for cable management. Not a great picture, but it gives the idea.
The Haley Strategic bag is a little spendy, but I have it for other uses too, and I like the quality. FWIW, there's a knockoff version available on Amazon.
| See How I Installed the Ham Antenna on the Jeep Wrangler! |
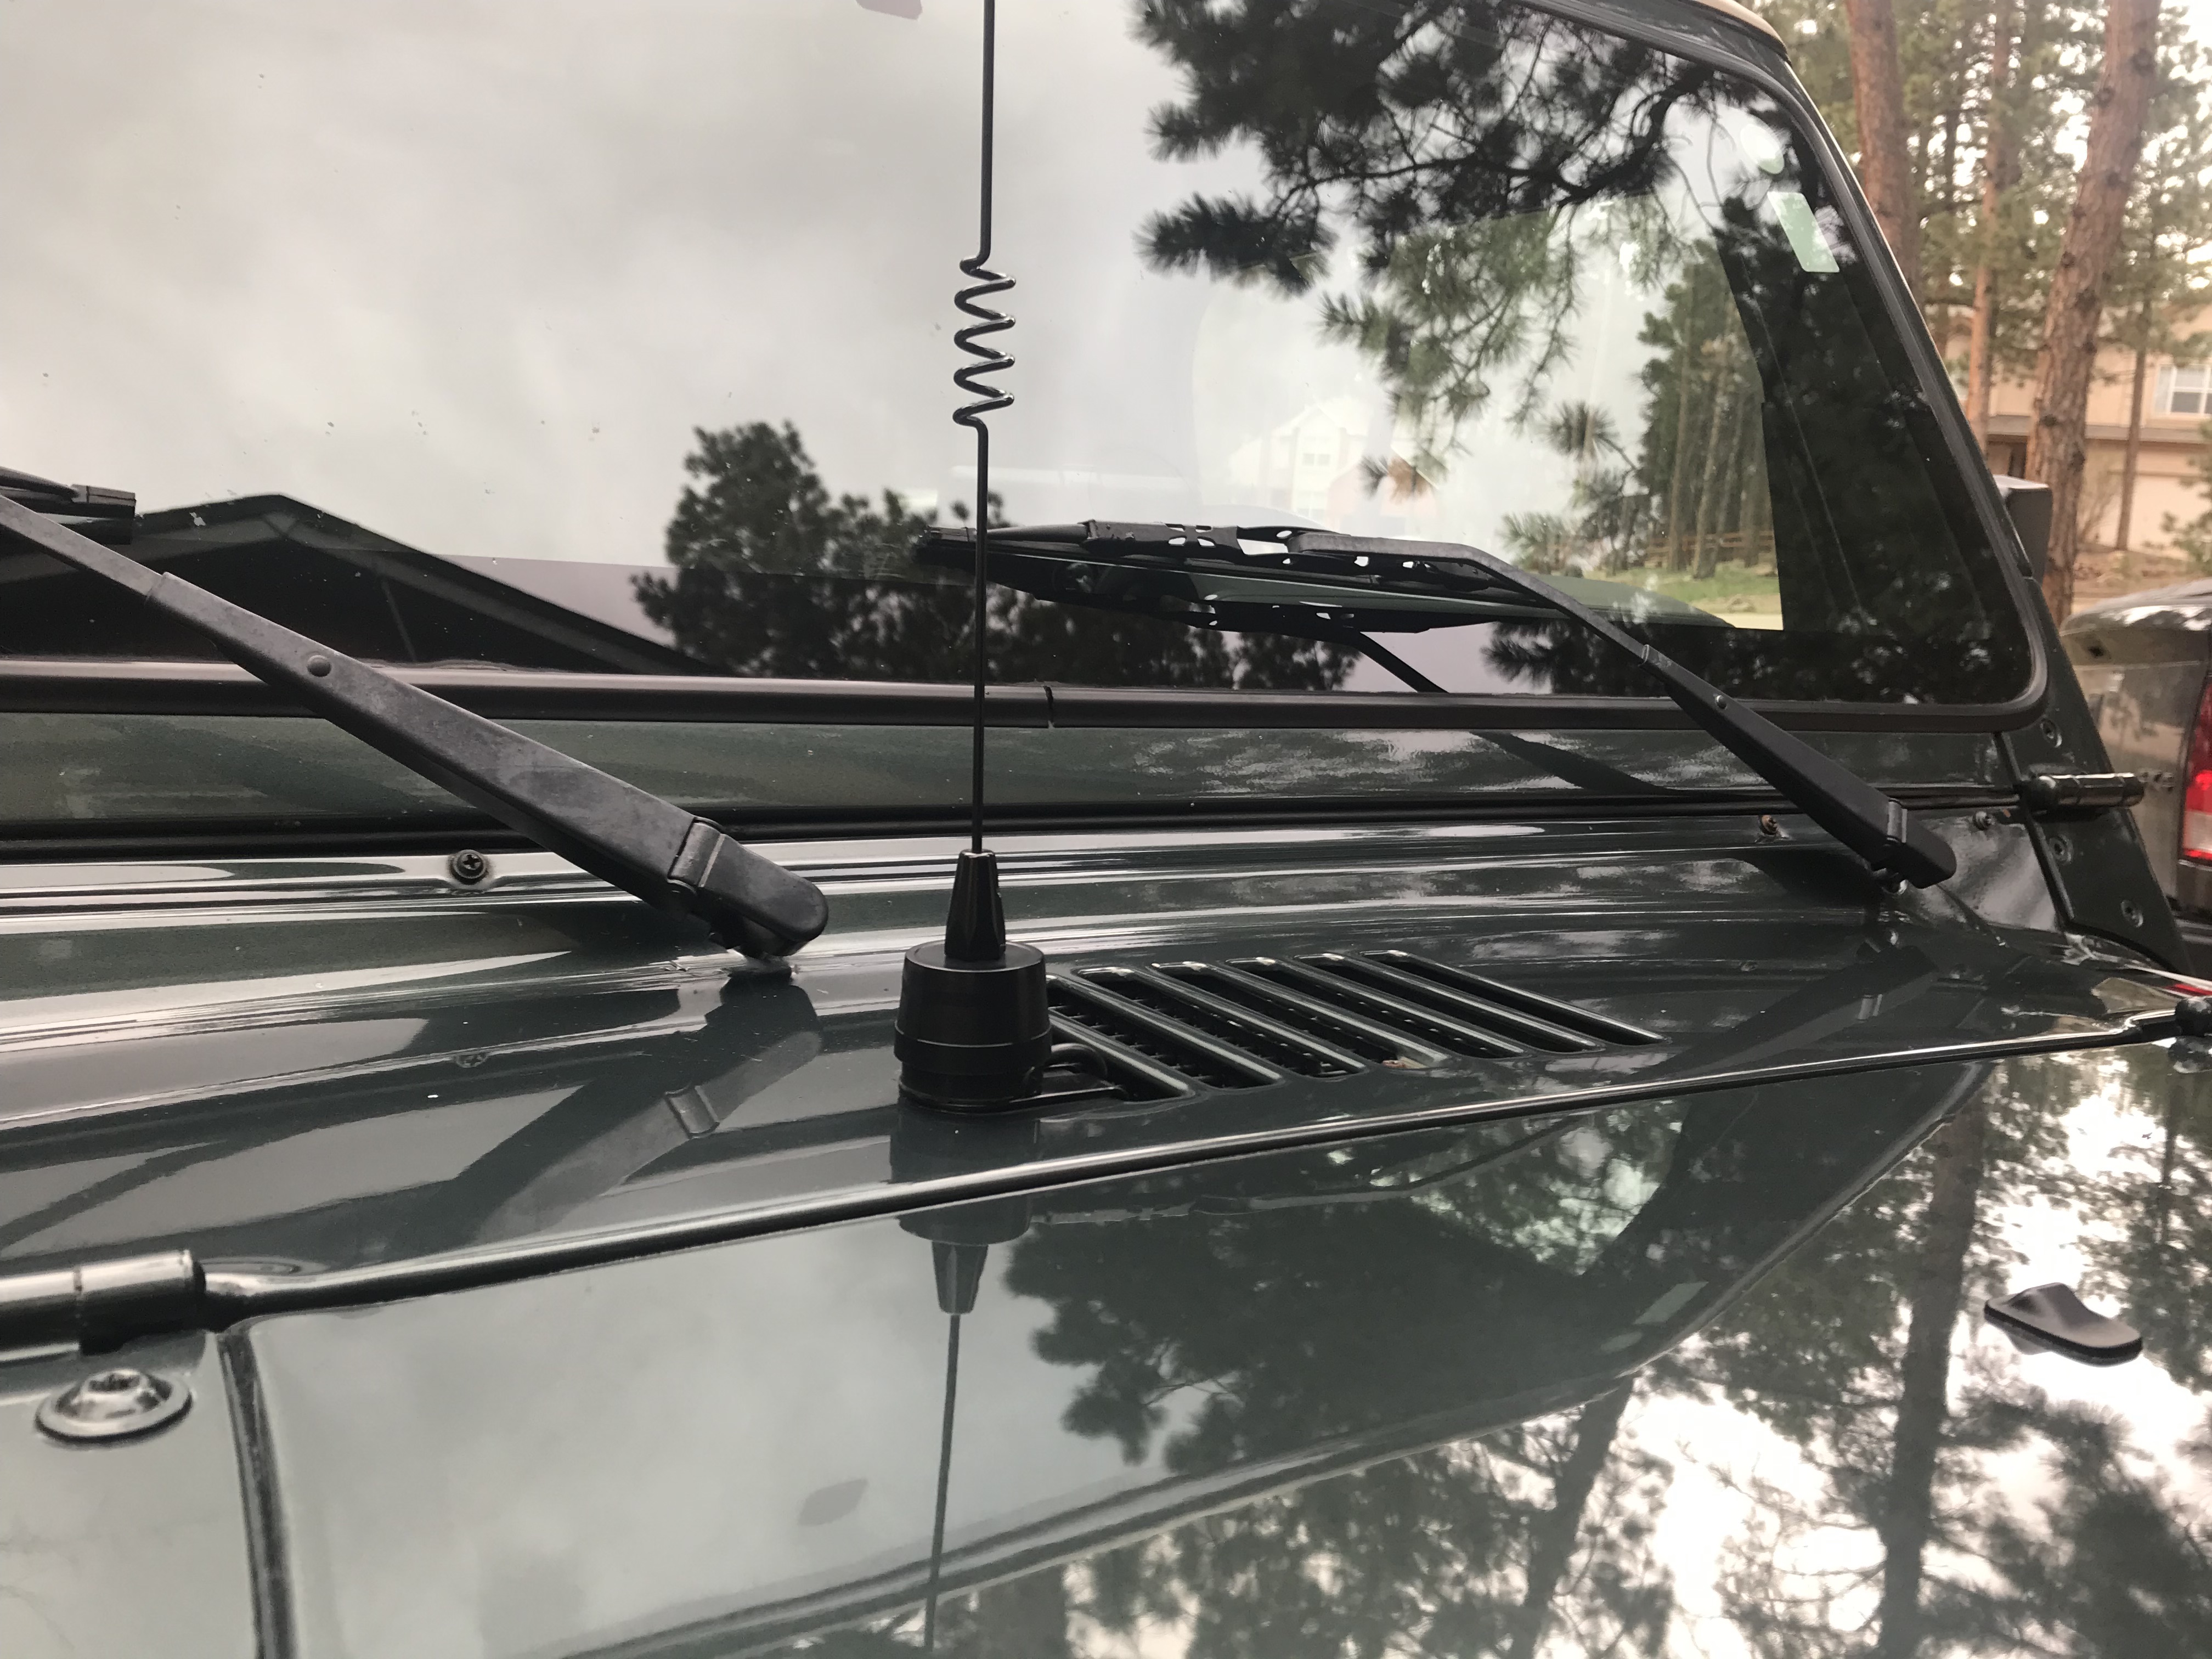
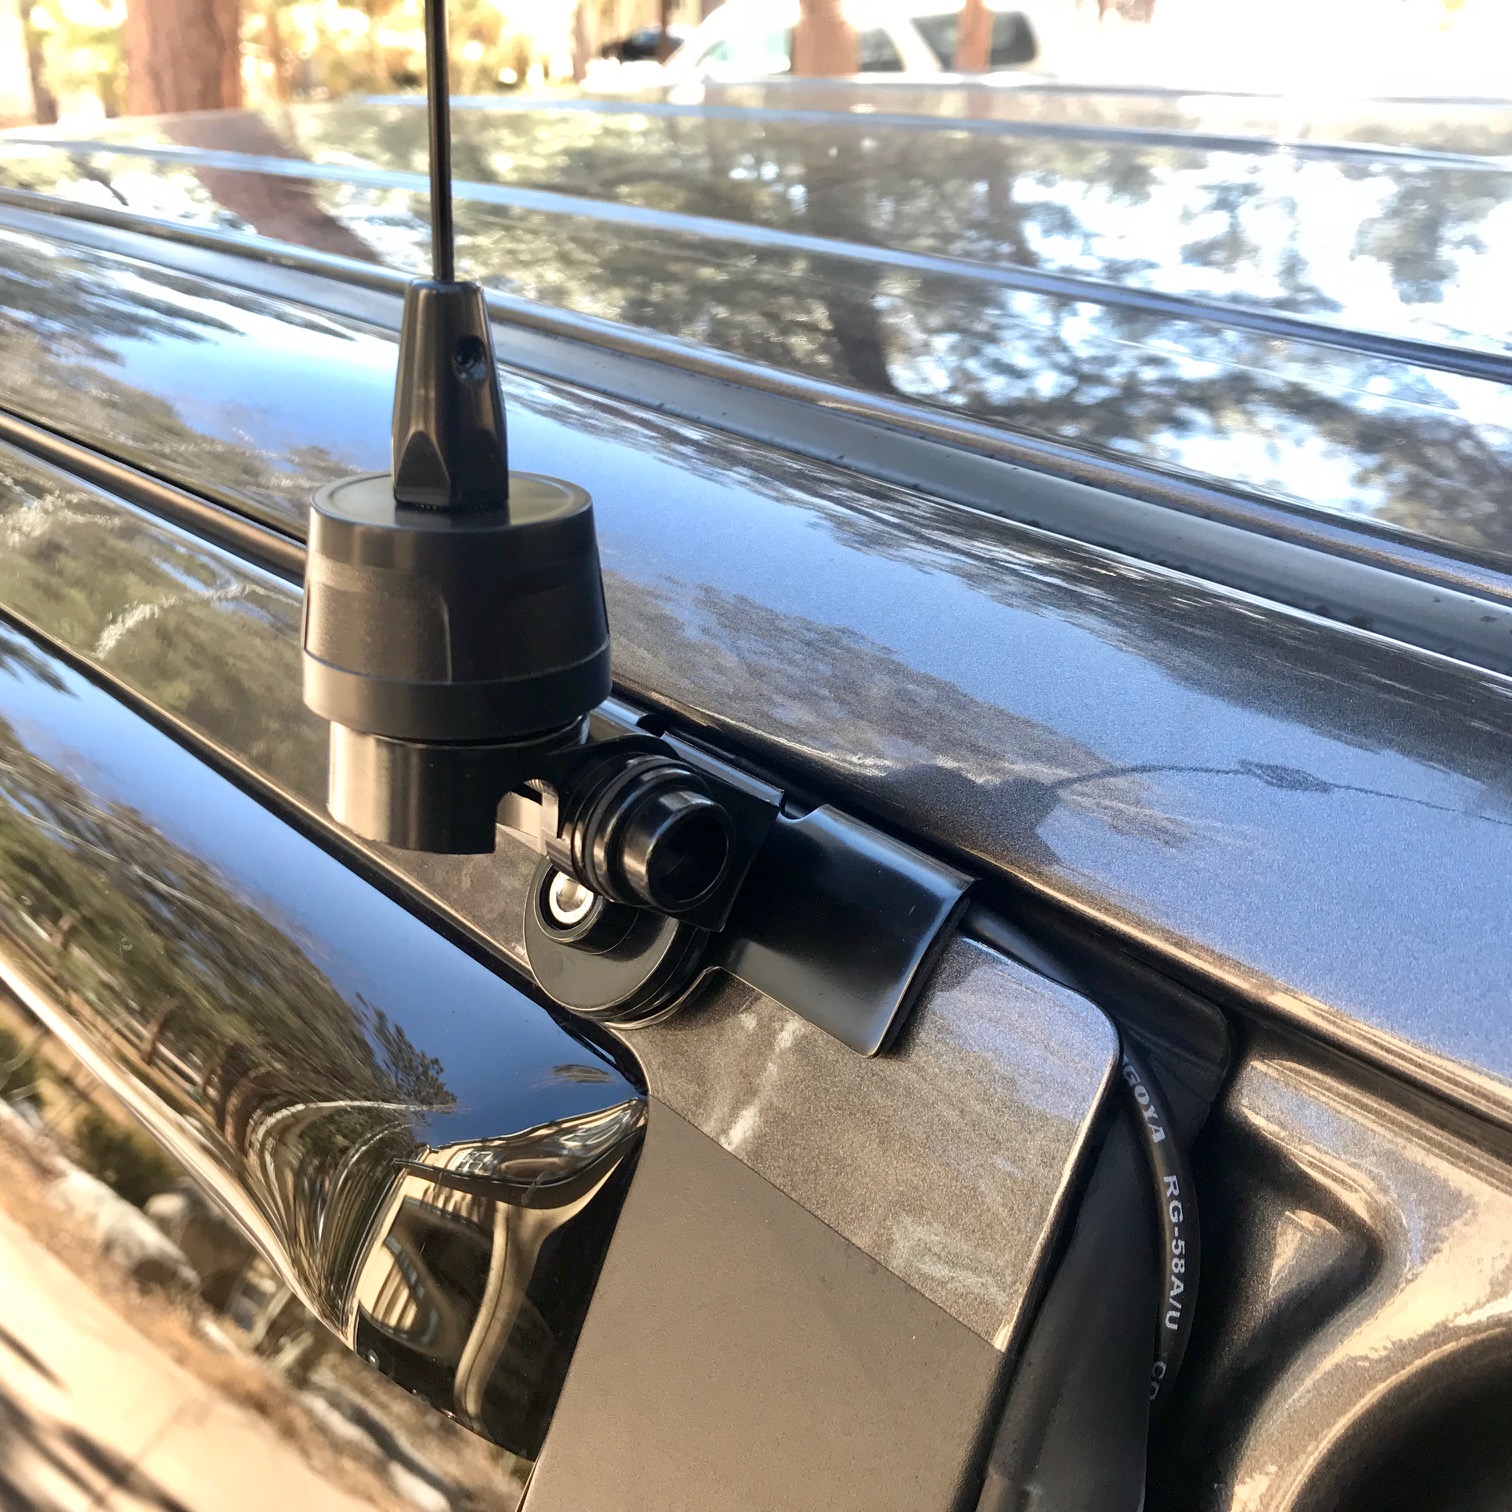
I had basic criteria for my TJ Wrangler antenna install: very little permanent alteration, clutter-free install, and effective. I put it on the hood cowl and ran the coax through an existing grommet in the firewall. It works well, but the propagation pattern is probably a little weak toward the rear of the vehicle. (I included charts to illustrate why.)
This install included the same Nagoya NMO-72 19.25" NMO Mount Dual Band Antenna as the truck install, but instead of the multi-axis mount I used a Tram 1246B NMO Trunk Lip Mount.
Check out the Pics and Step-by-Step Instructions!