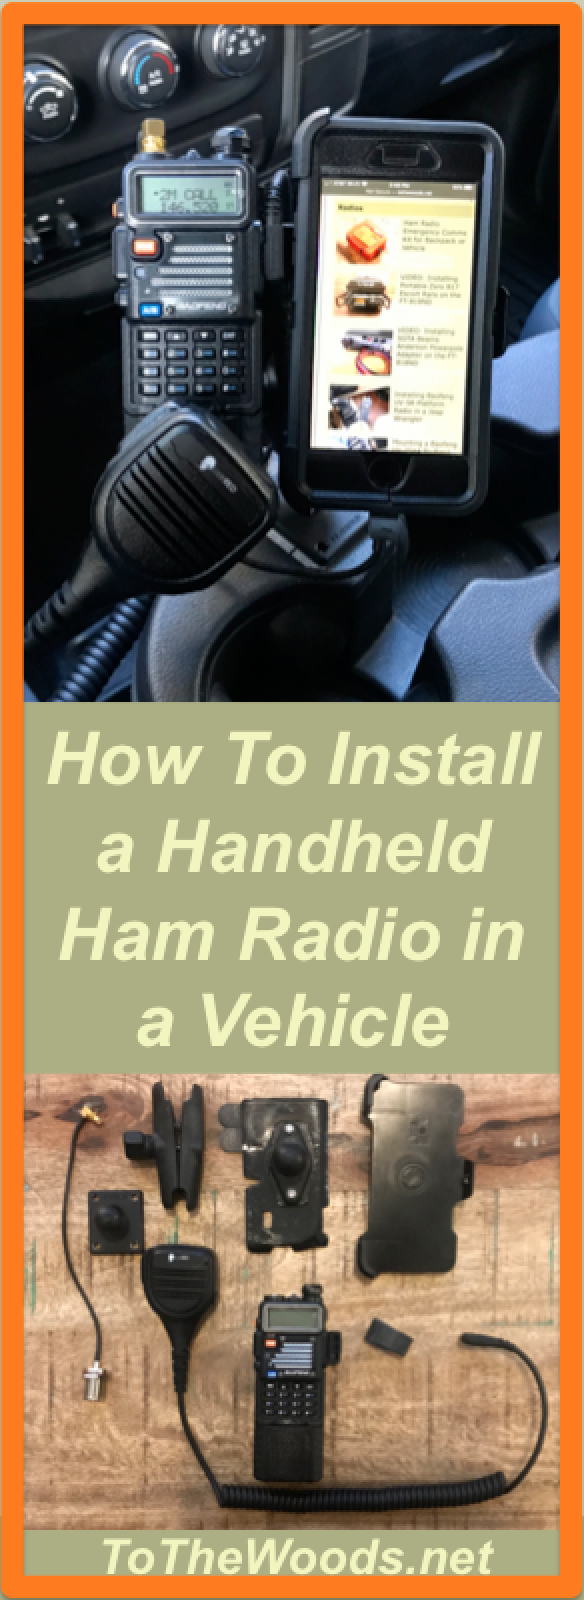
| How I Mounted an iPhone and Baofeng UV-5R Handheld Radio in my Truck |
When I first got into ham radio, I focused on handheld transceivers (HTs) so I could build out Emergency Communications (EMCOMM) kits for each vehicle. (Here's what I built.) But I wanted to have access to a radio while I was driving as well, so I needed a way to mount an HT securely in the vehicles. Here's what I came up with for the truck. (See how I mounted the BF-F8 in my Wrangler for another option.)
Design Criteria remained the same as most of my projects so far:
- Hold the radio stable on Jeep trails and Forest Service roads
- Clean and clutter-free installation
- No significant permanent alterations (this project has none)
- Able to remove radio easily from the mount use use outside the vehicle
- Easy to manipulate buttons while mounted
- Accommodate externally-mounted antenna and hand mic
I didn't want to mount it on the dash so the lights wouldn't distract me while driving at night, and keeping it off the dash makes it a little less noticeable by passers-by so it's less likely to attract thieves looking for a target of opportunity. Keeps it out of the sun's heat, too.
Also, I had enough room in the truck to mount my phone next to the radio. I mounted the Otter Box holster to the right of the radio, and adjusted the location so my hand rests almost on the phone when my arm is on the armrest. This makes it very easy to operate the phone from the holster if I need to (but don't text and drive, mmmkay?).
The Ram has a 12v cigarette lighter plug and USB outlets inside the console, so cable management is simple for this project.
So keep reading and check out the details...it's a pretty simple install and has no permanent modifications. Like my other projects, there's a full parts list, and links with pics at the end of the instructions. And for transparency, sometimes links like the Amazon and eBay ones are affiliate links, meaning I'll earn a small fee if you buy something from there...but it doesn't change your costs at all because it comes from advertizing budgets. It helps pay hosting costs for the page.
Step One: Prepare the Phone Case
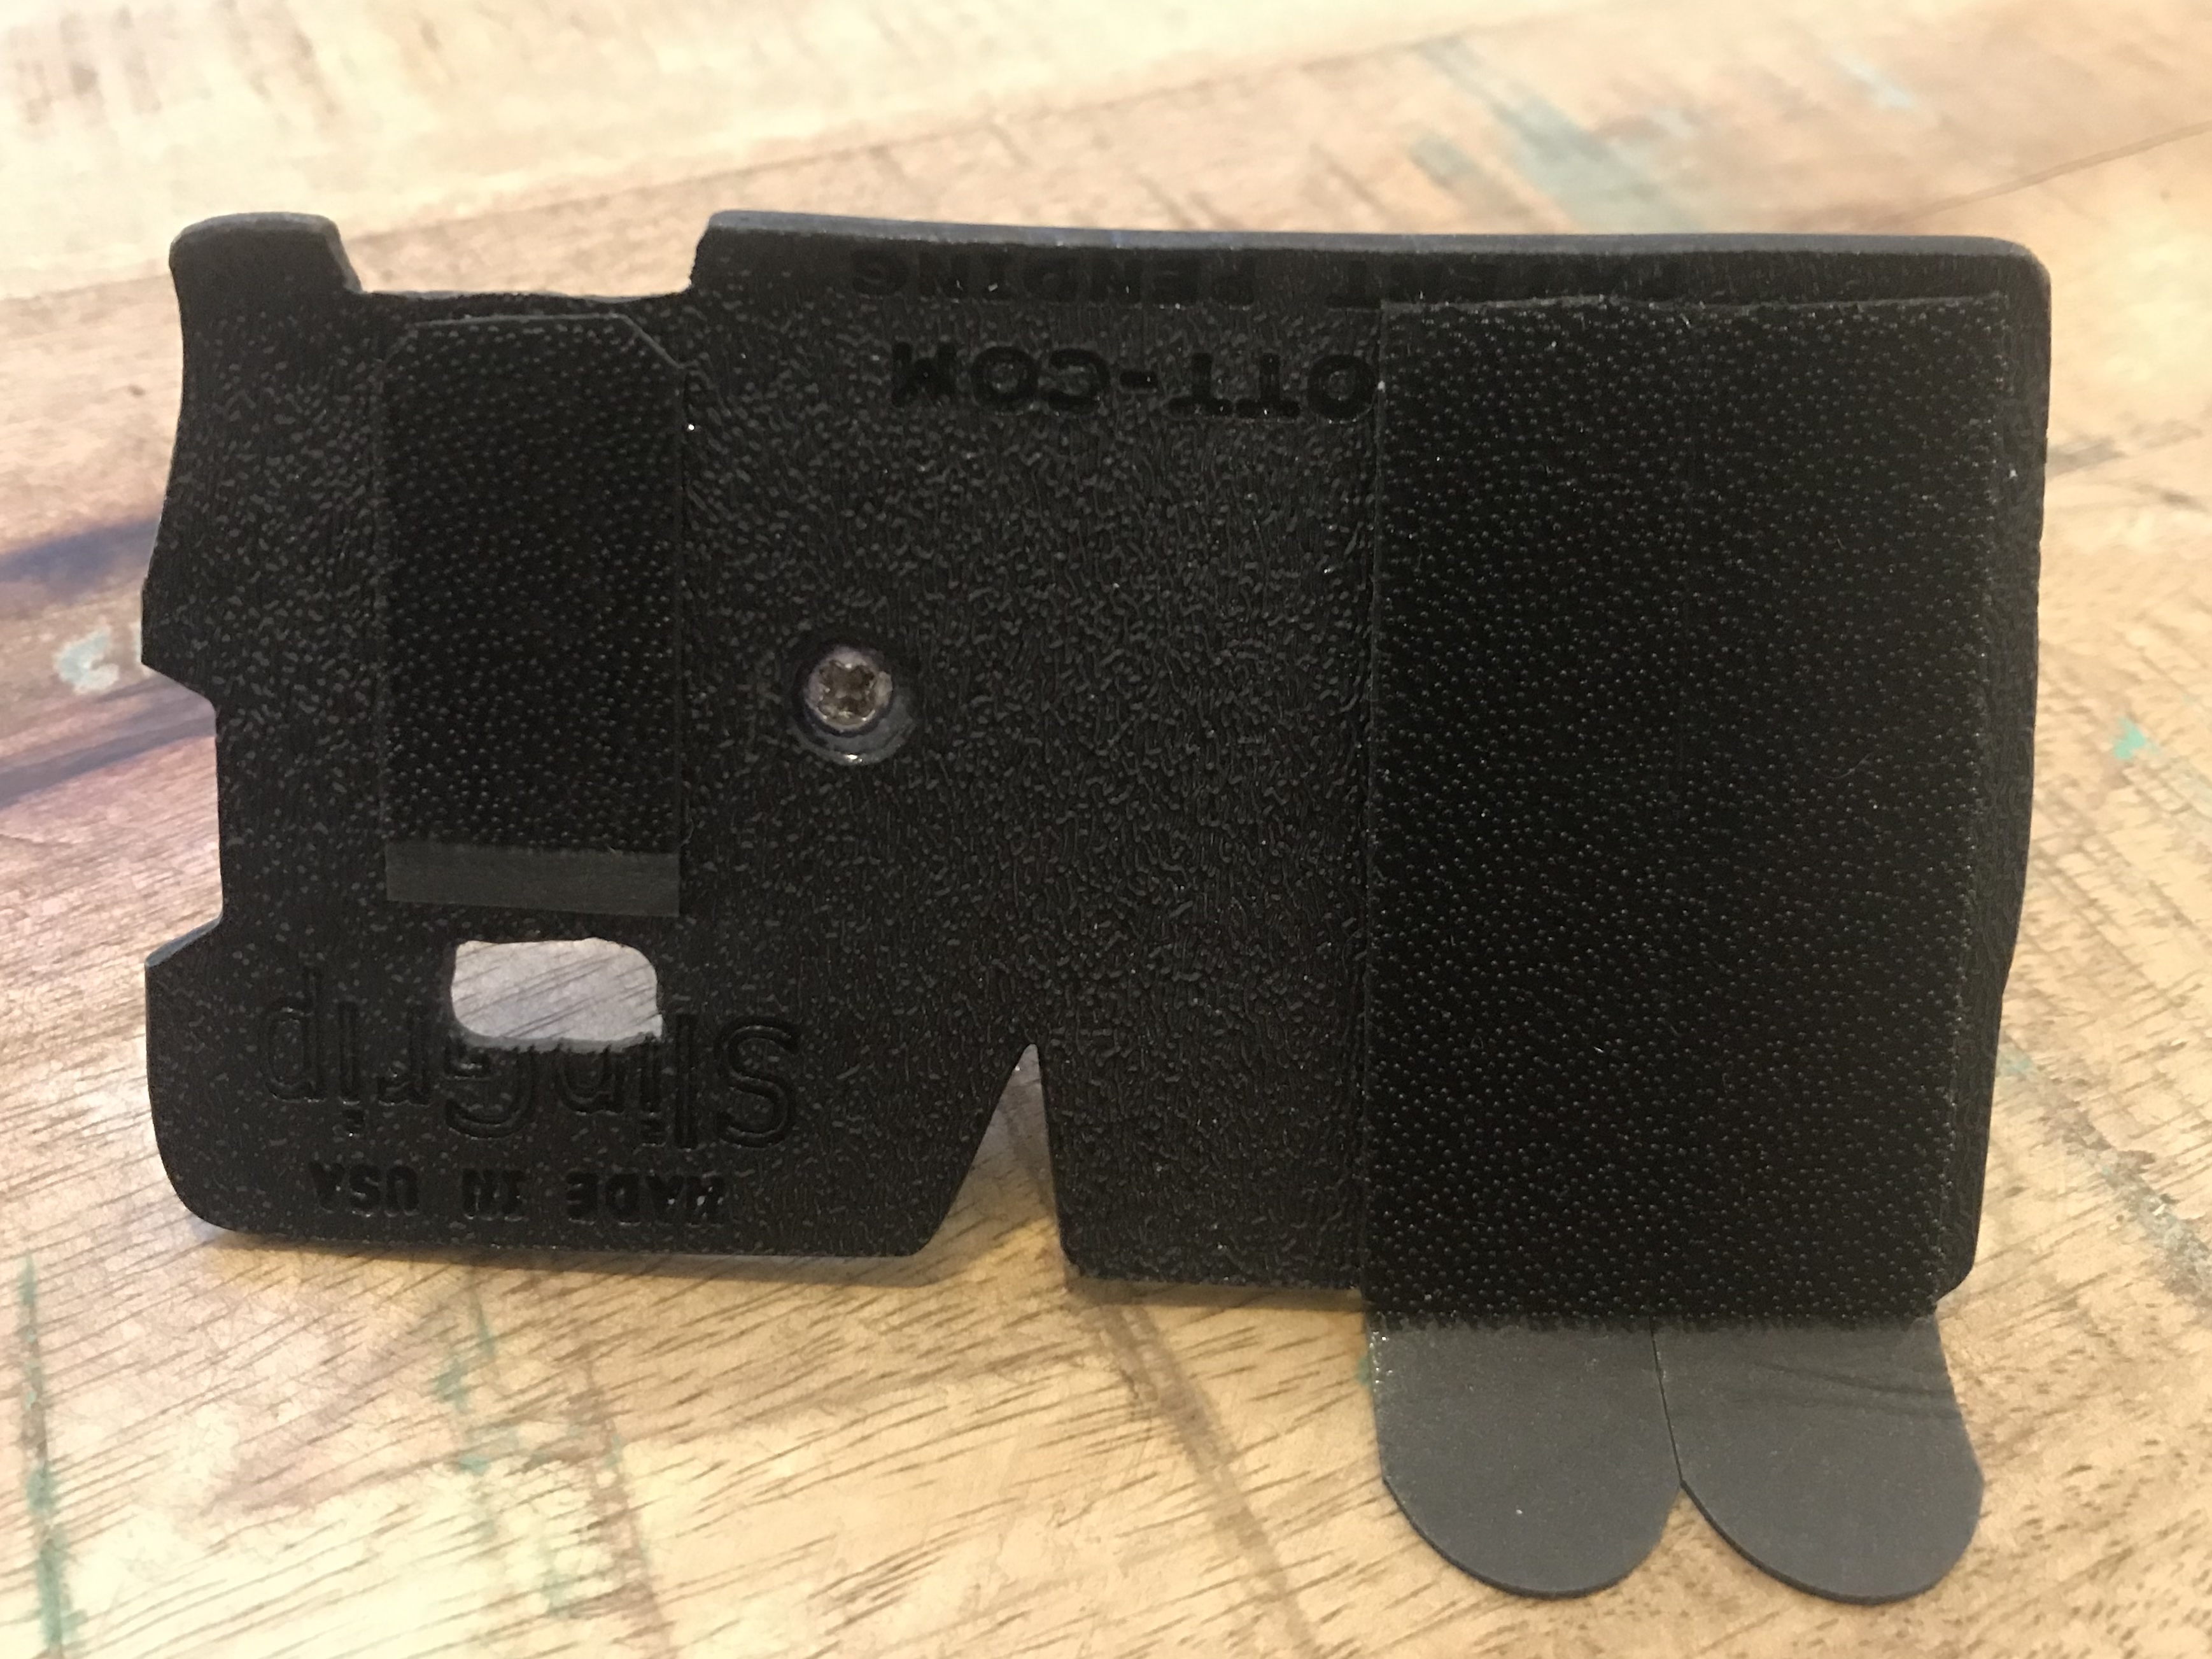
Otter Box holsters have belt clips, so remove that first. It's a little tricky. And once you get the clip removed, you're left with a currogated circle designed to keep the holster's rotation where you set it. This needs to be ground off and then sanded smooth. I didn't get pics of this process but it's as straightforward as it sounds. I used a Dremel and sandpaper.
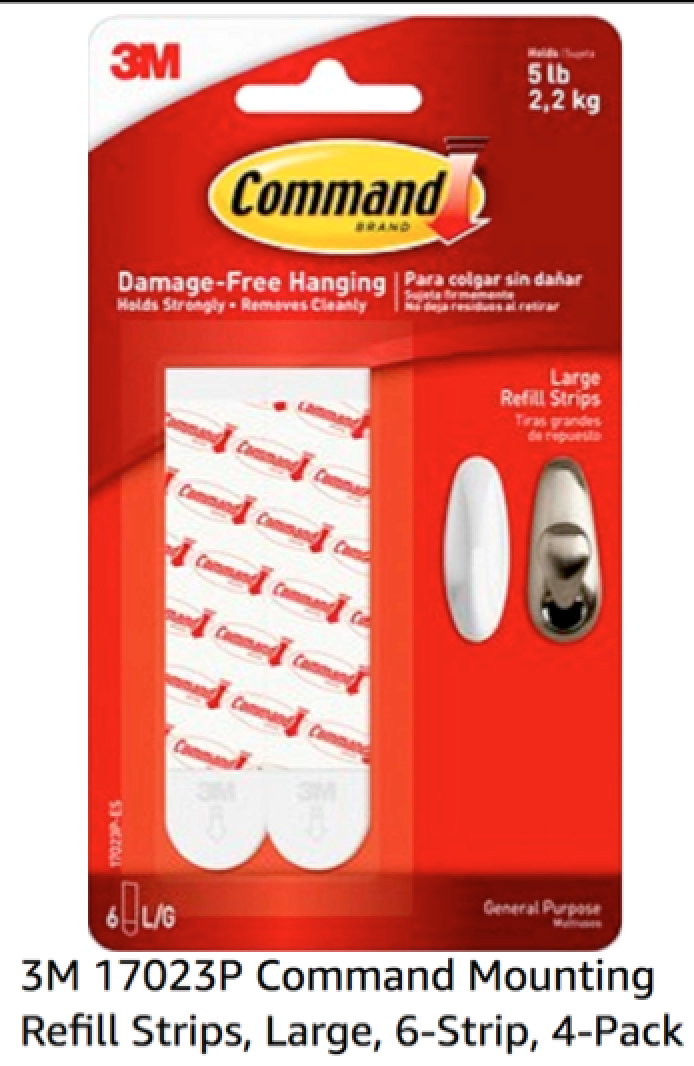
I cleaned the grinding dust off with a lint-free microfiber cloth and isopropyl alcohol first, to be sure I'd get the best adhesion for the Command Strips. I used velcro Command Strips in case I wanted to remove the case but I never did, so using the same ones I linked to above is probably fine.
The strips are off center in this pic because the case sticks off the side of the mounting plate a little.
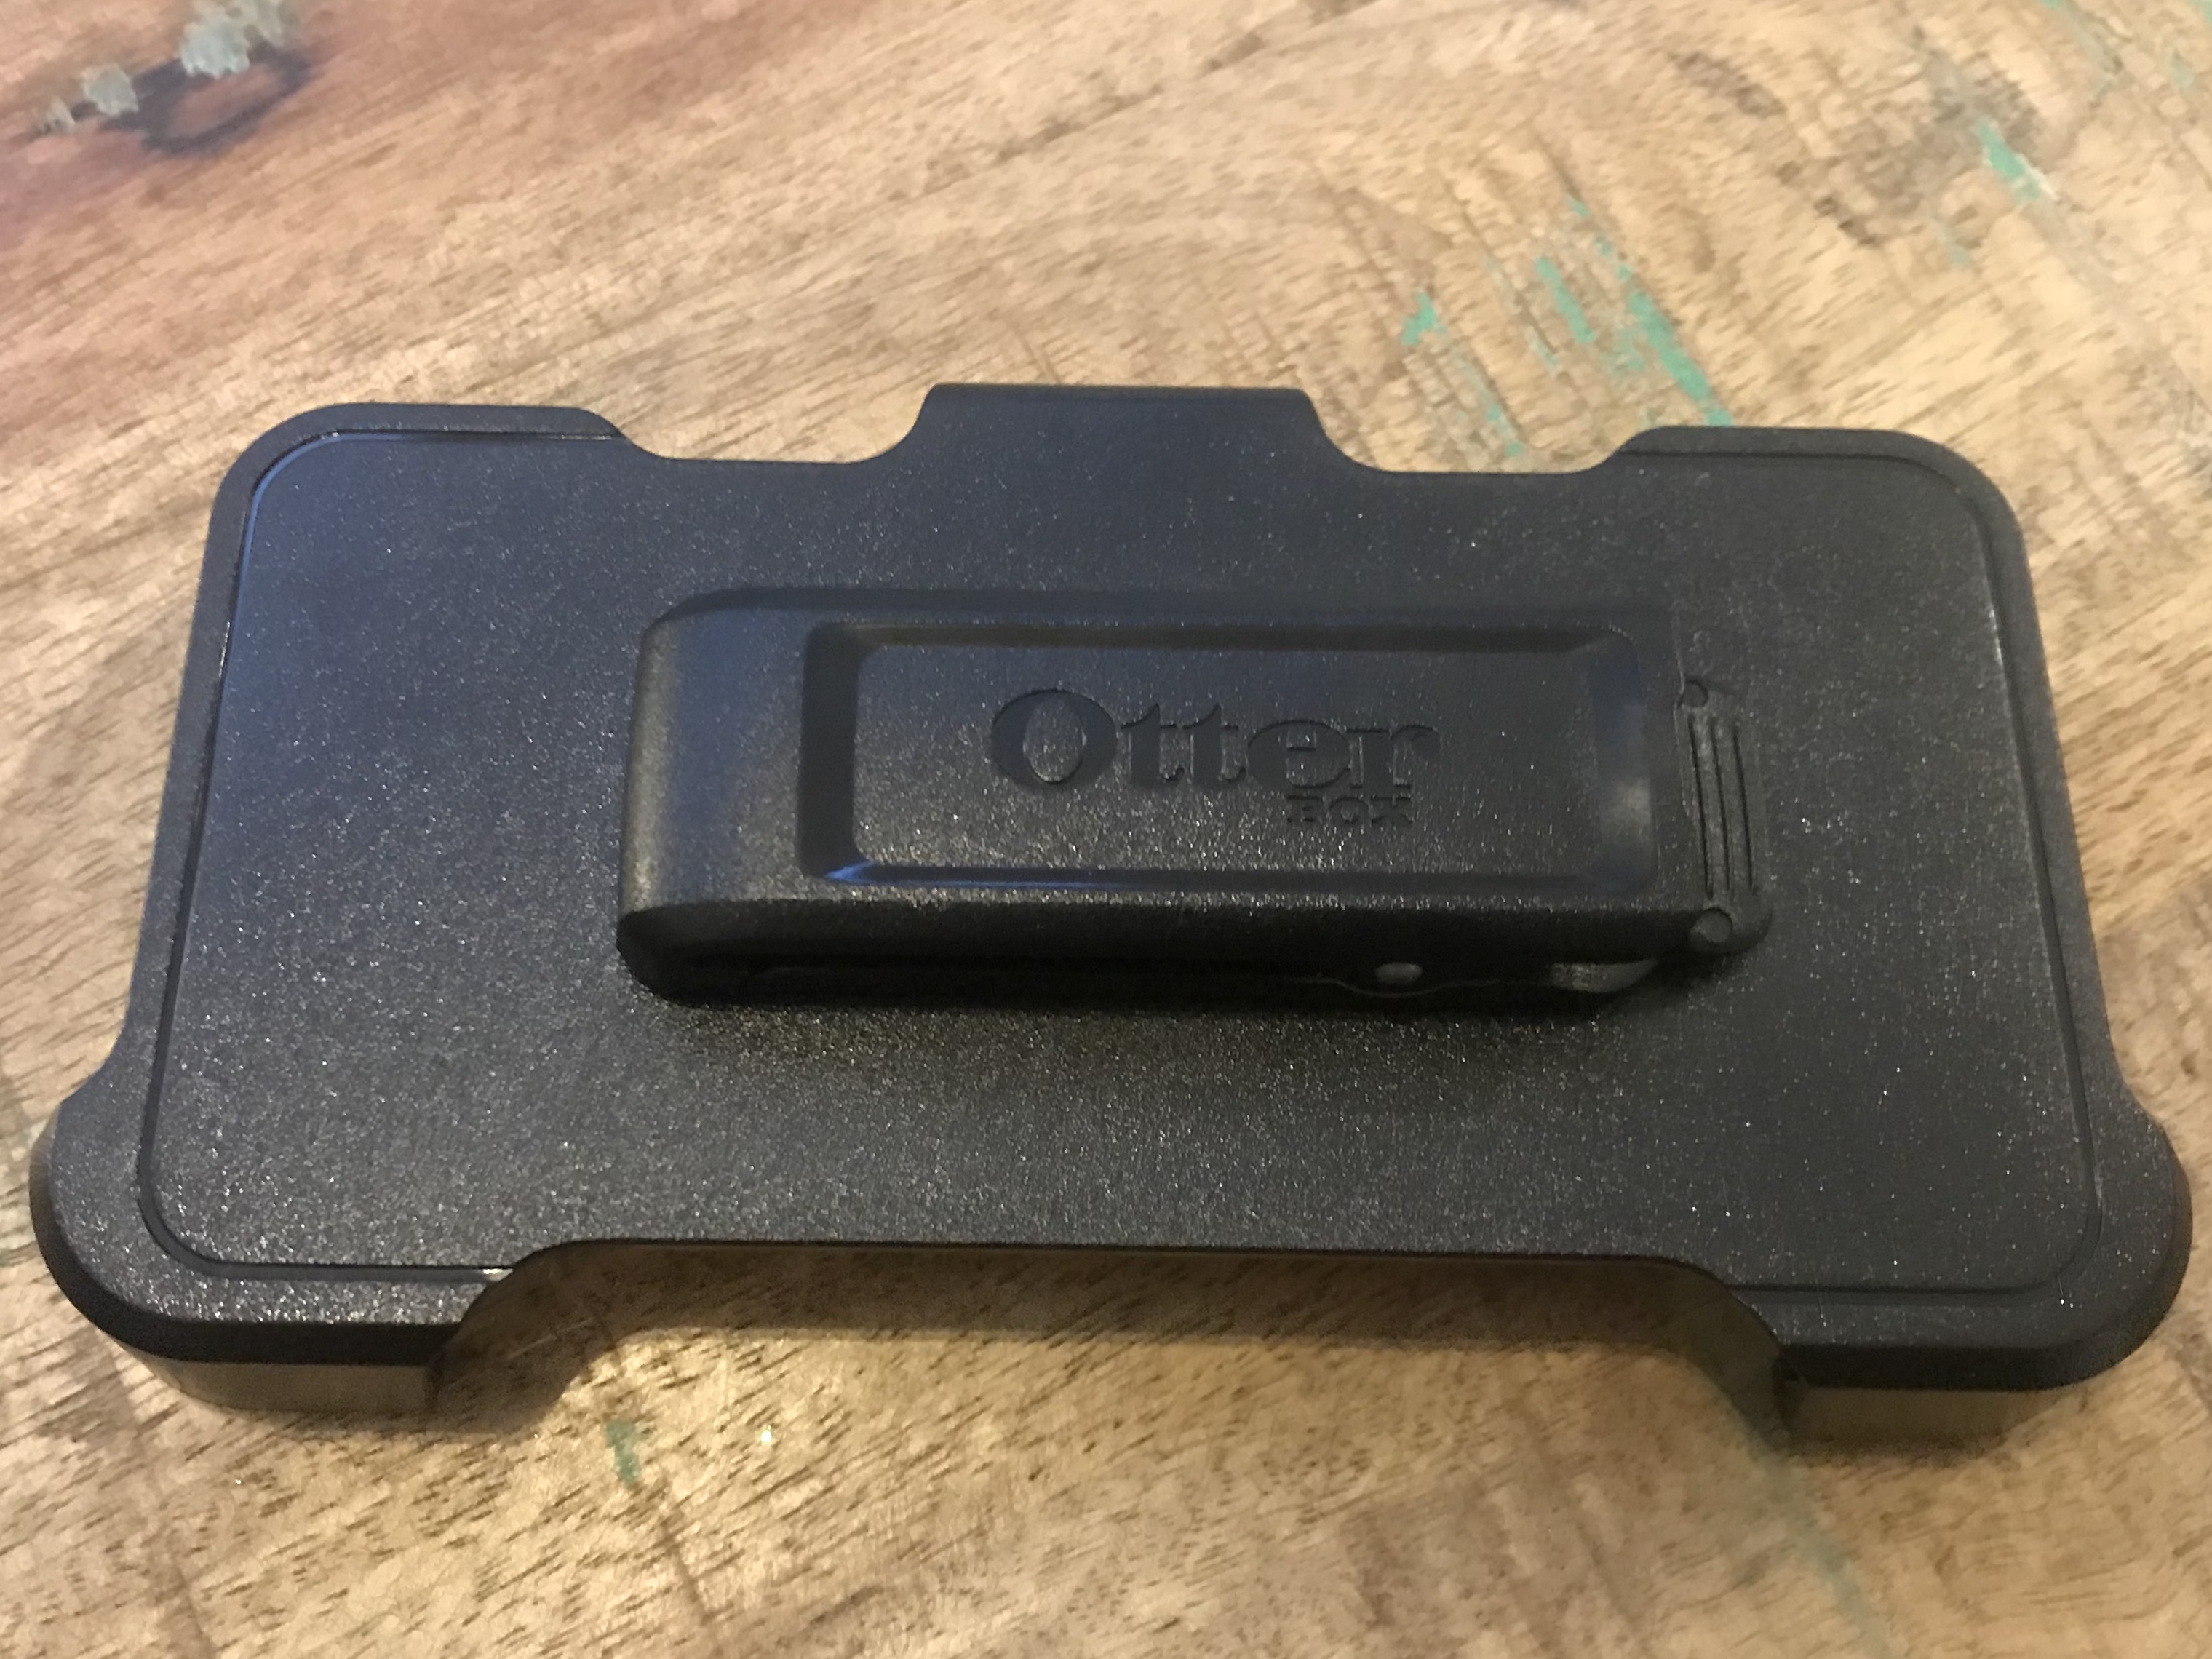
Pic 3: Otter Box Clip
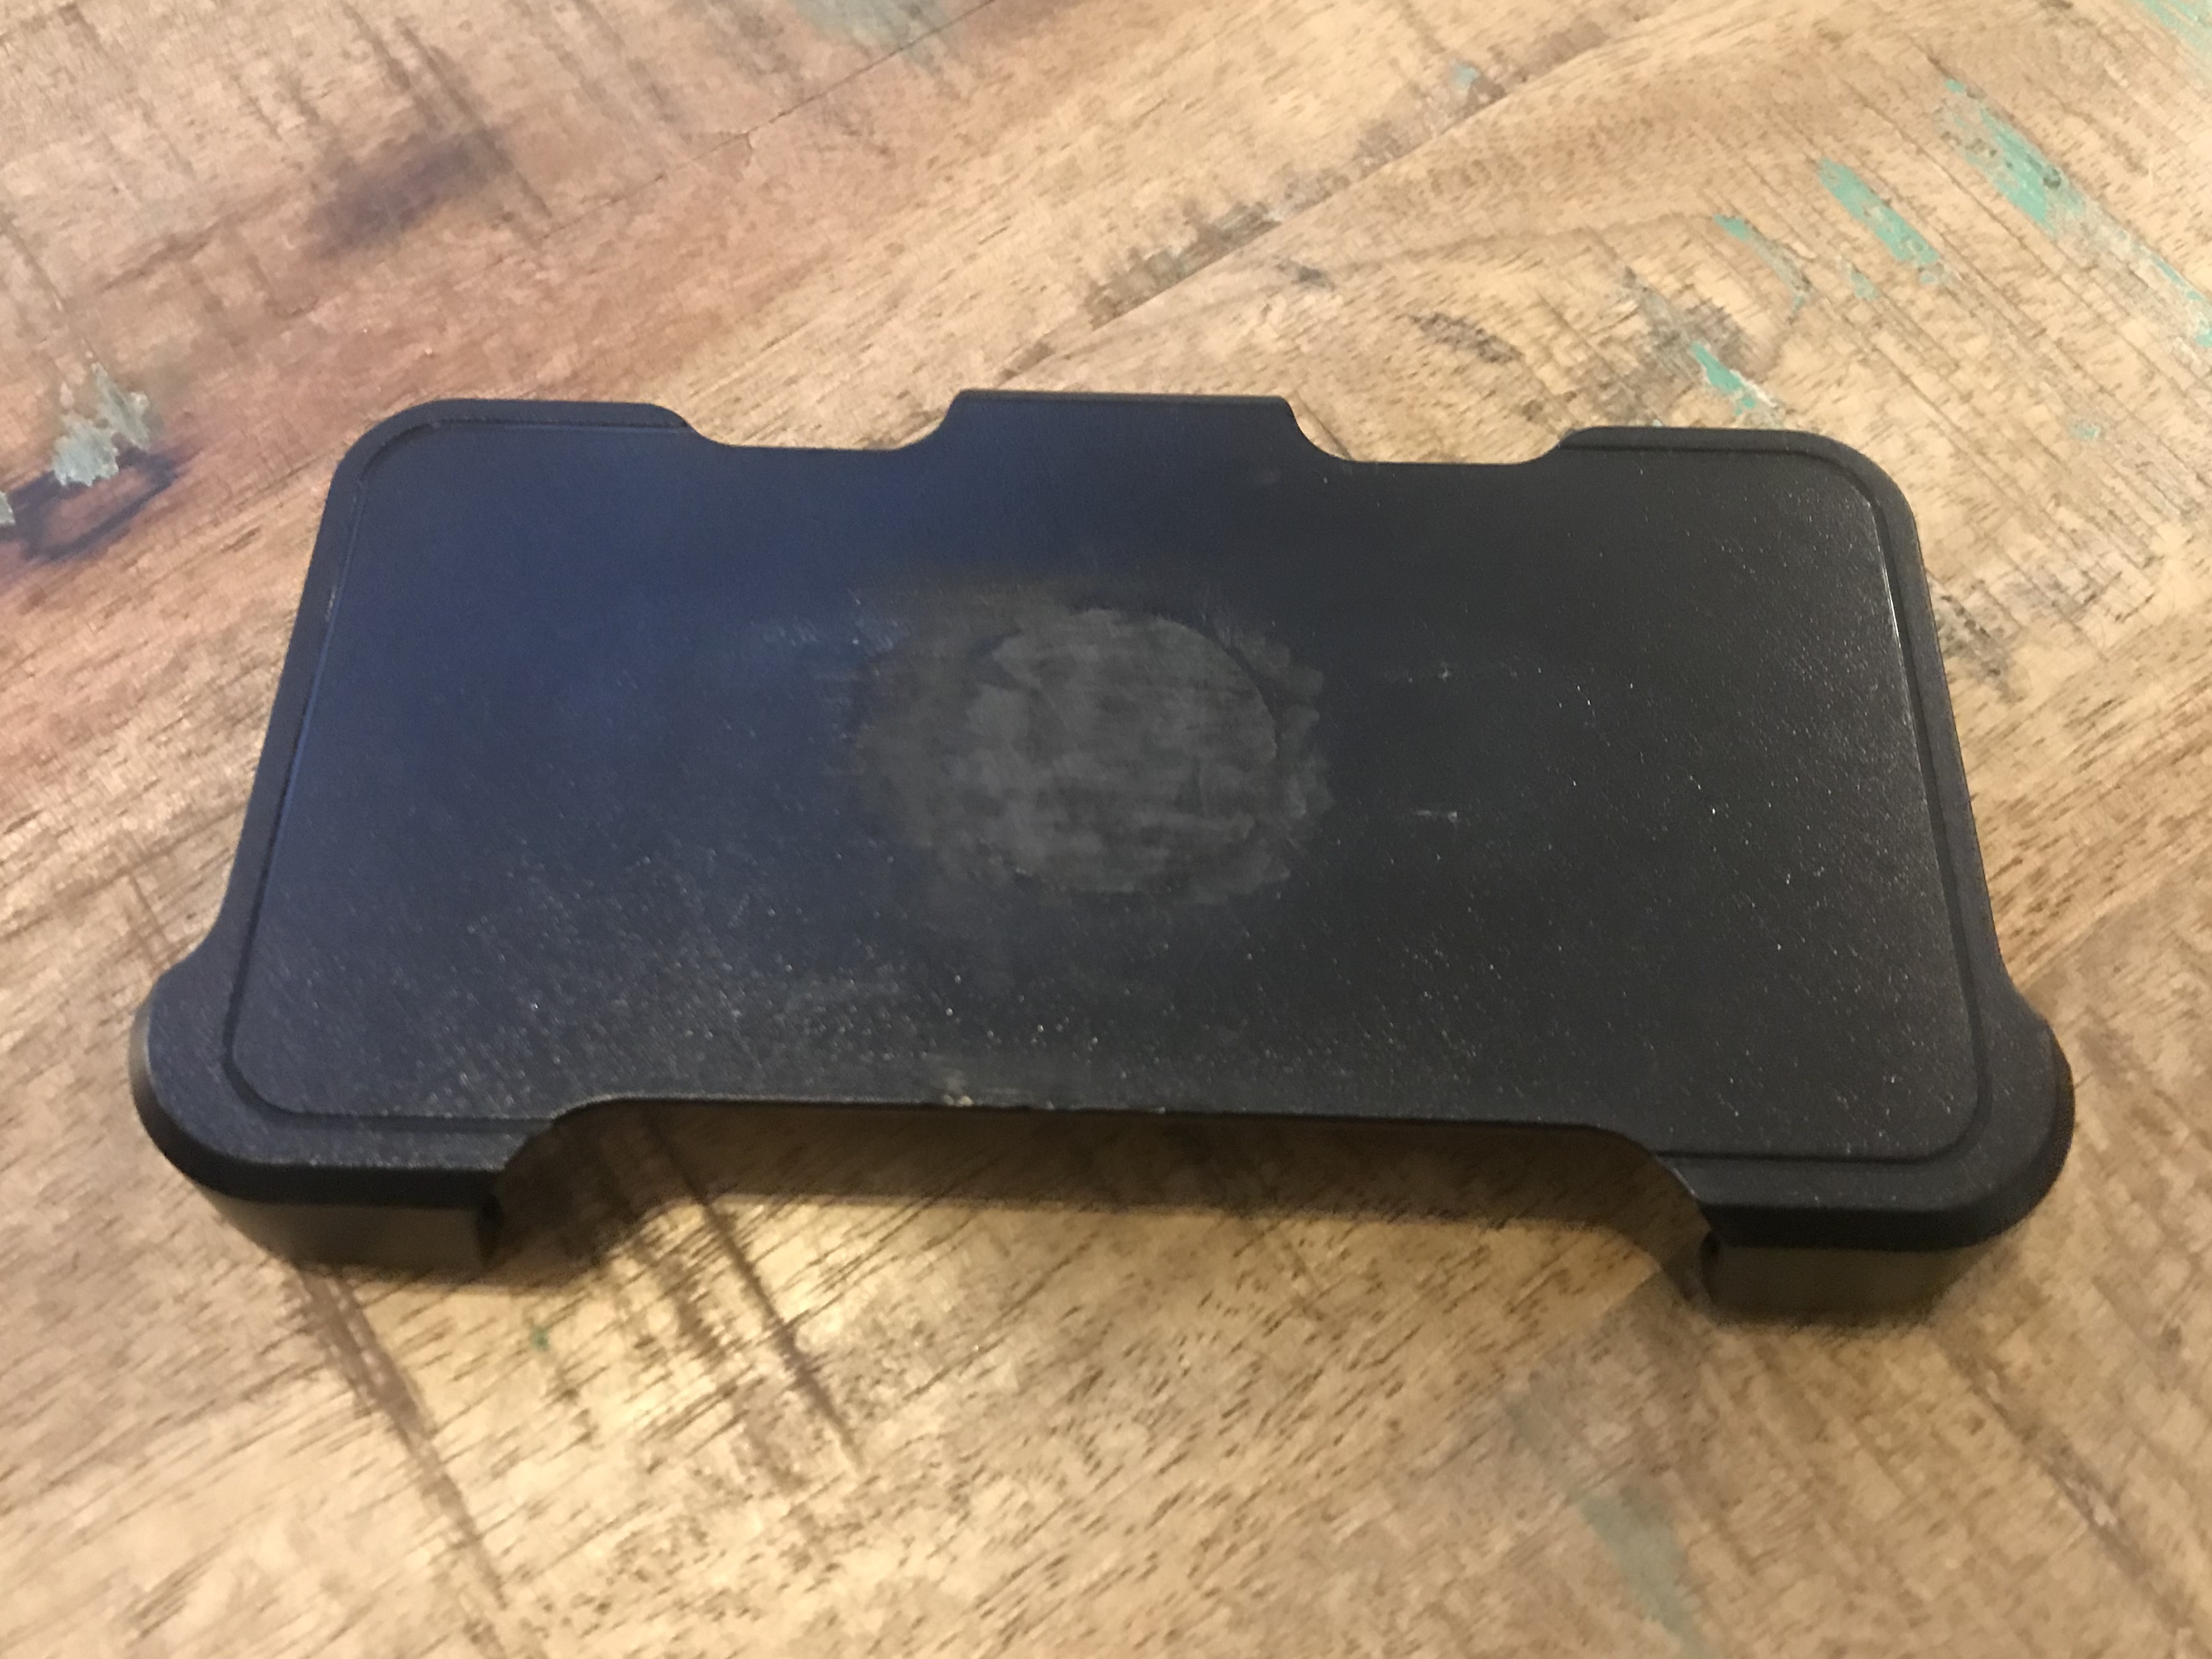
Pic 4: Clip Removed and Sanded
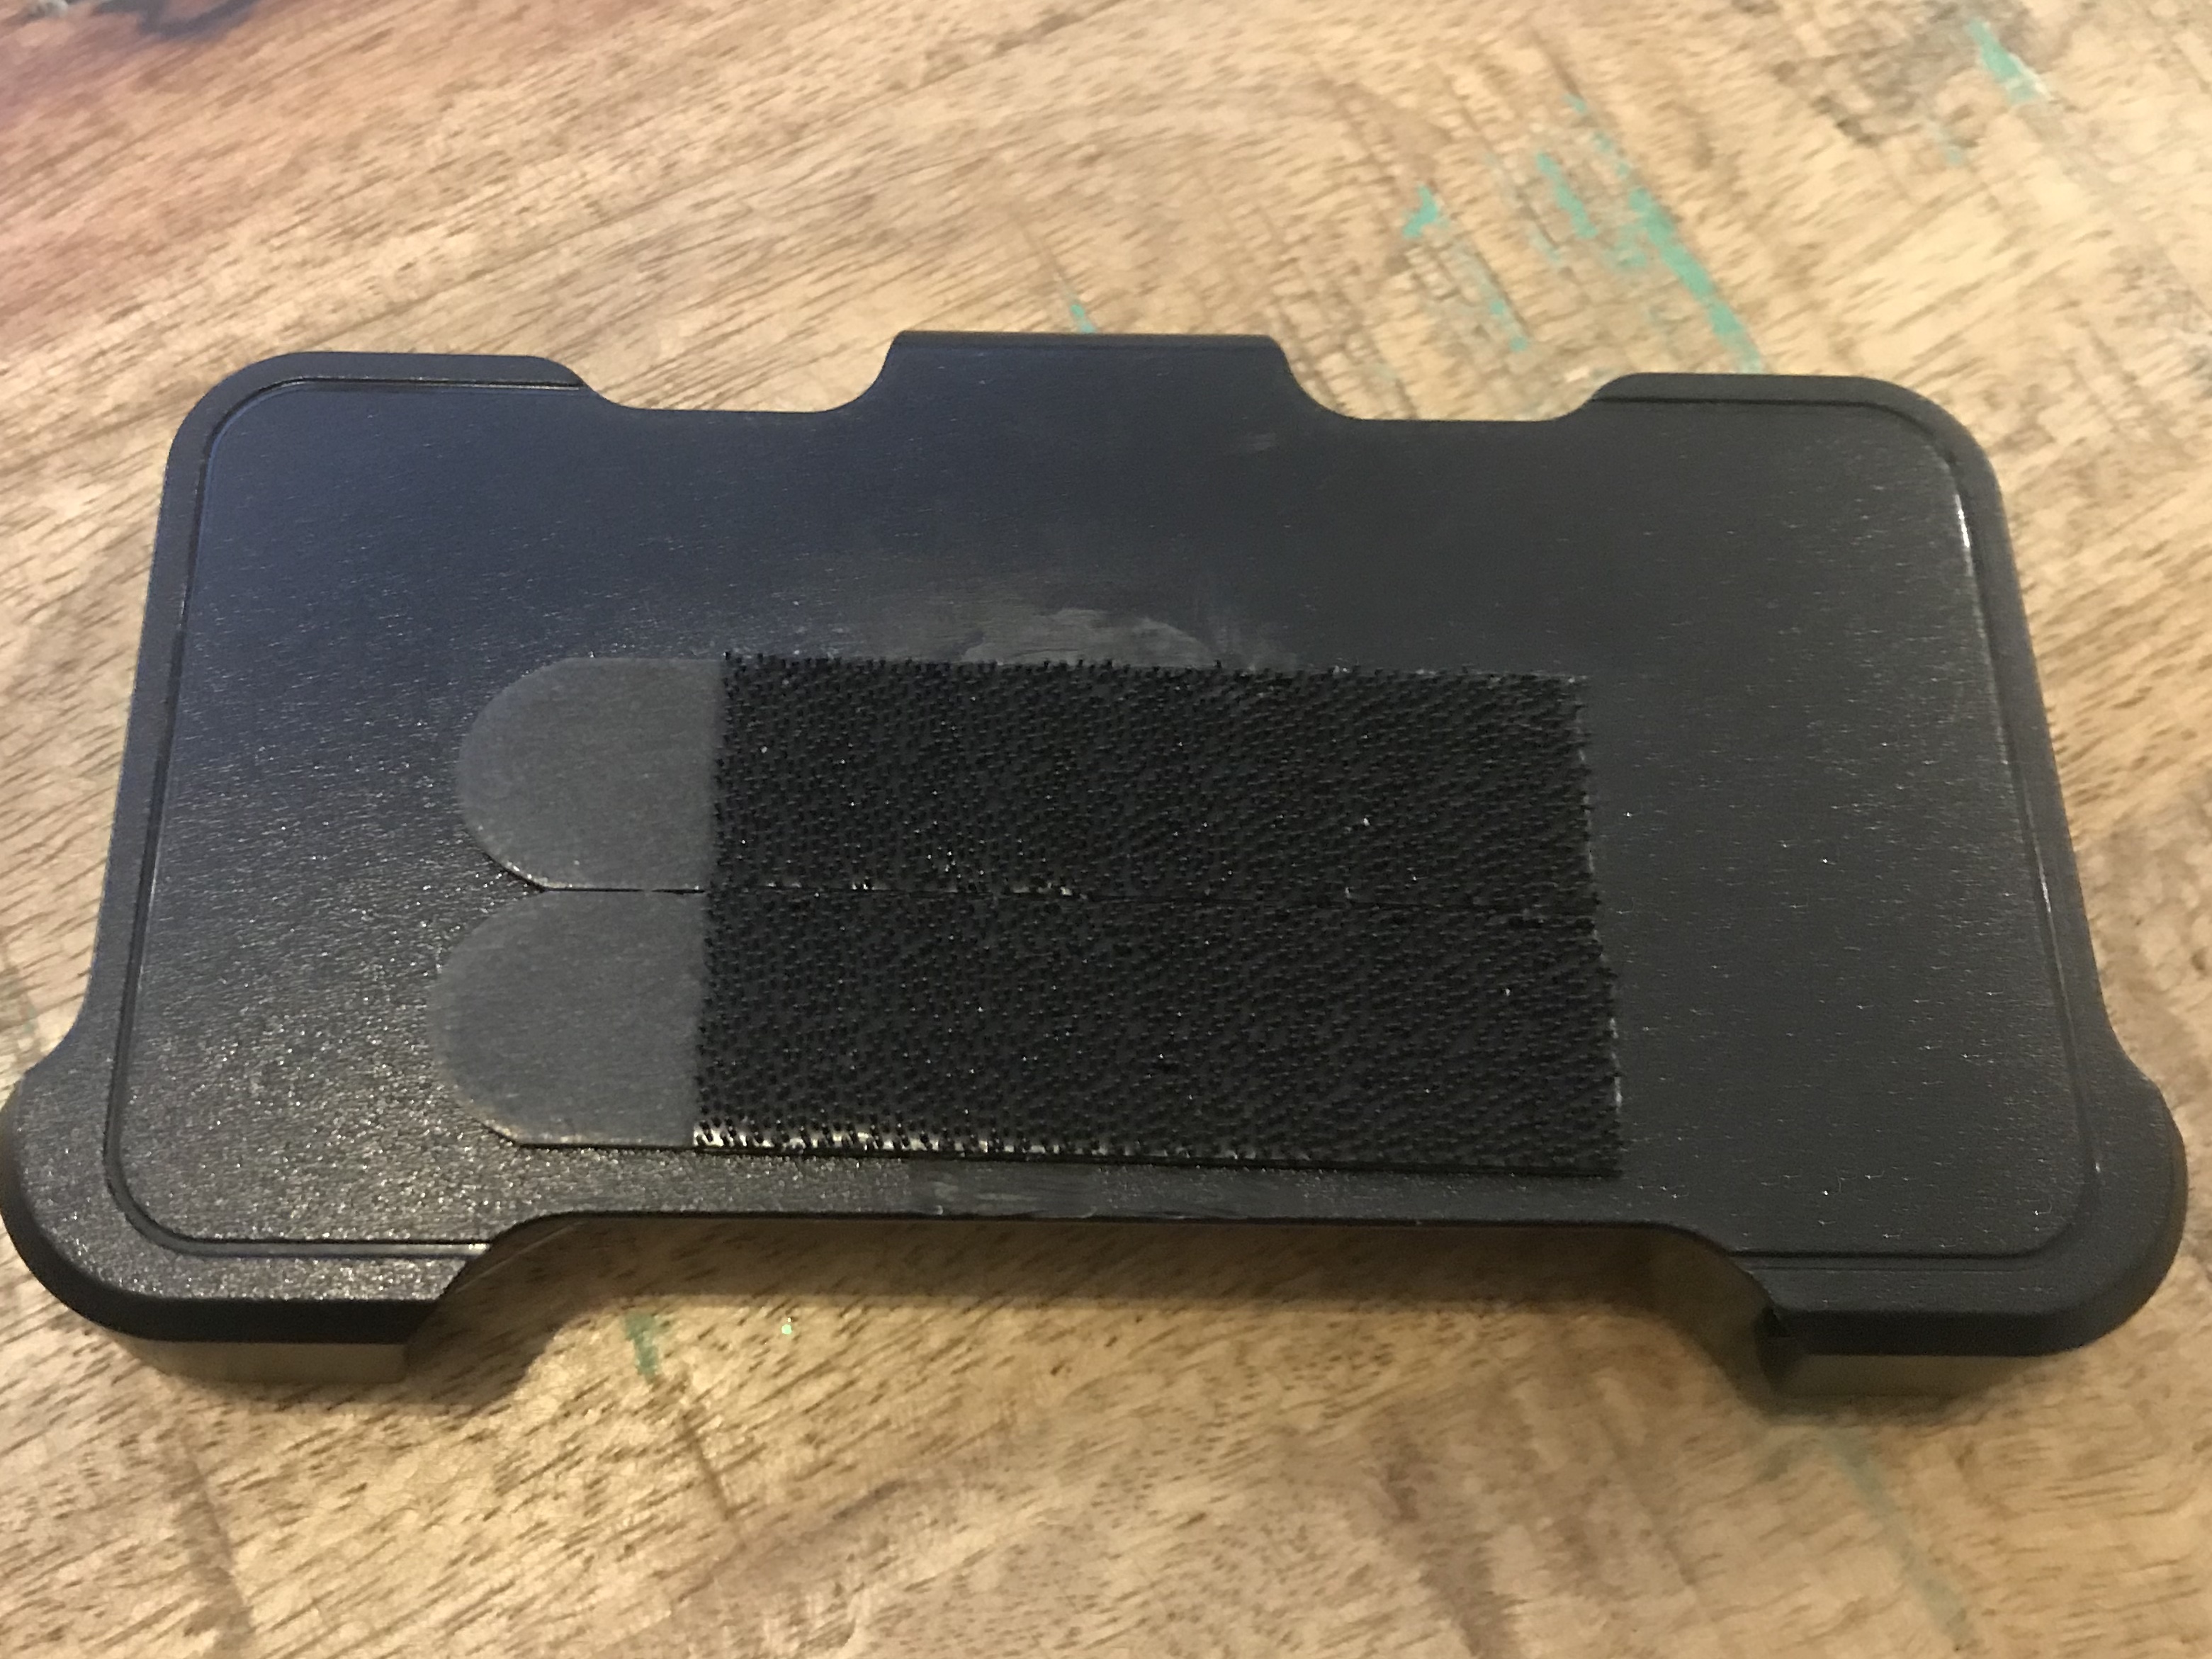
Pic 5: Velcro Added to Case
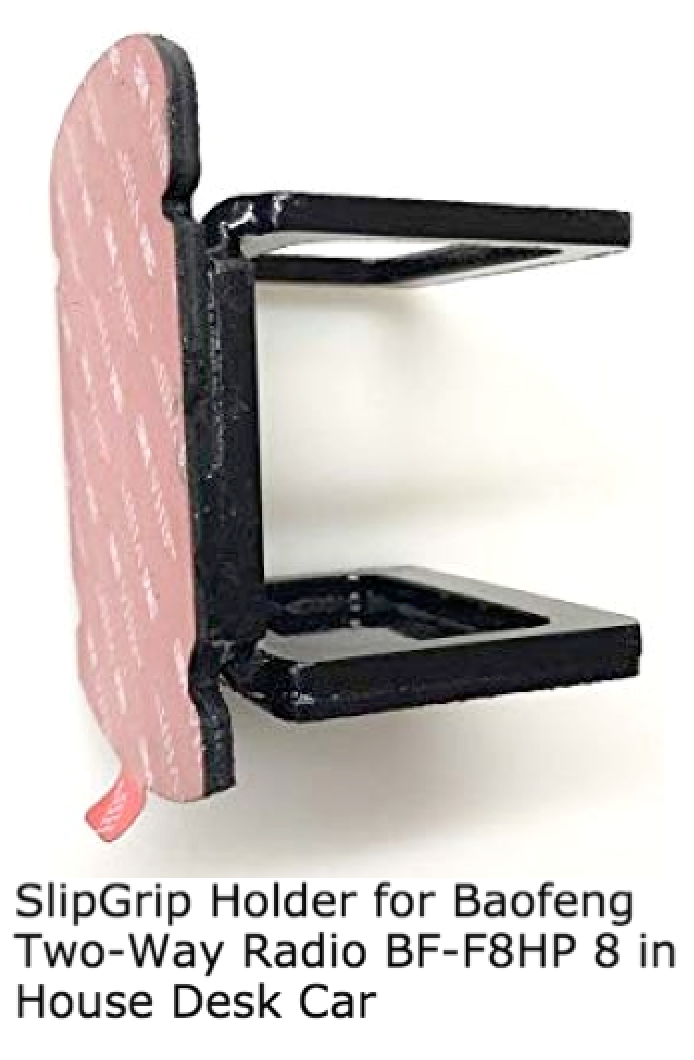
Step Two: Prepare the Mounting Plate and Holster
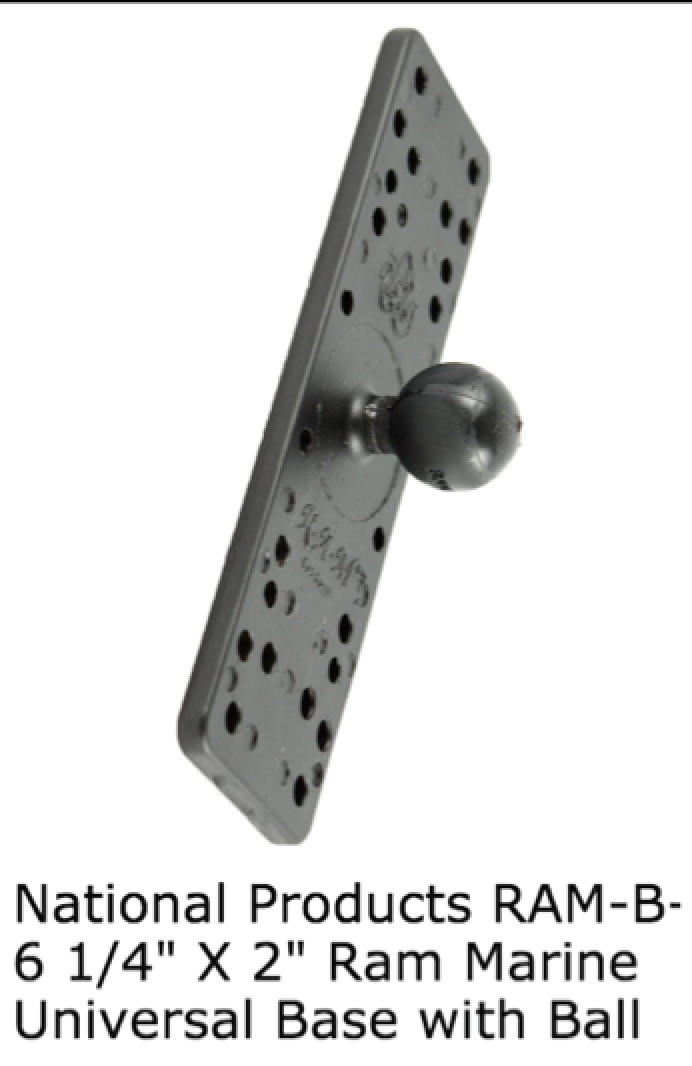
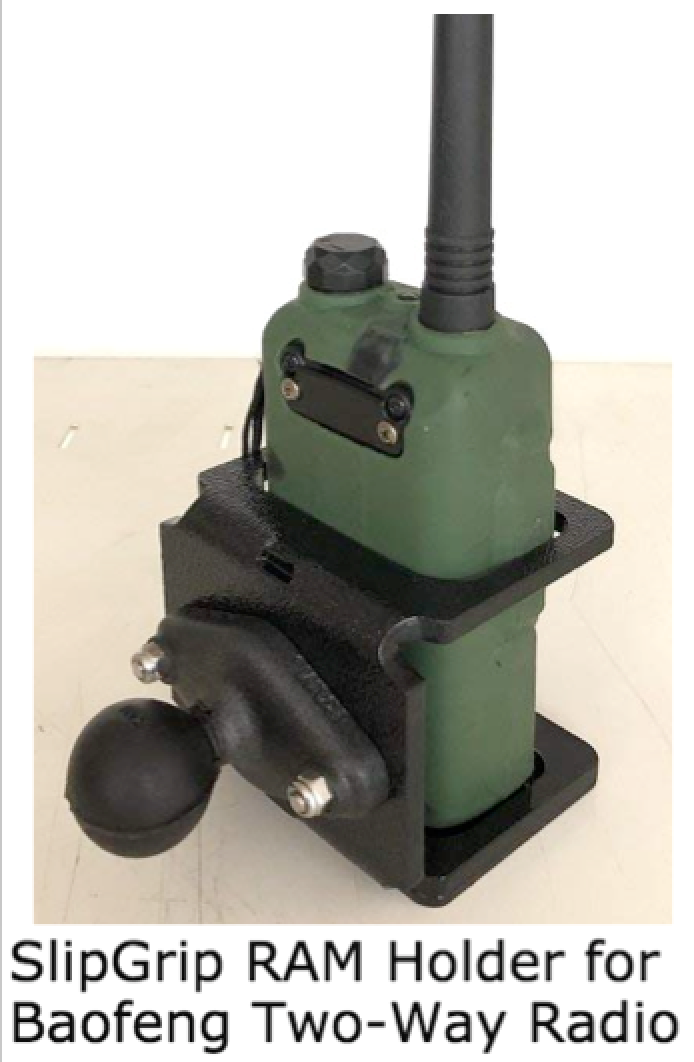
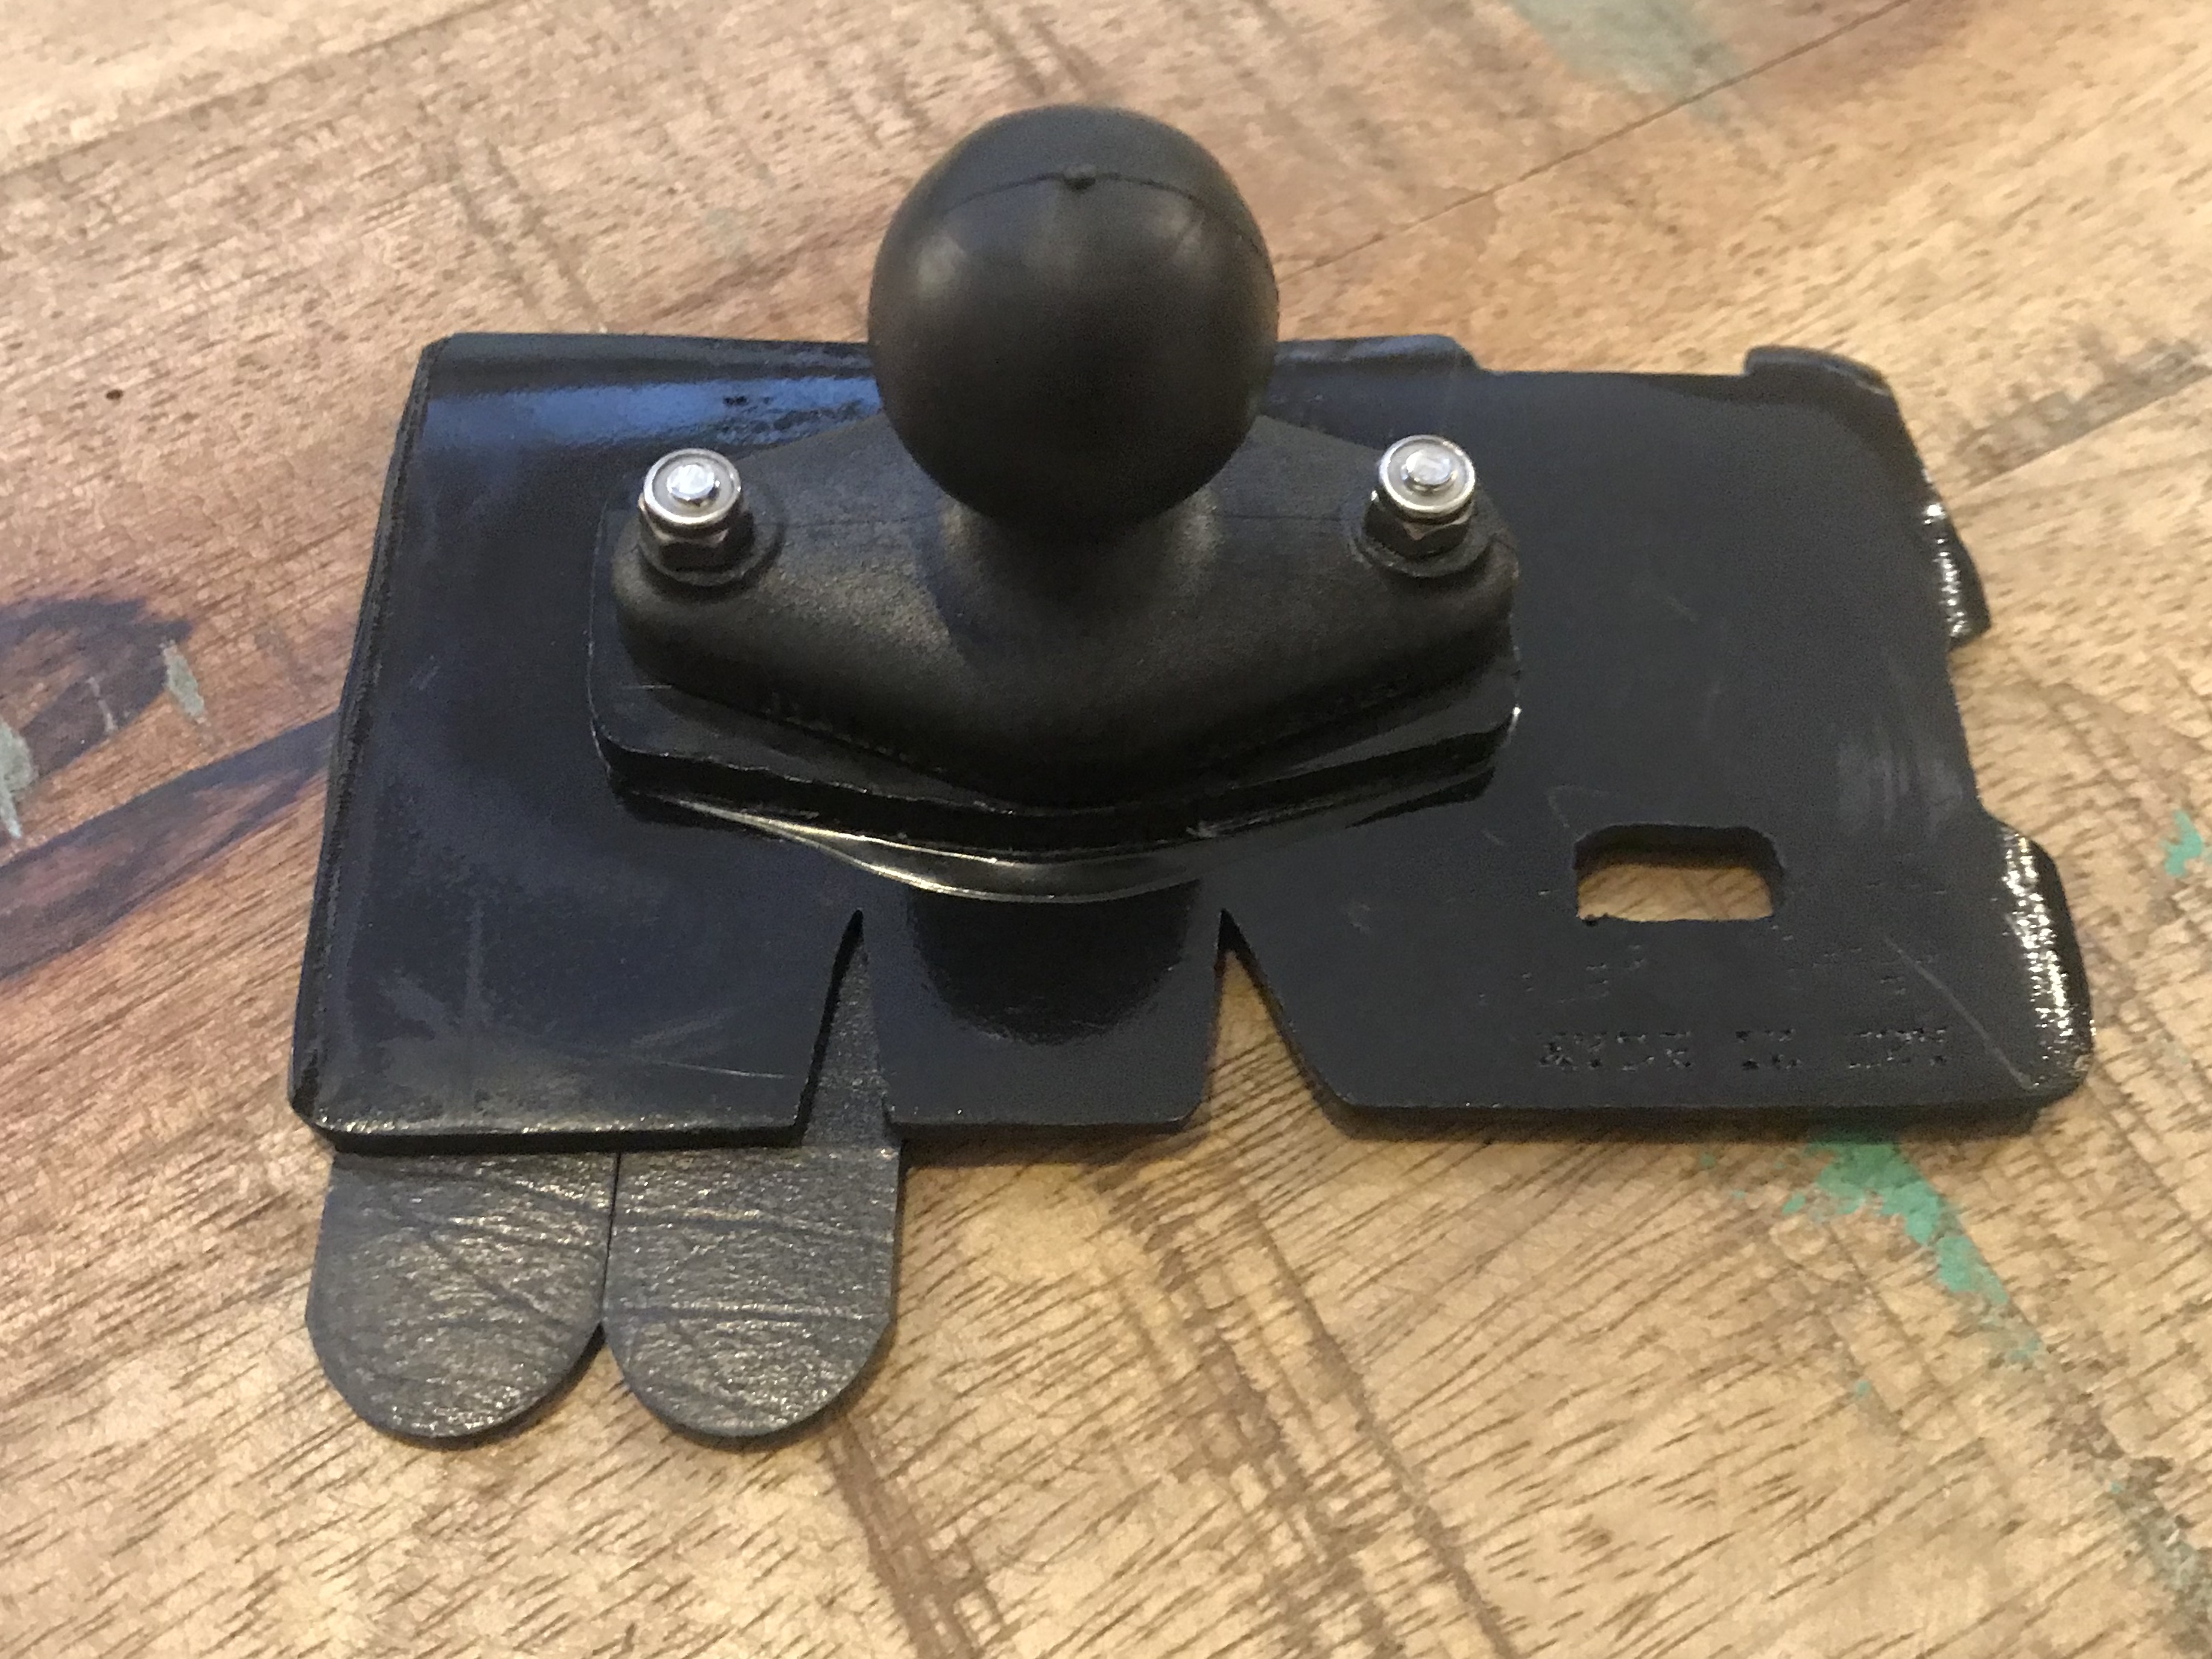
These pics don't match the parts list because I used the old Slip Grip as the foundation and didn't need the holster, so you can see the concept, and see how to cut your own mounting plate if you don't buy the universal mount. If you're buying the parts listed above, here's where you'll paint the Stainless Steel Holster and attach it to the RAM Universal Marine Electronic Ball Mount.
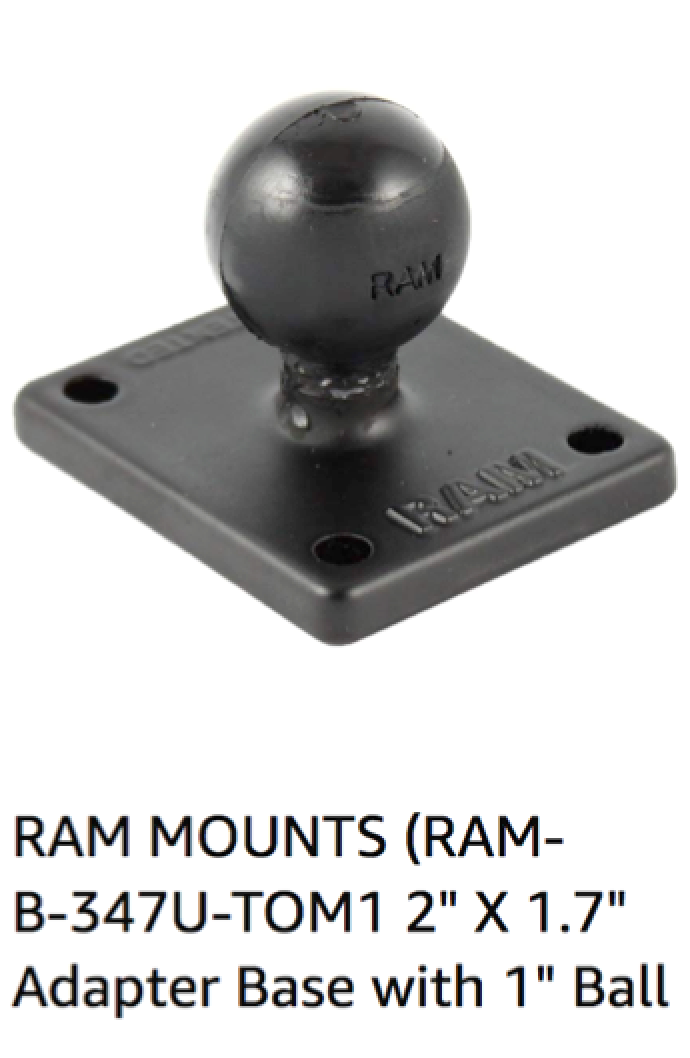
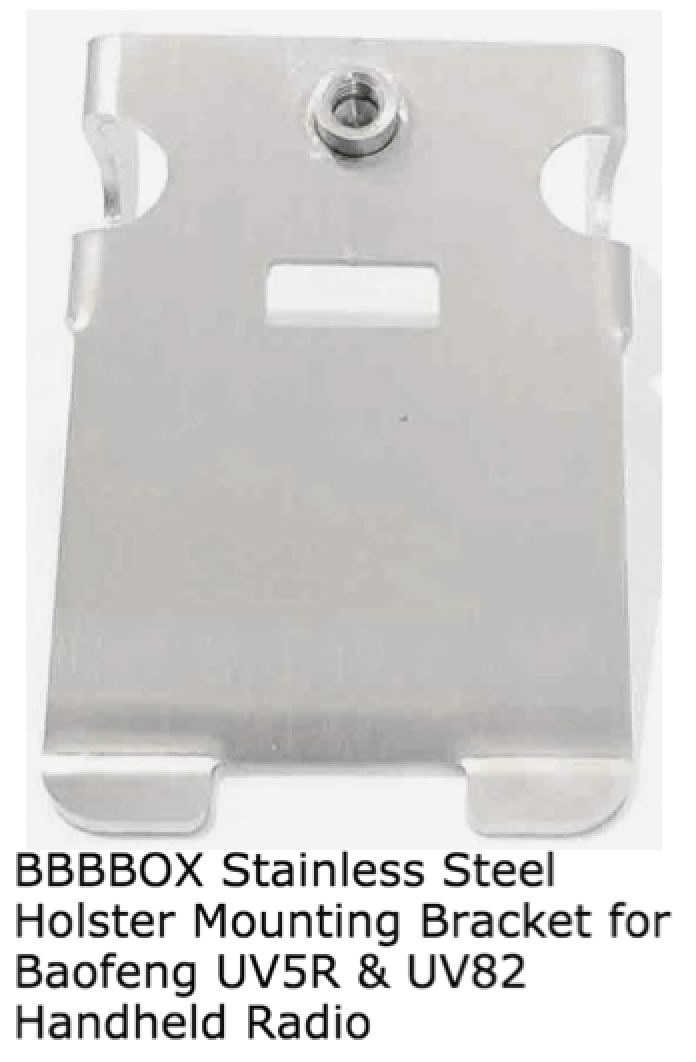
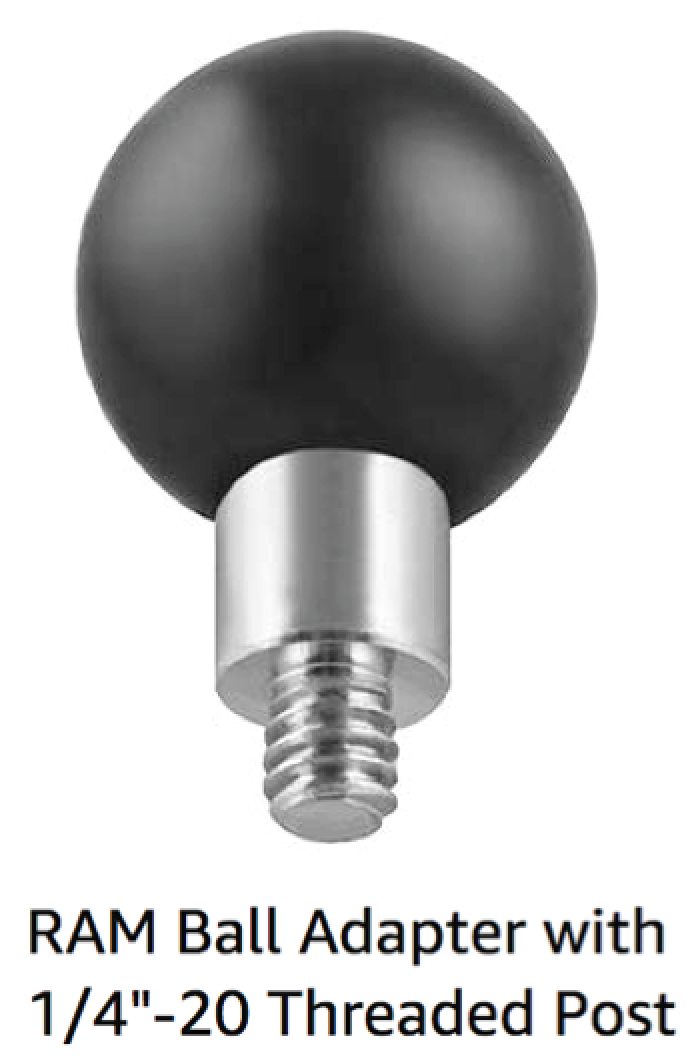
The holster has a nut soldered onto the pack of it, which takes a 1/4"-20 threaded bolt. (RAM also makes a 1" RAM Ball Adapter with a 1/4"-20 threaded post that fits the back of the holster, in case you want to skip the universal mounting plate and just attach the holster to the Double Socket Arm like I did in the Wrangler Install.)
Ignore the triangular cuts in the SlipGrip; those aren't relevant to this project.
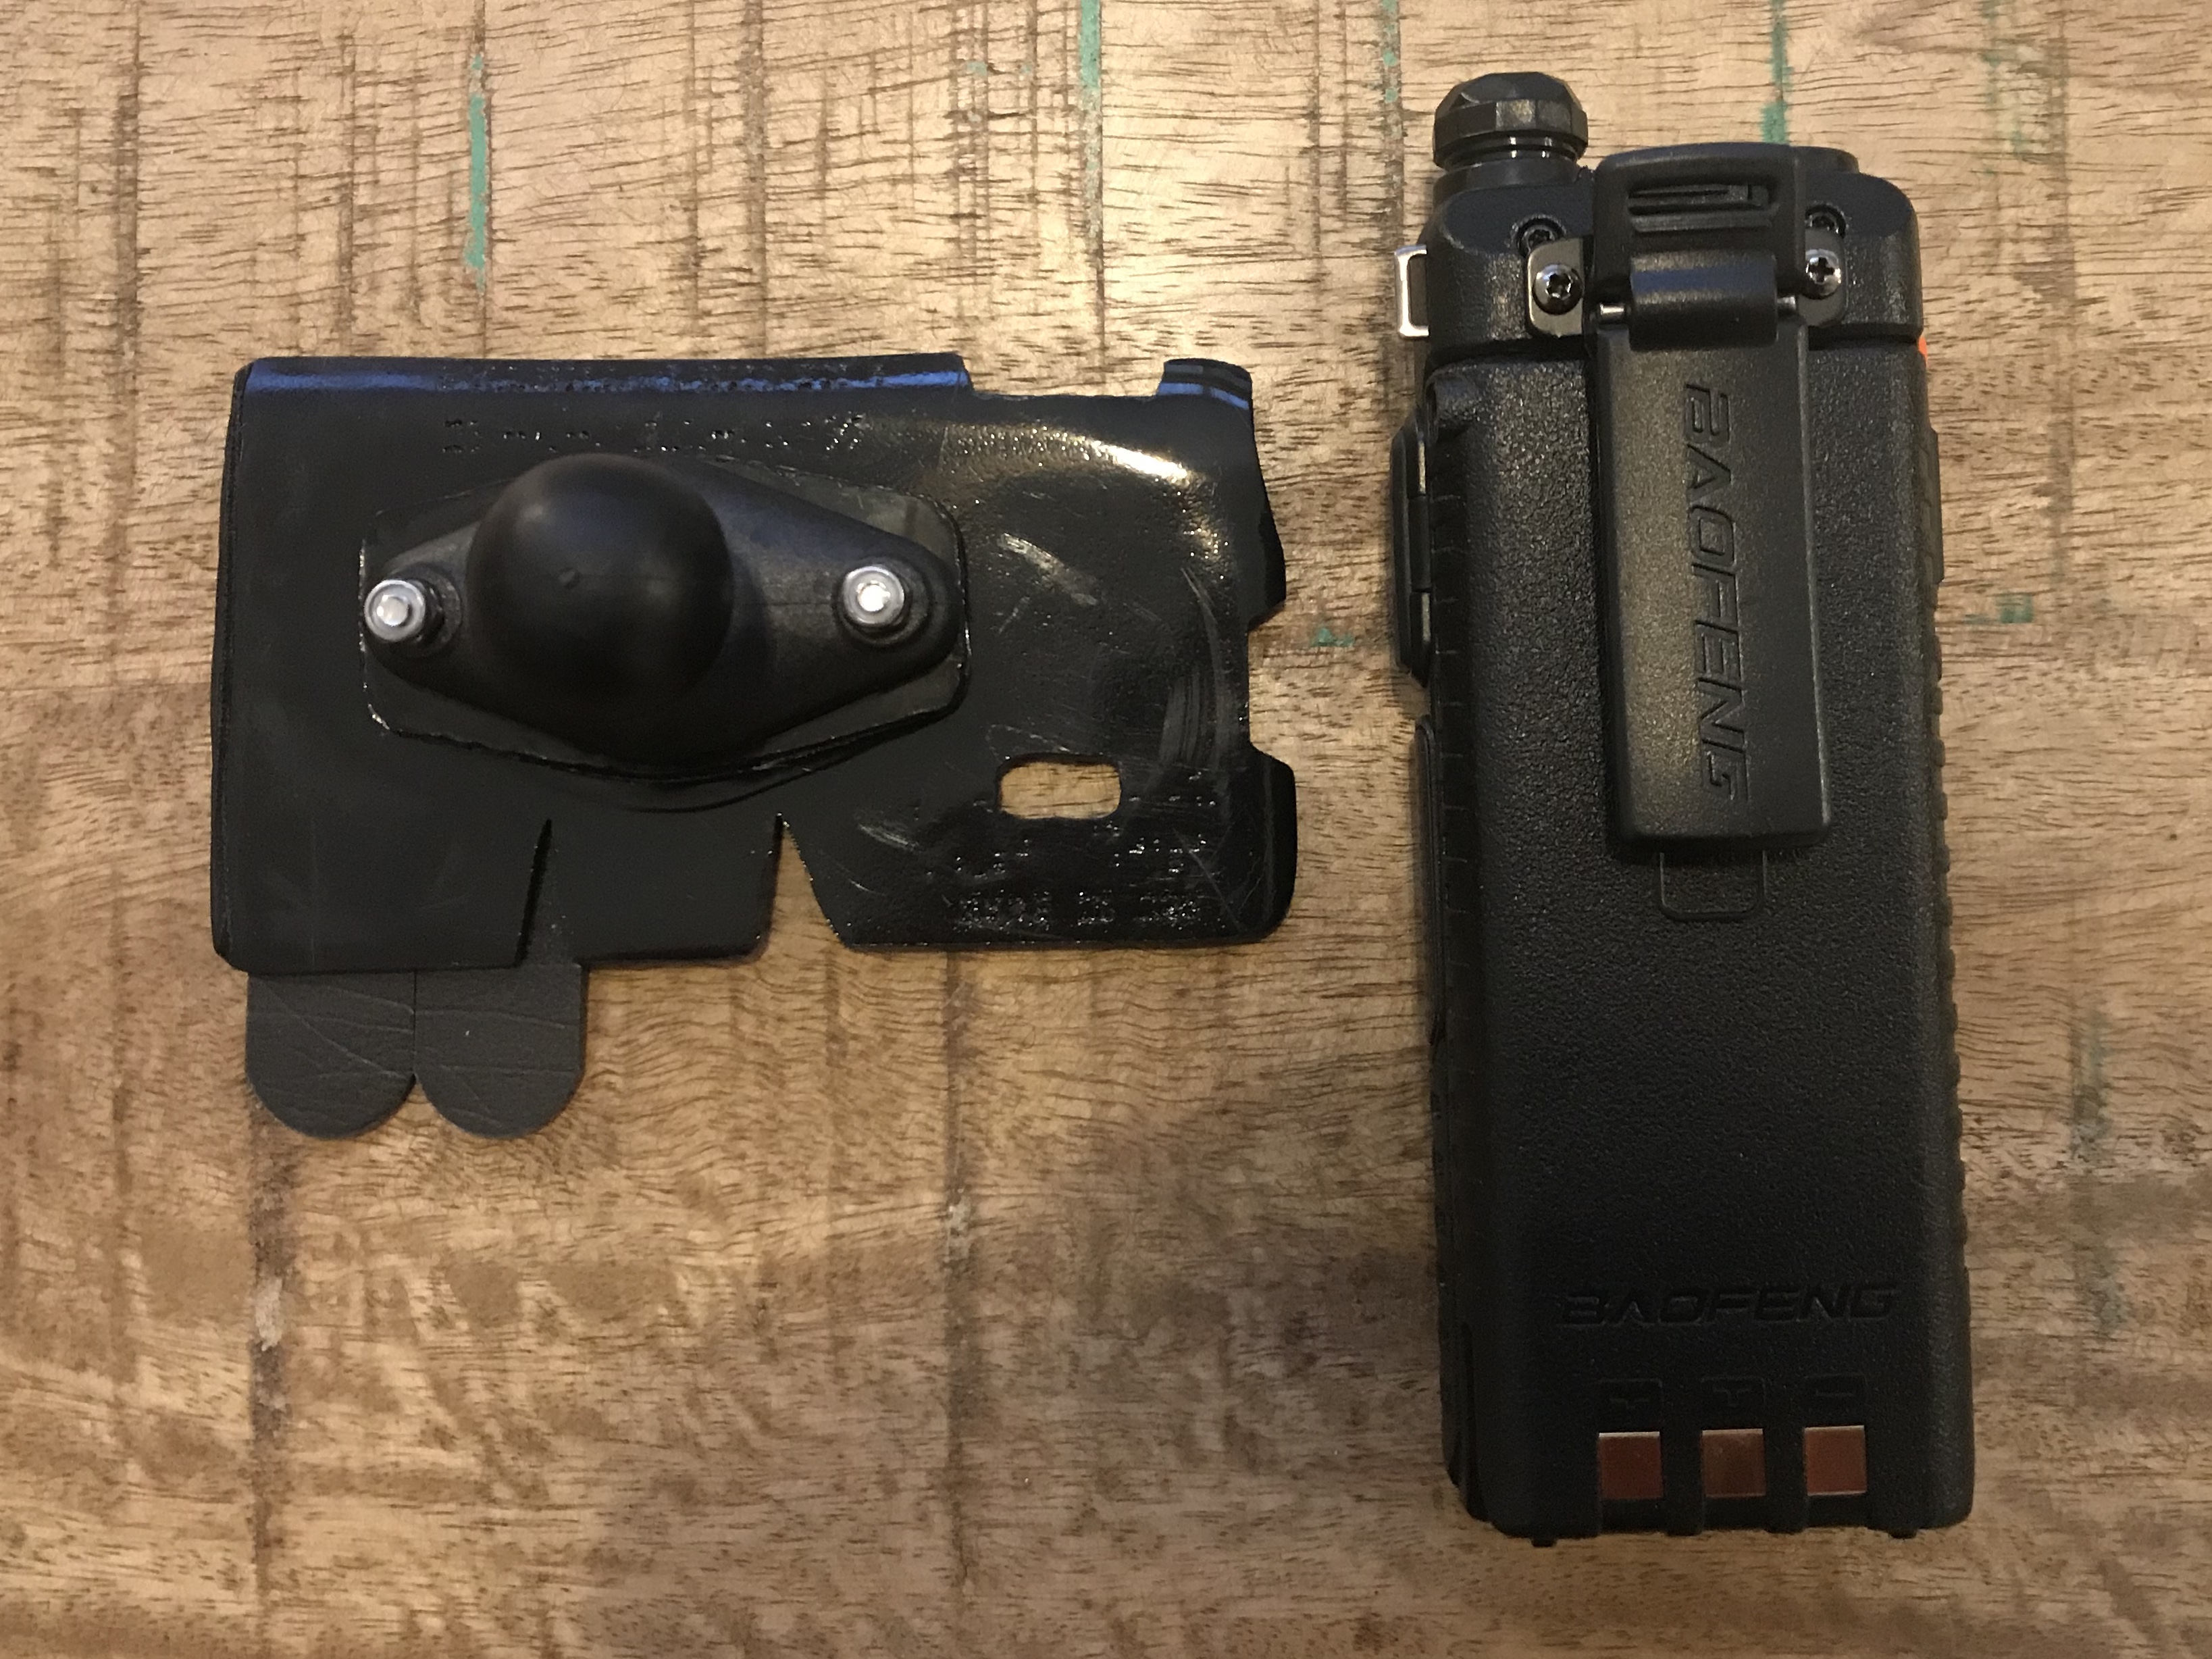
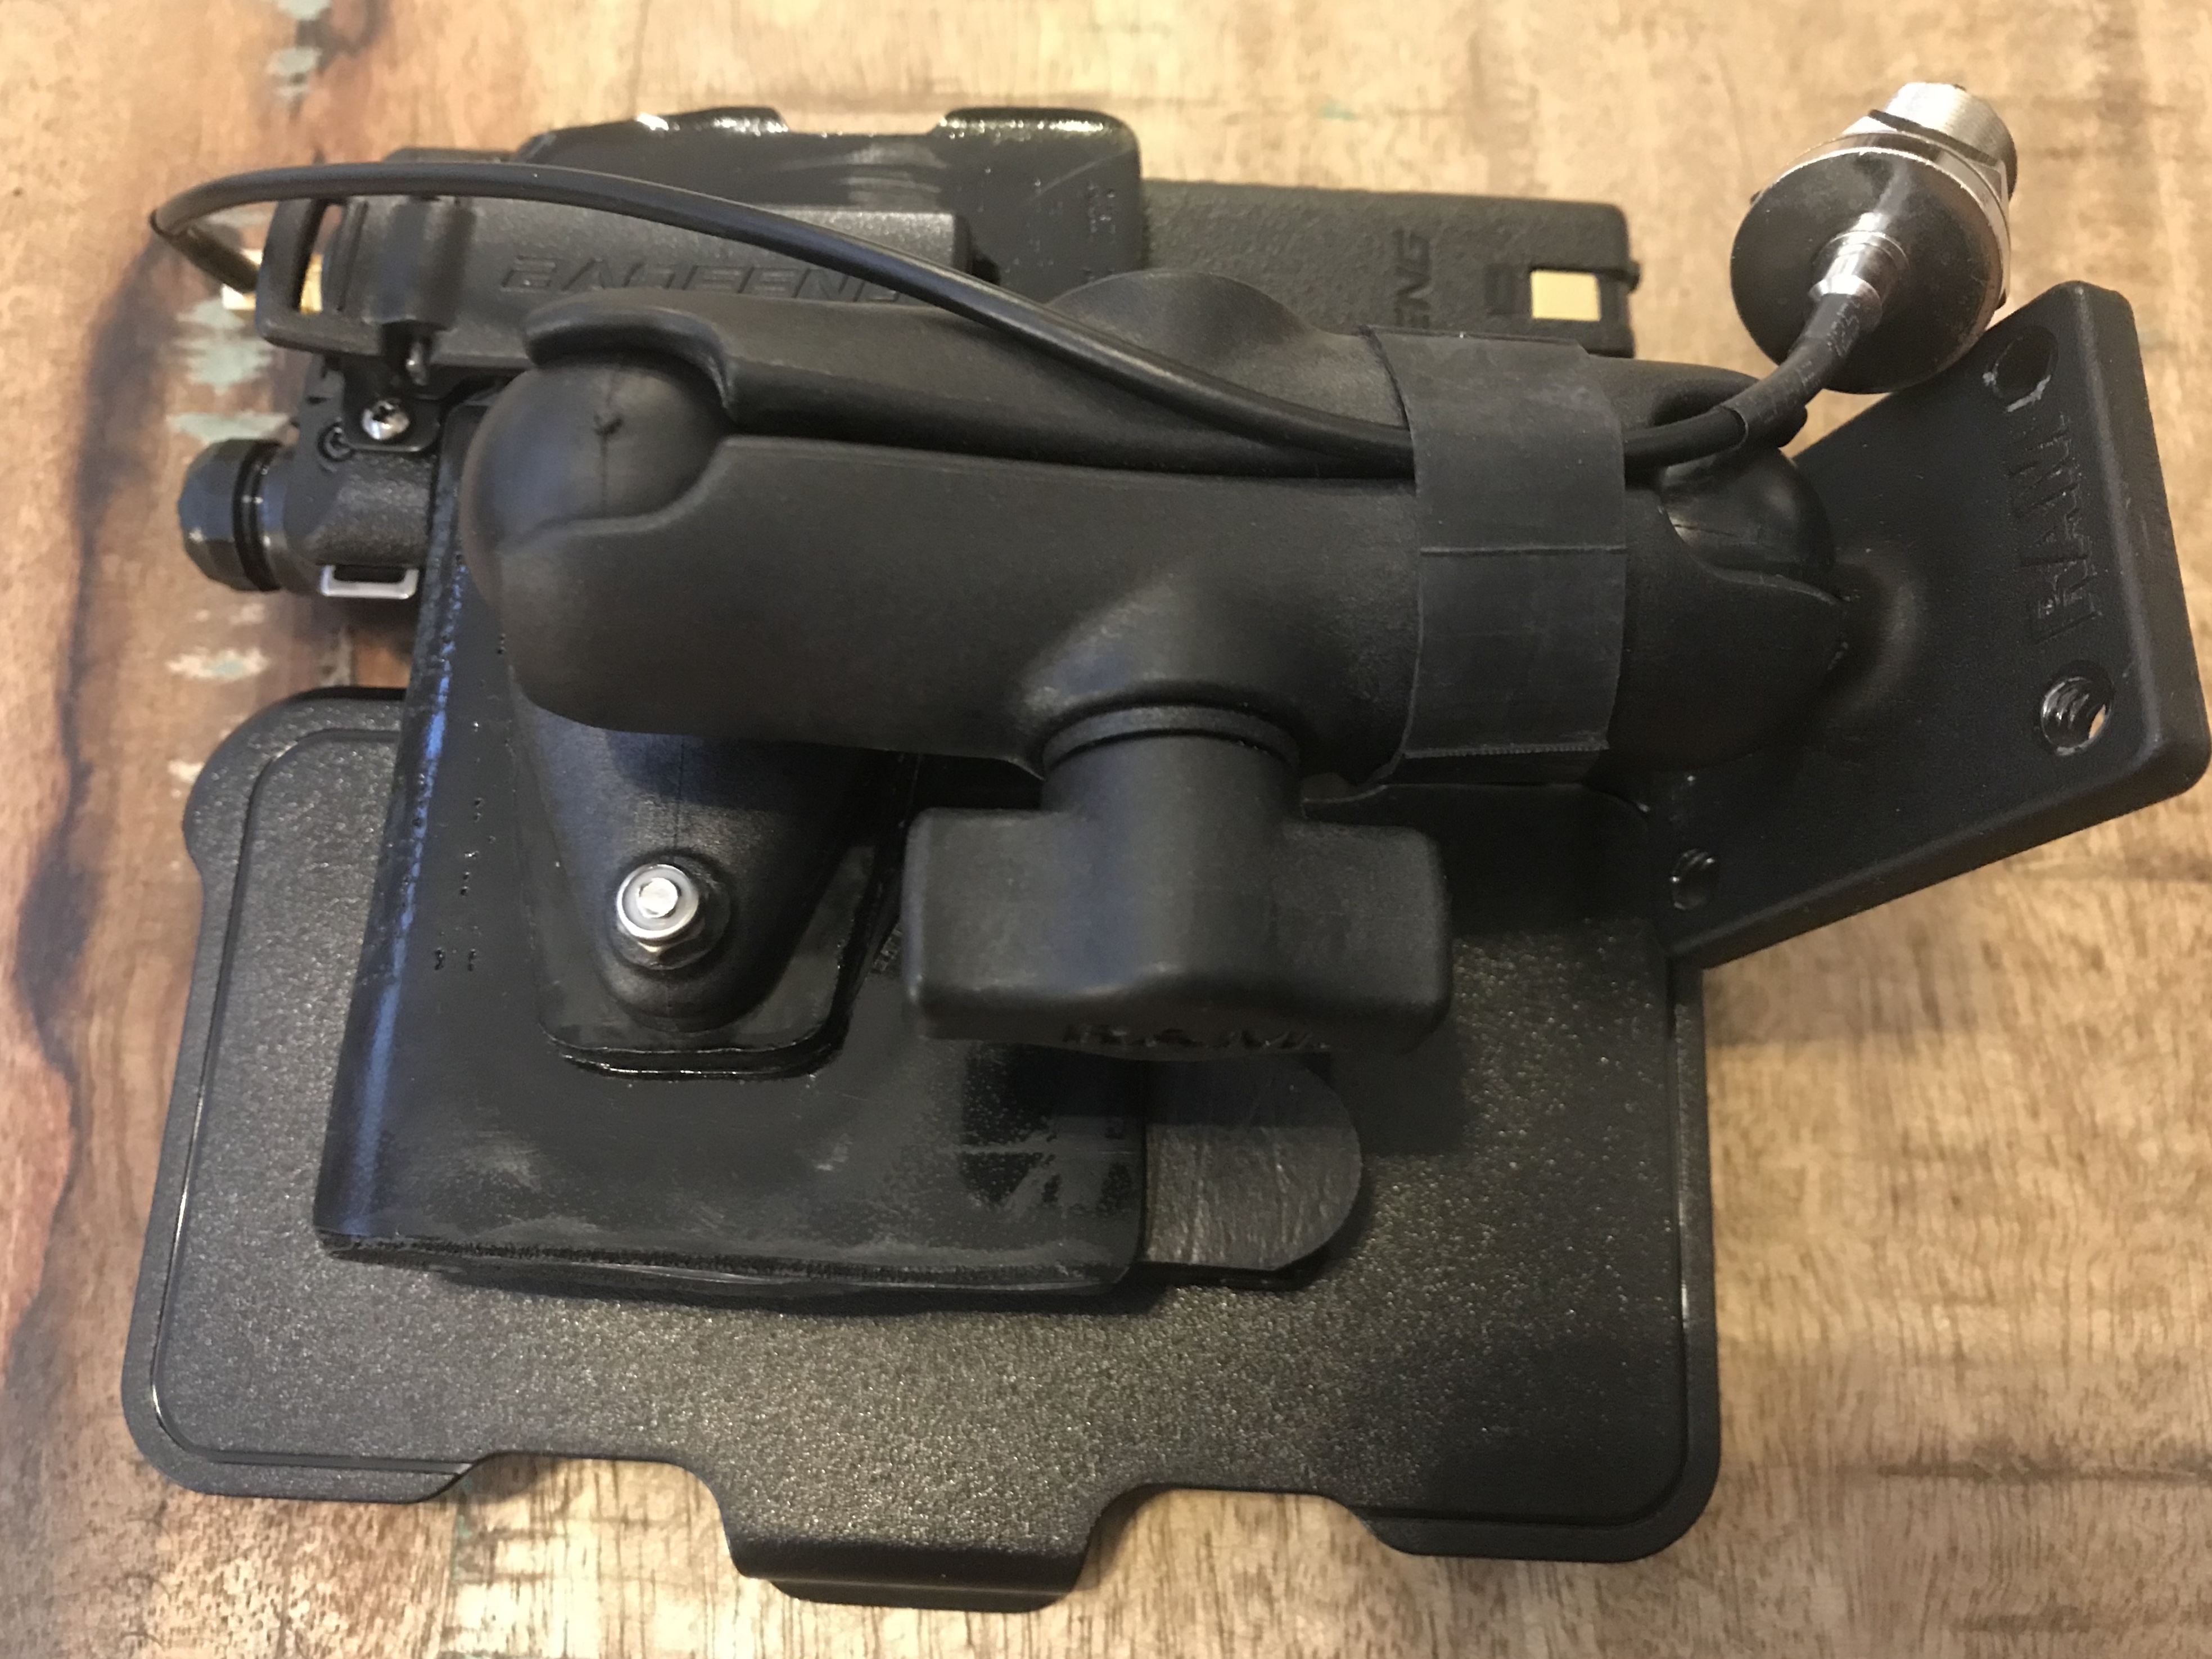
In Pic 7, you can see the indention I cut into the top side of the plate. The top of the Baofeng's belt clip fits into that indention, which keeps the top of the radio from sliding around. Just below that, the rectangular hole is where the catch on the belt clip fits. These two cuts hold the radio securely onto the plate.
Pic 8 shows the front of the mounting plate. I put a small piece of velcro Command Strip on the radio side as a shim to hold it snugly, and to cushion any plastic-on-plastic rattles that might be produced. The command strips on the right side mate to the strips on the Otter Box.
Pic 6: Mount RAM Ball on Sheet
Pic 7: Cut Sheet to Clip
Pic 8: Sheet Cut to Spec

Pic 9: Fitting Radio Clips
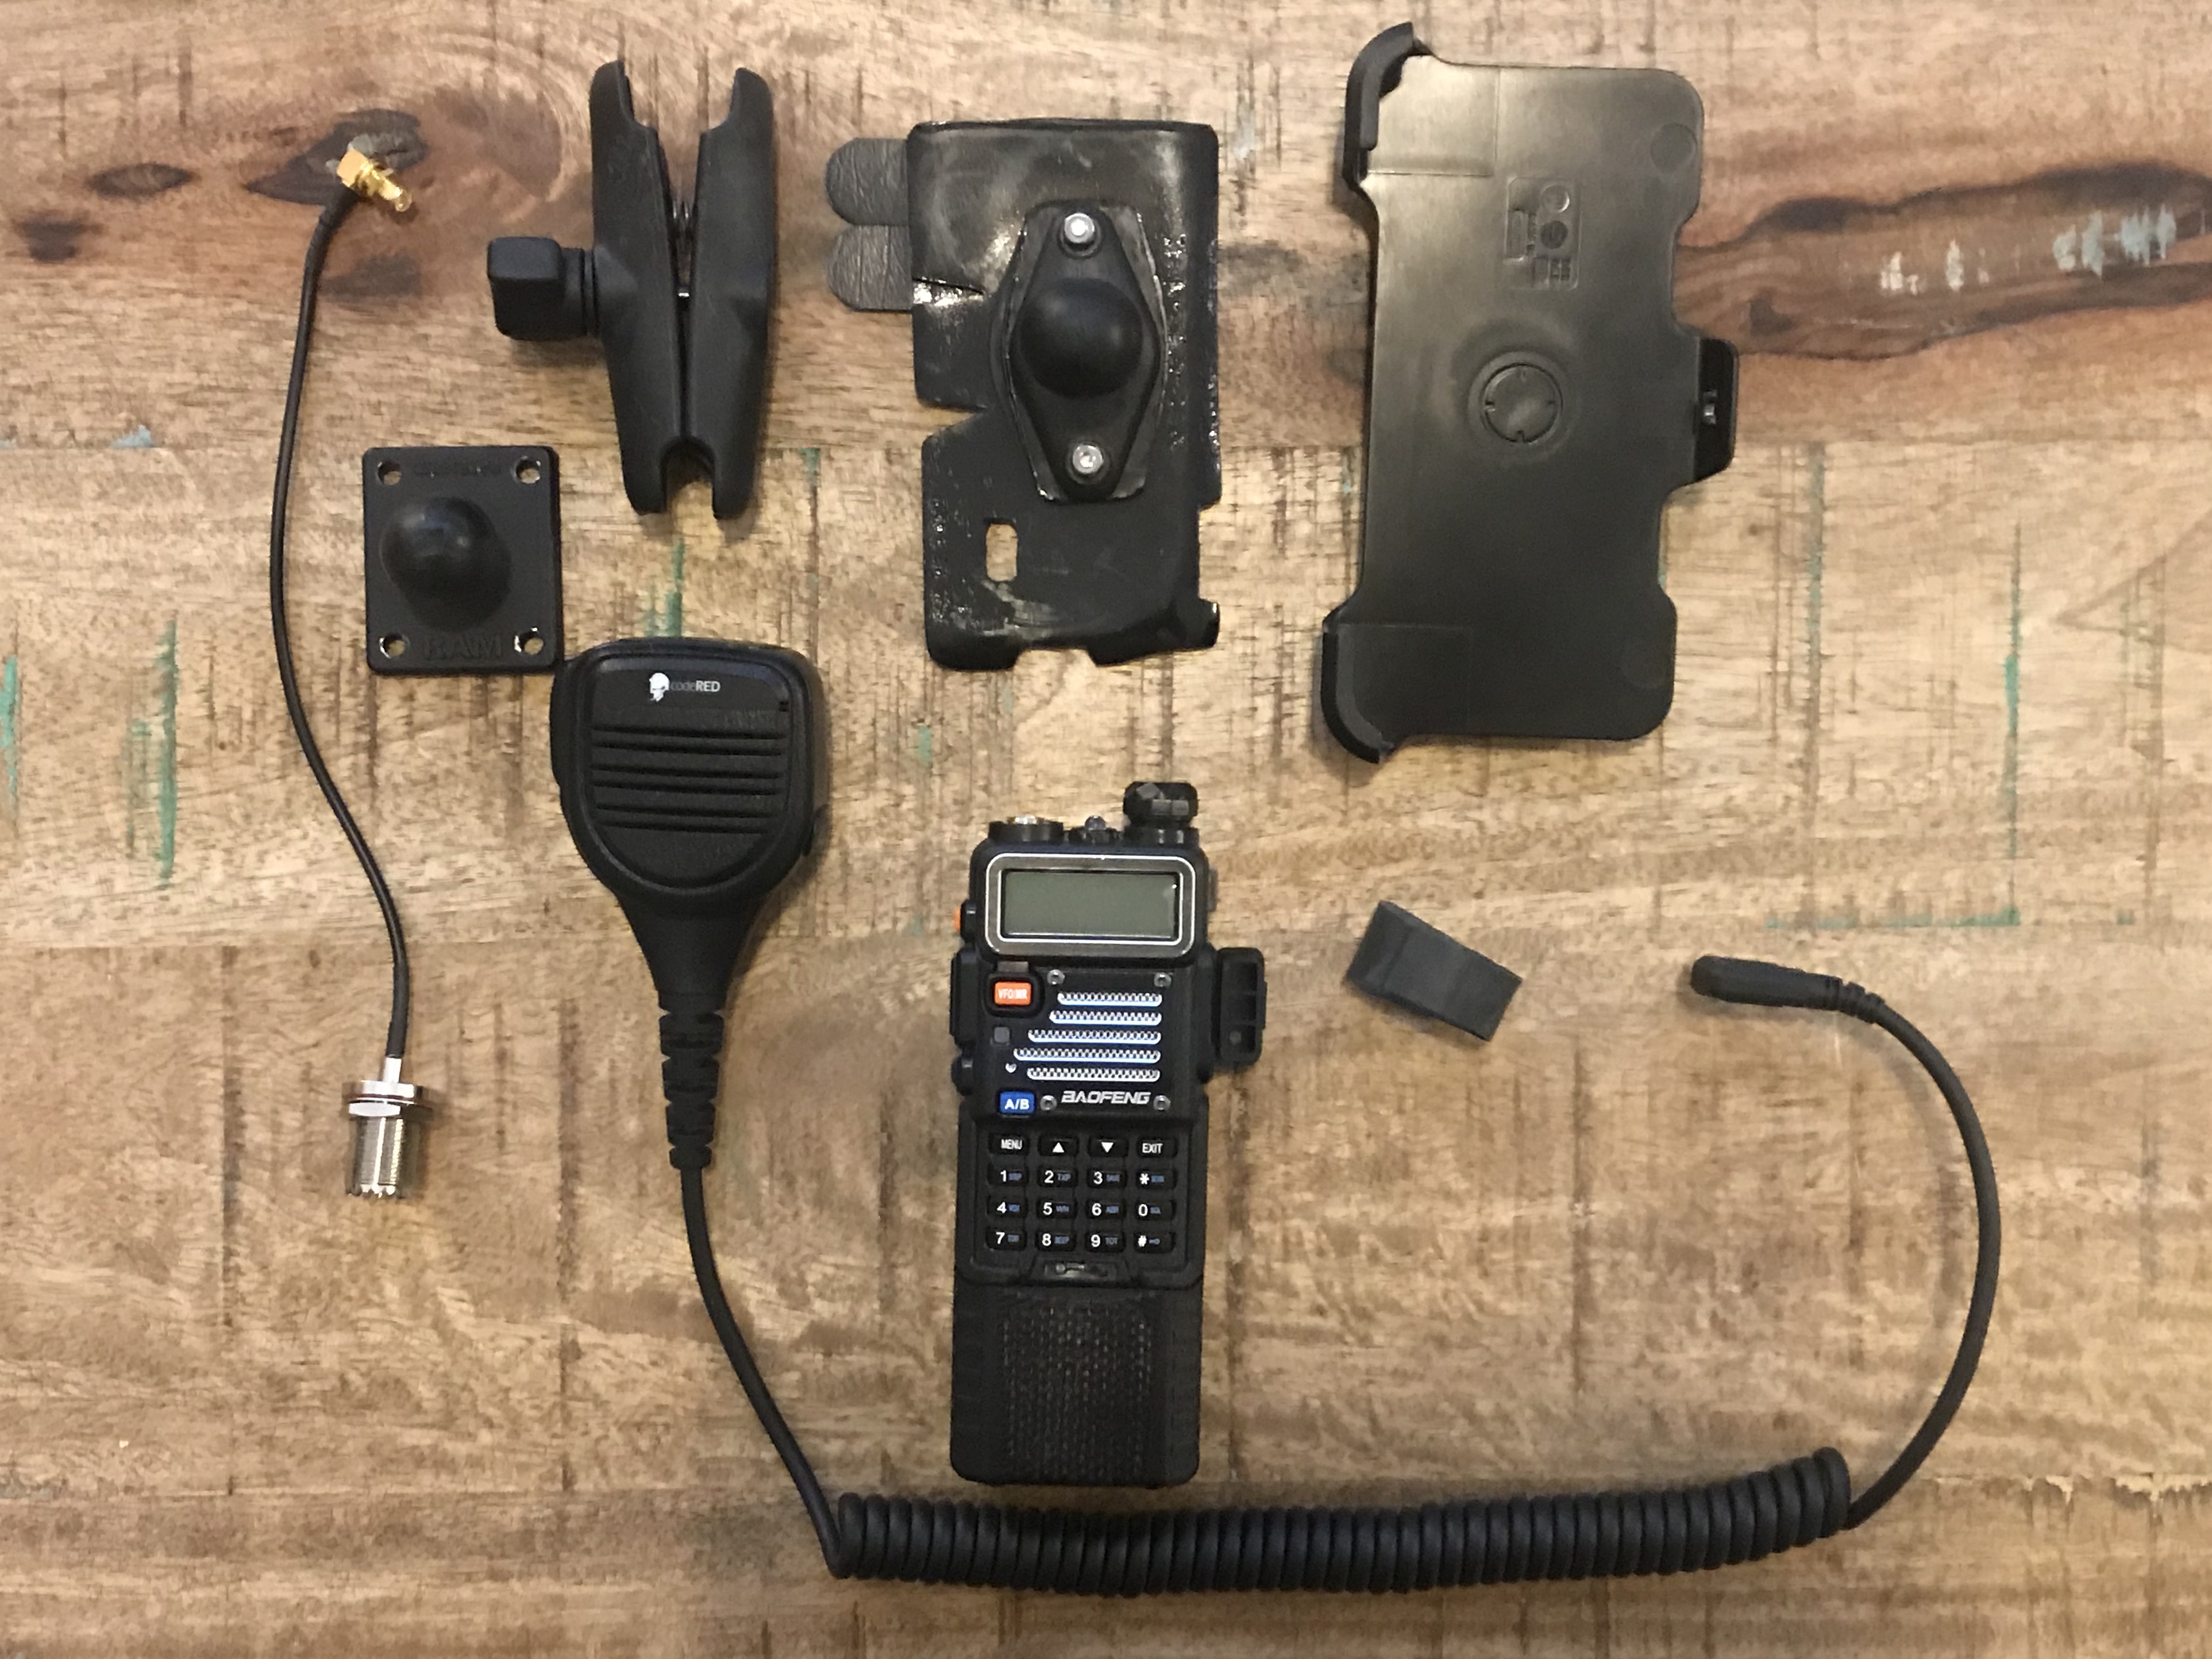
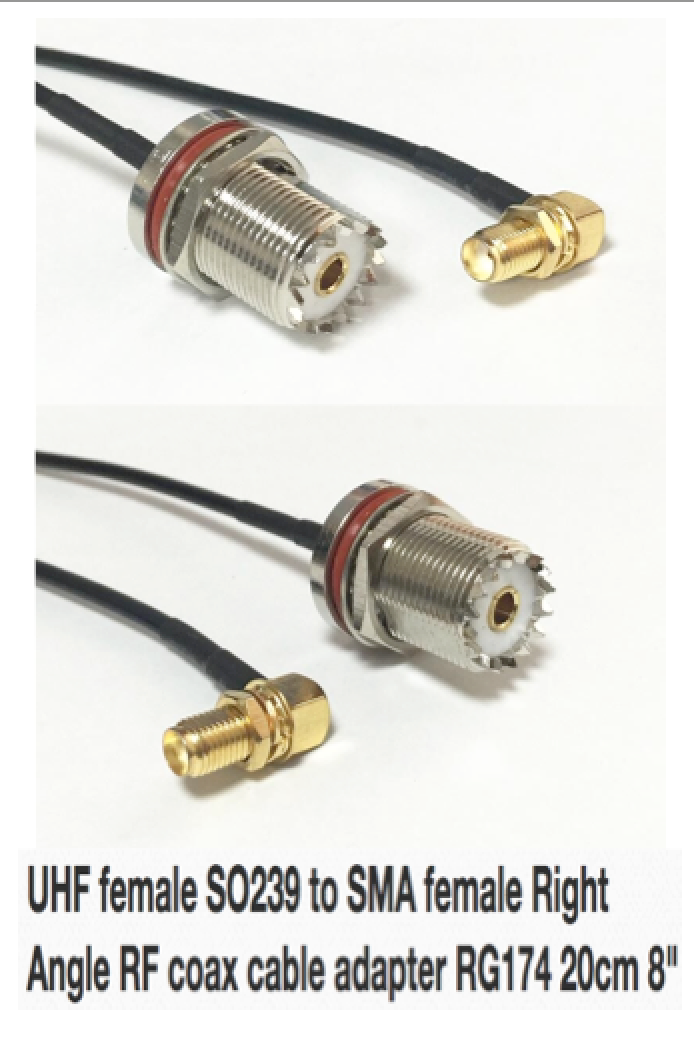
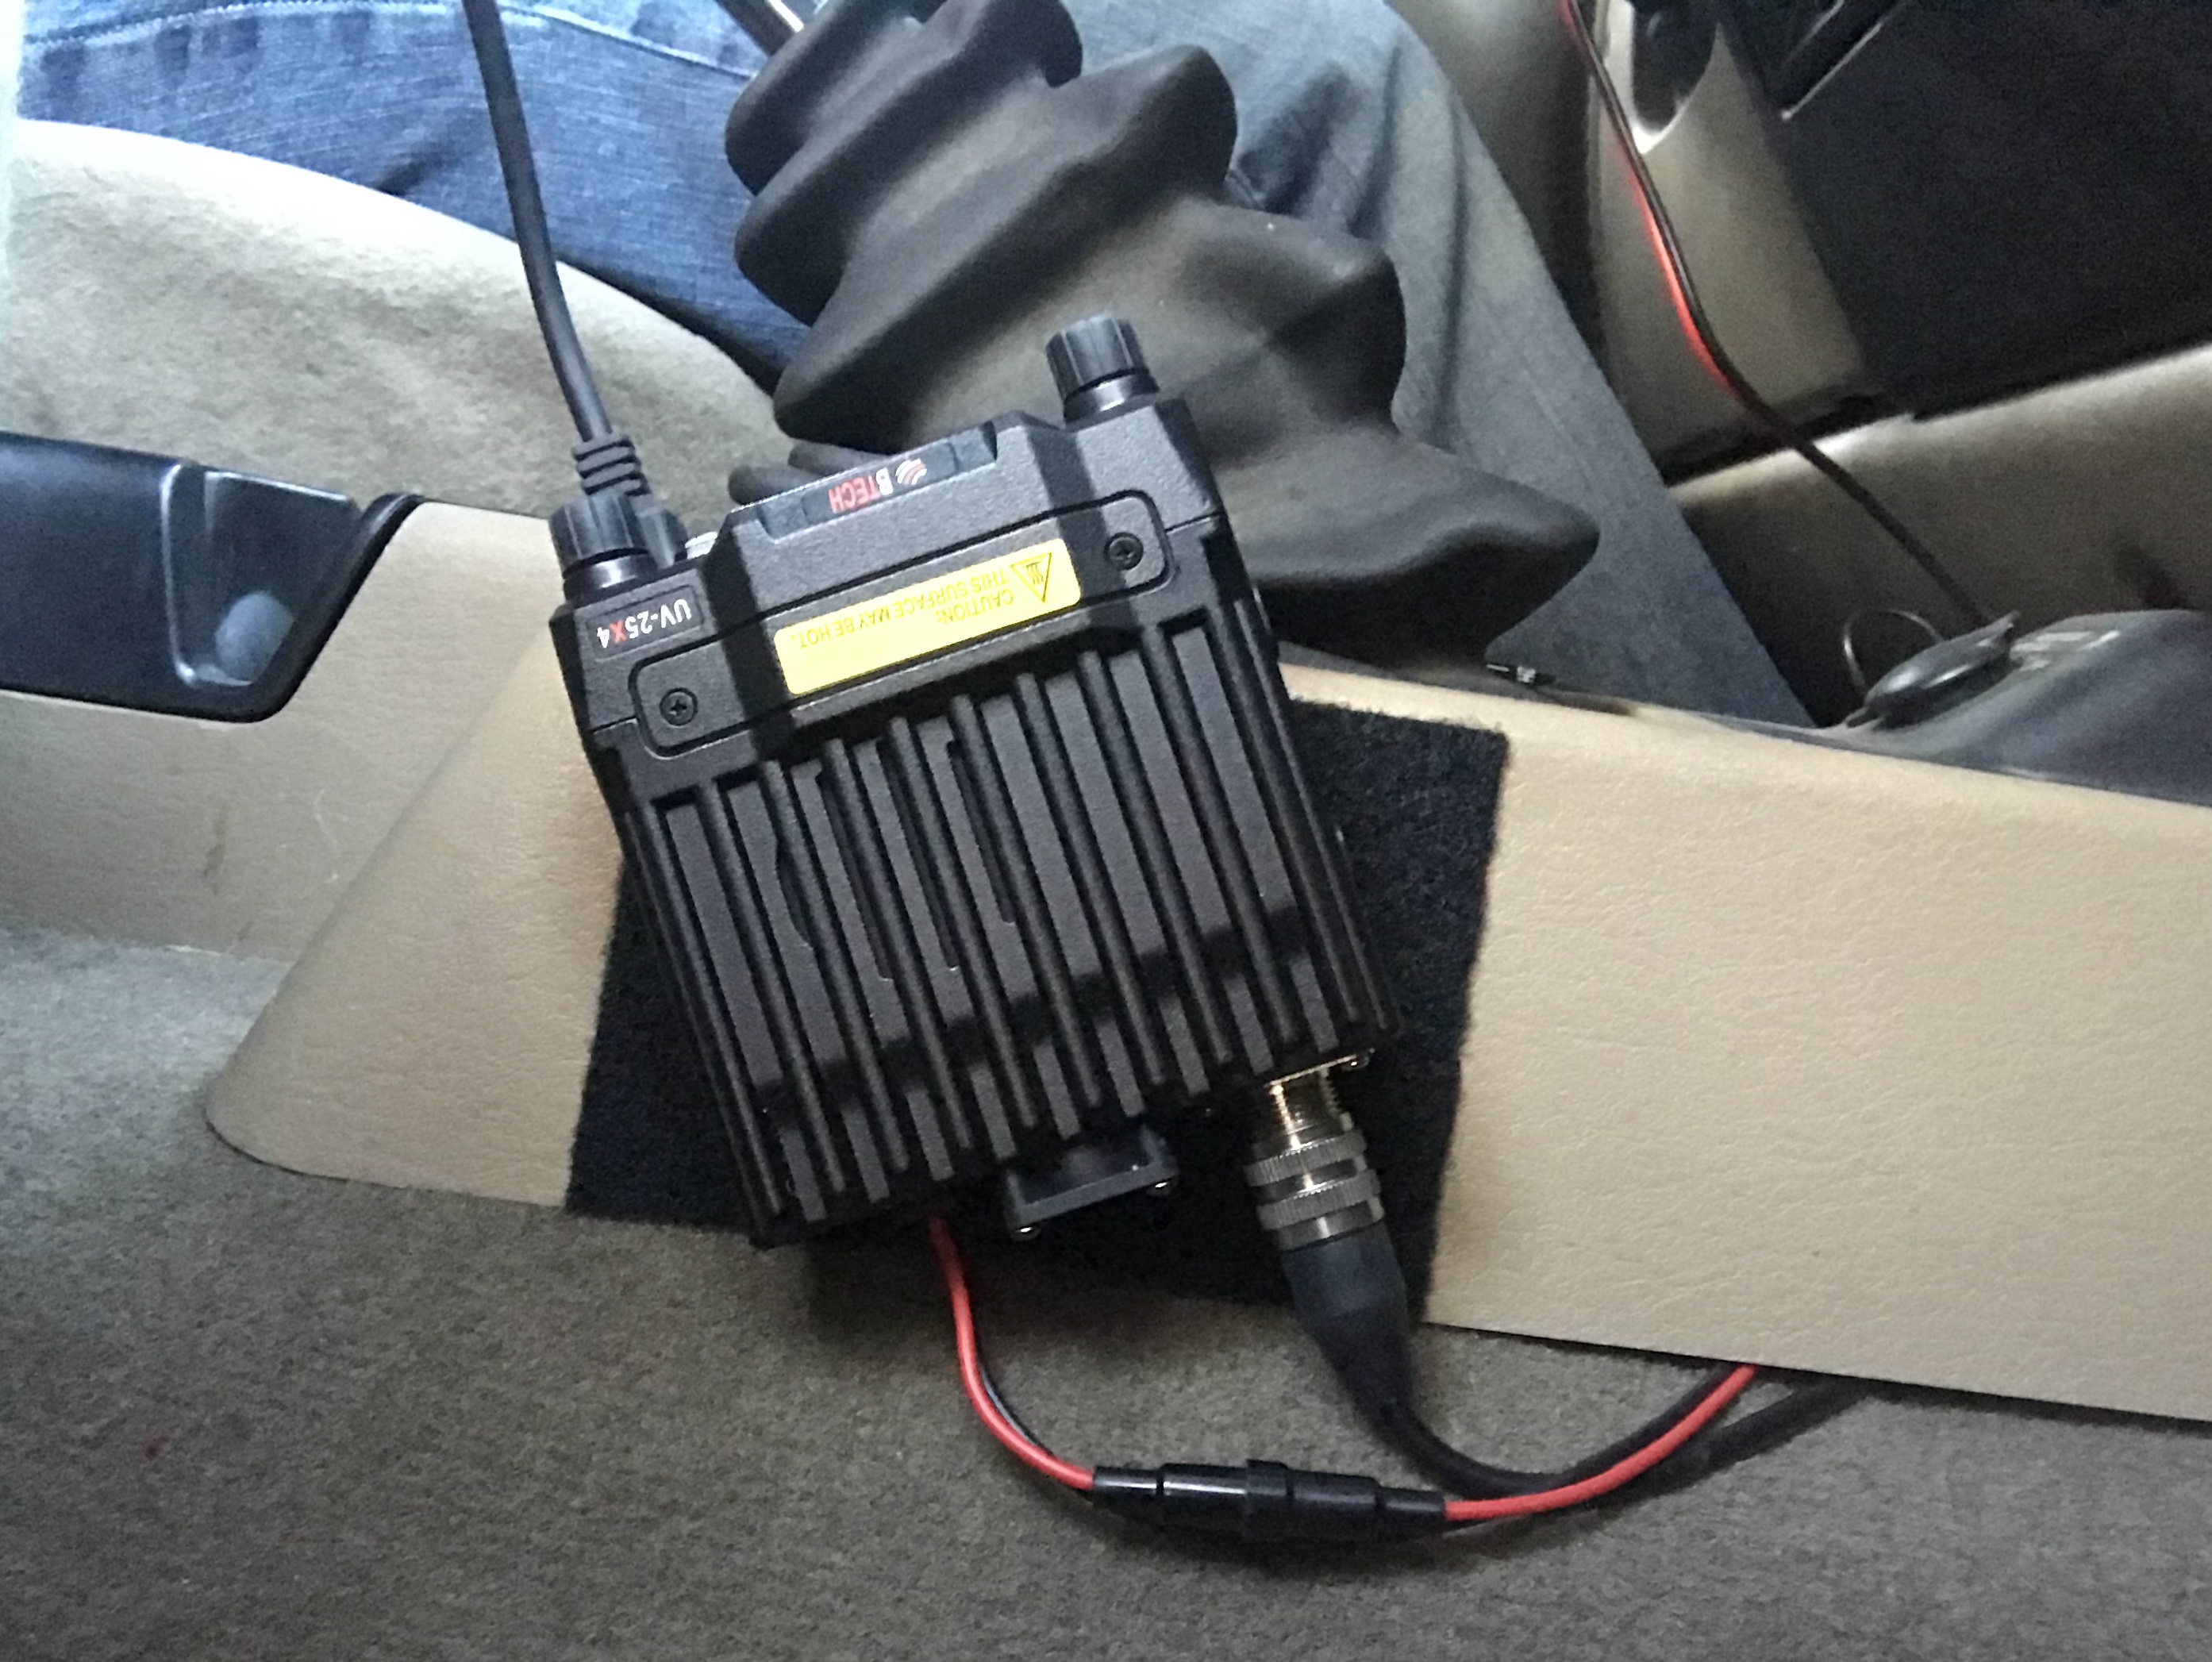
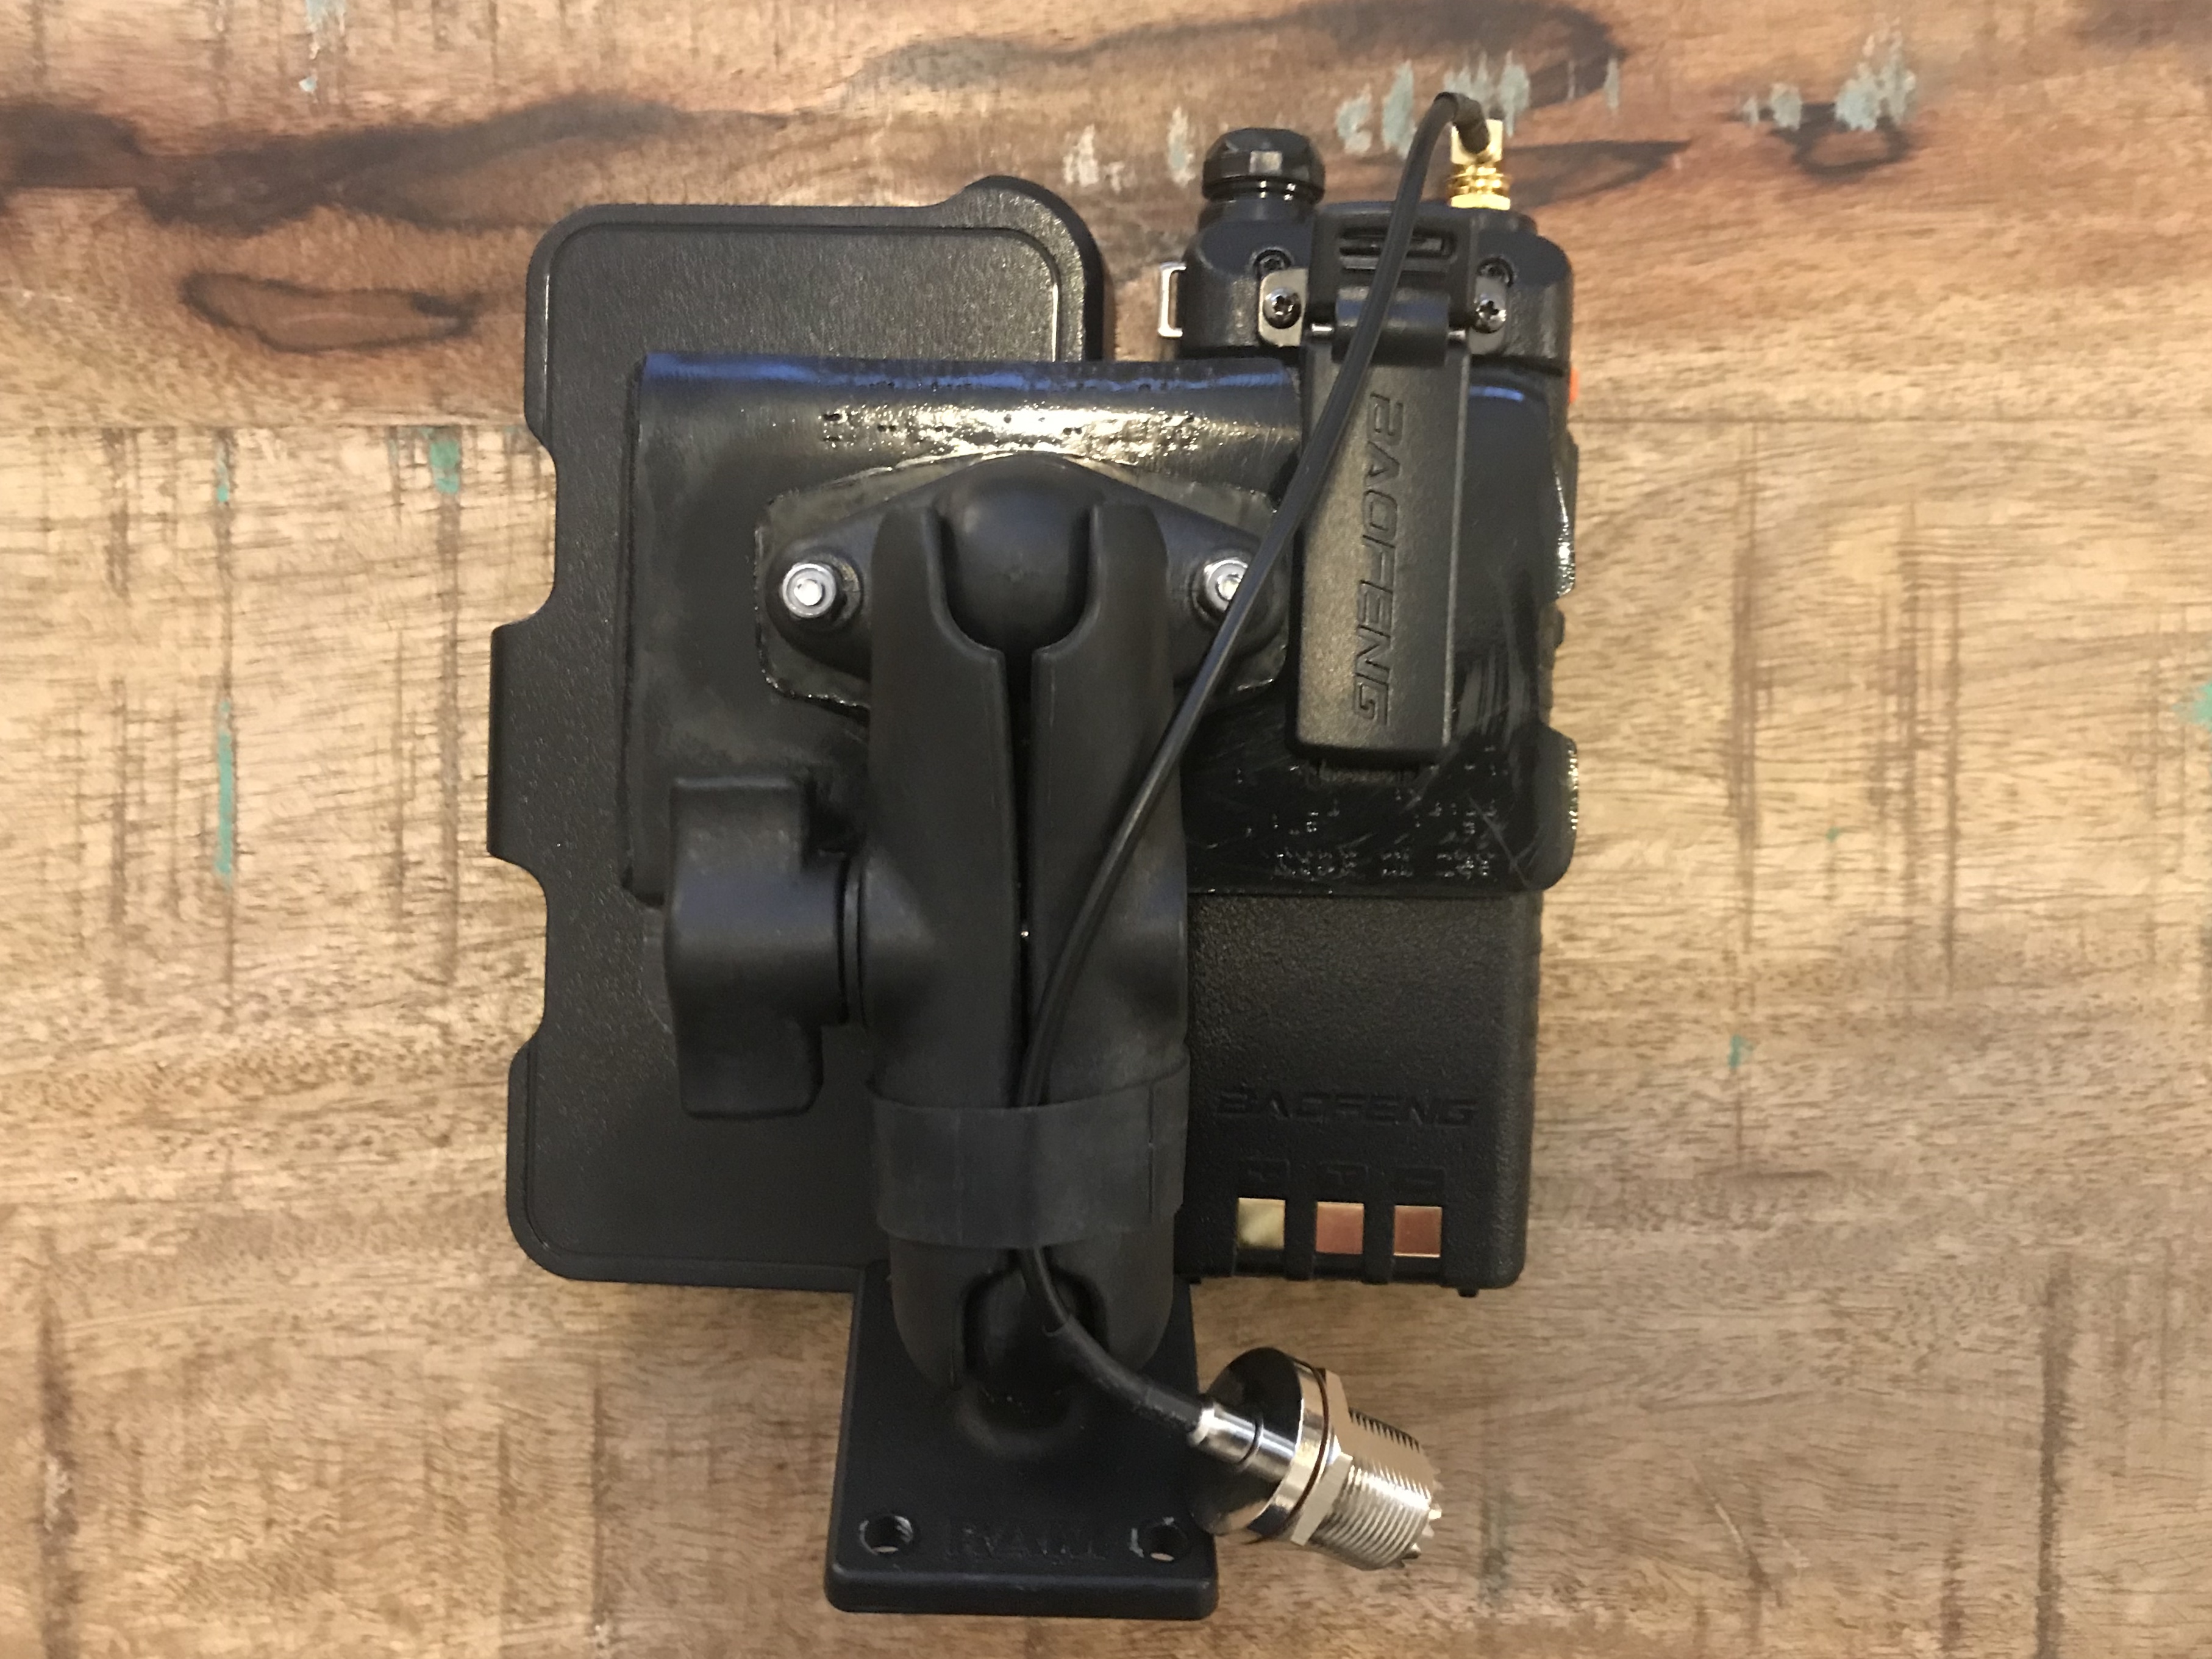
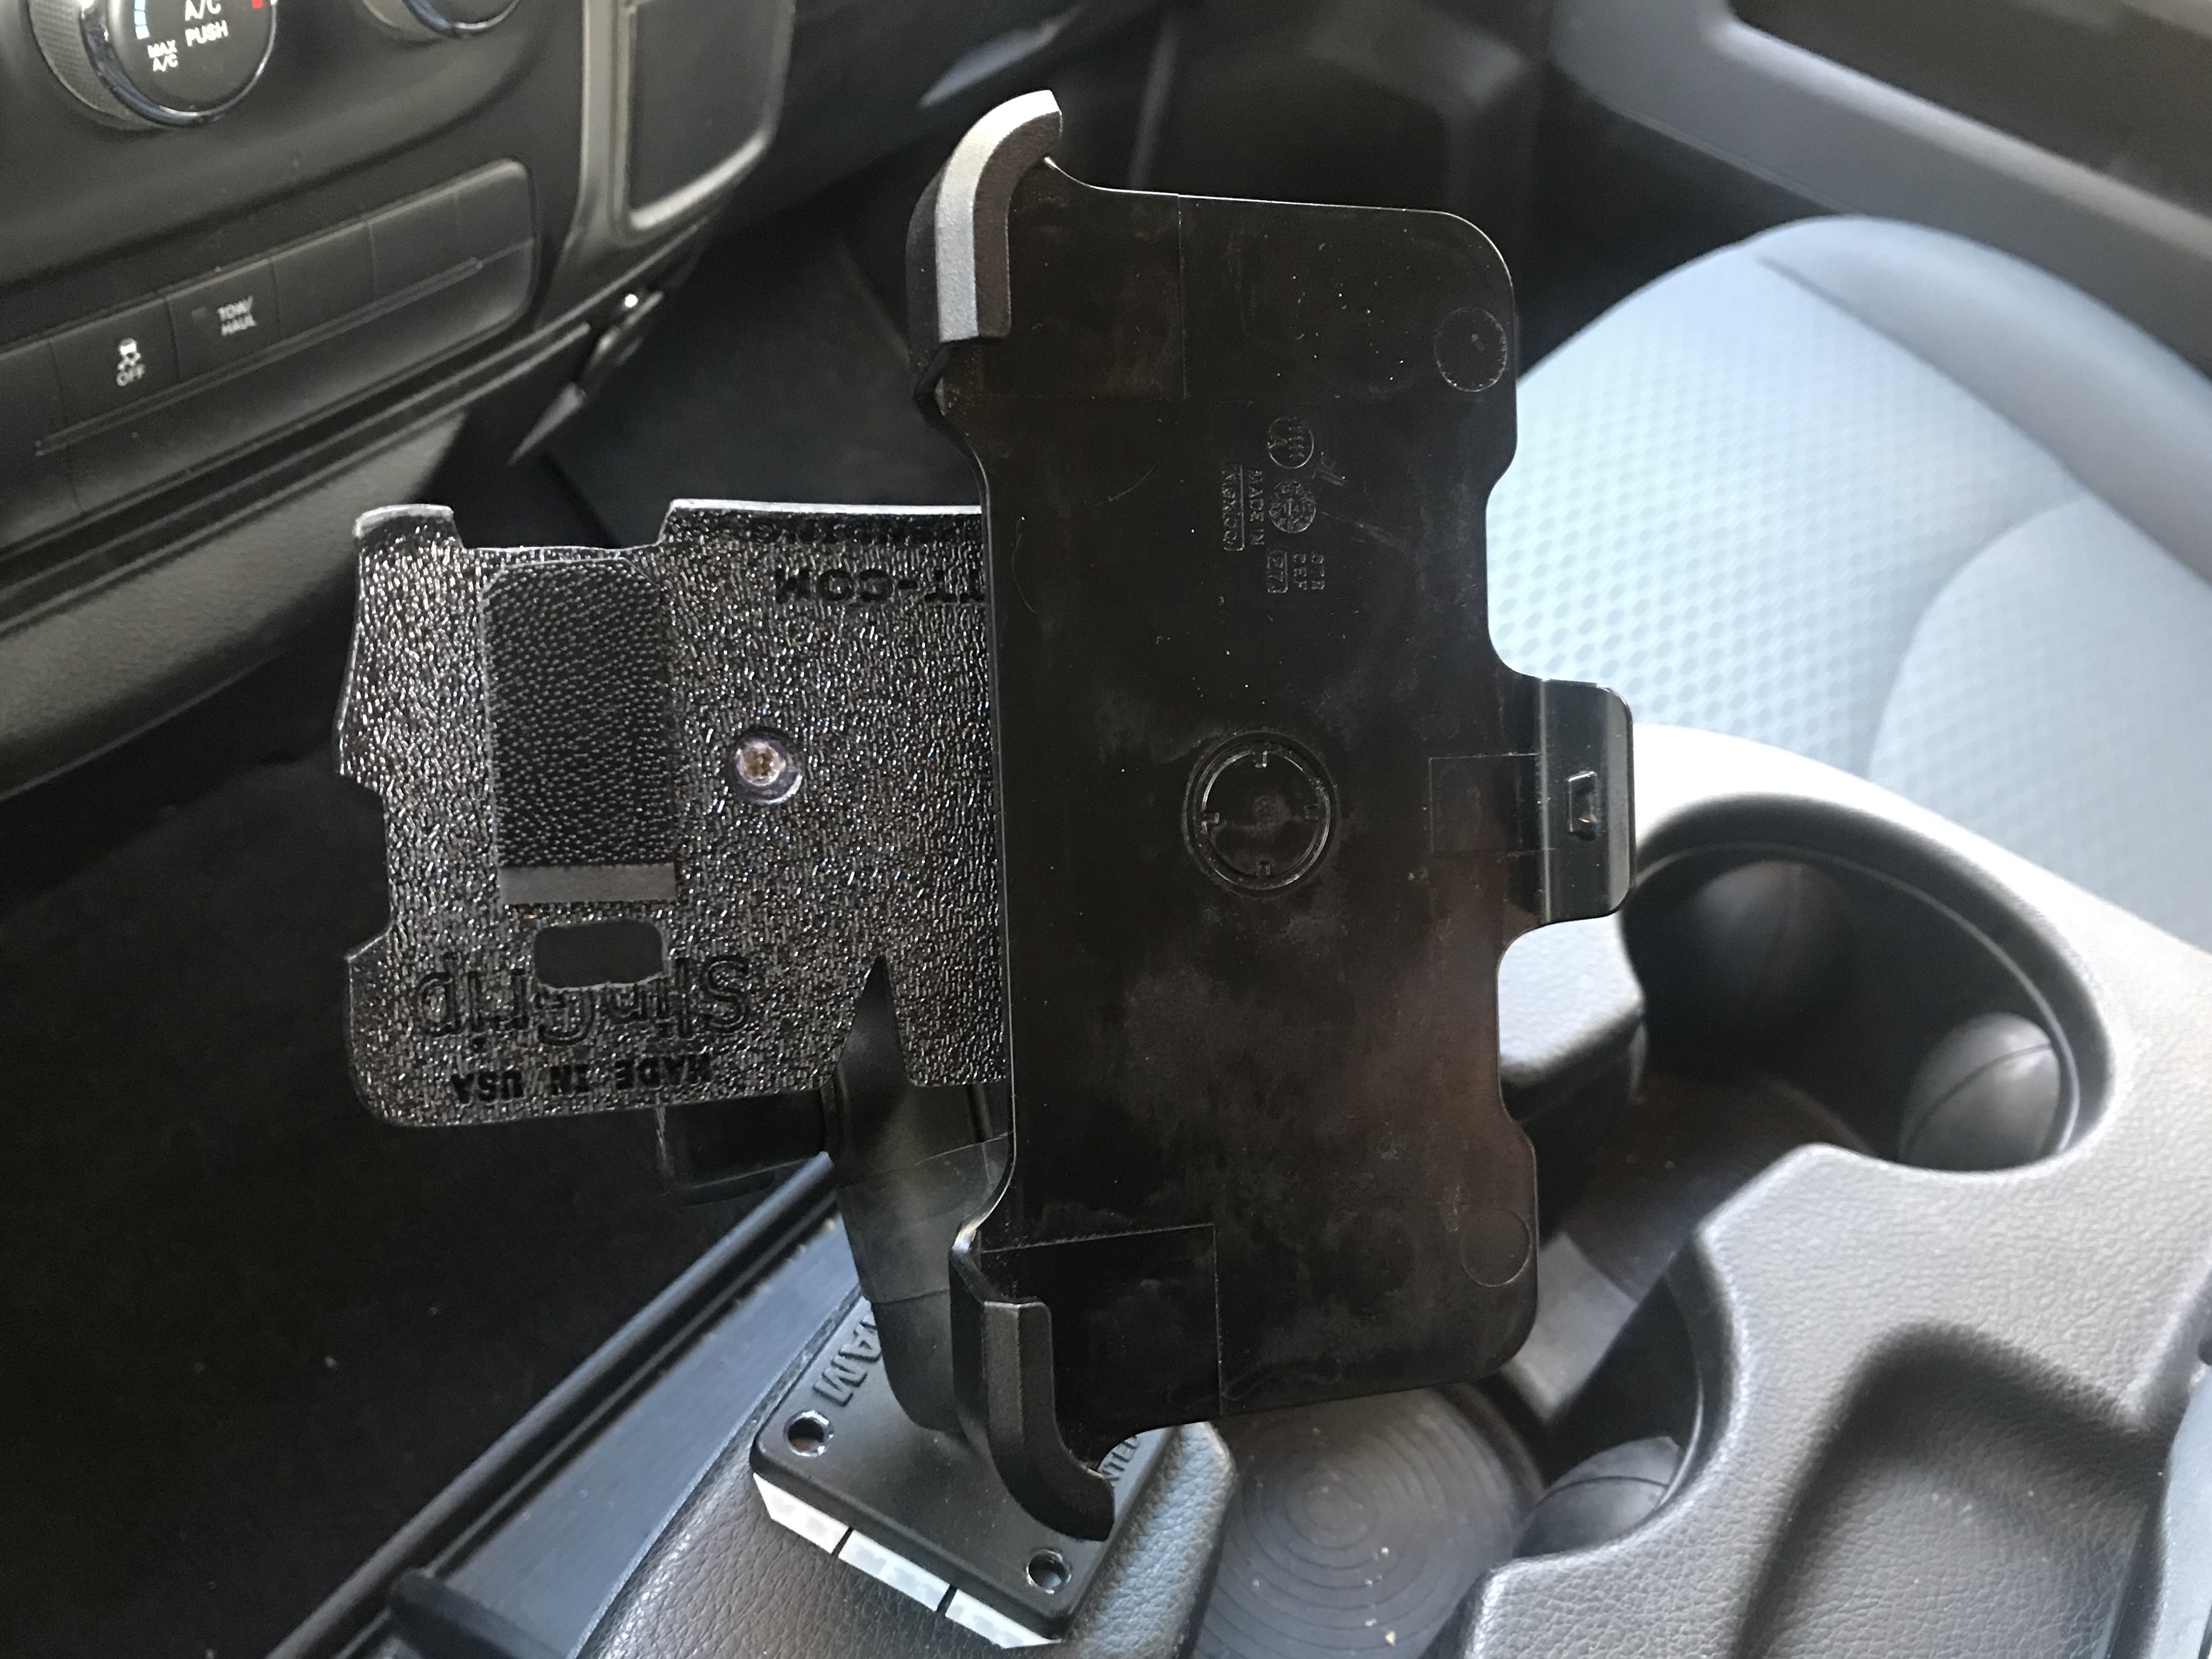
Step Three: Attach Phone Case, Radio, and Antenna Right-Angle Adapter
It's easiest if you attached the Right-Angle Adapter to the radio first, and then clip it onto the plate or holster.
Then find the right location for the phone holster. Be sure to leave enough space between the two to connect the shoulder mic or other accessories to the radio, and any charging cables if necessary.
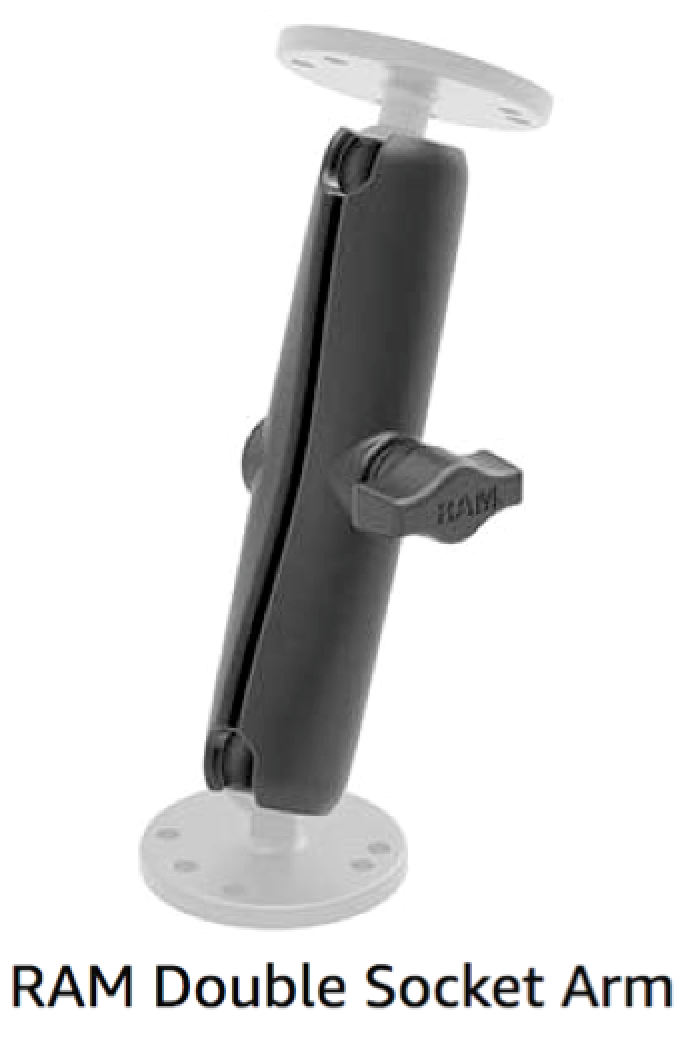
Attach the Double Socket Arm to the mounting plate.
Optional: Use a rubber band to secure the antenna coax to the Double Socket Arm. This keeps the metal connector from banging against anything and making annoying clicking sounds when you hit bumps. I used a slice of bicycle inner tube, often called a Ranger Band (because I learned about it from a Ranger, who said Rangers invented it, because of course they did). Be careful if you use zipties; the vibrations from driving can turn them into little saws that cut through the coax sheath.
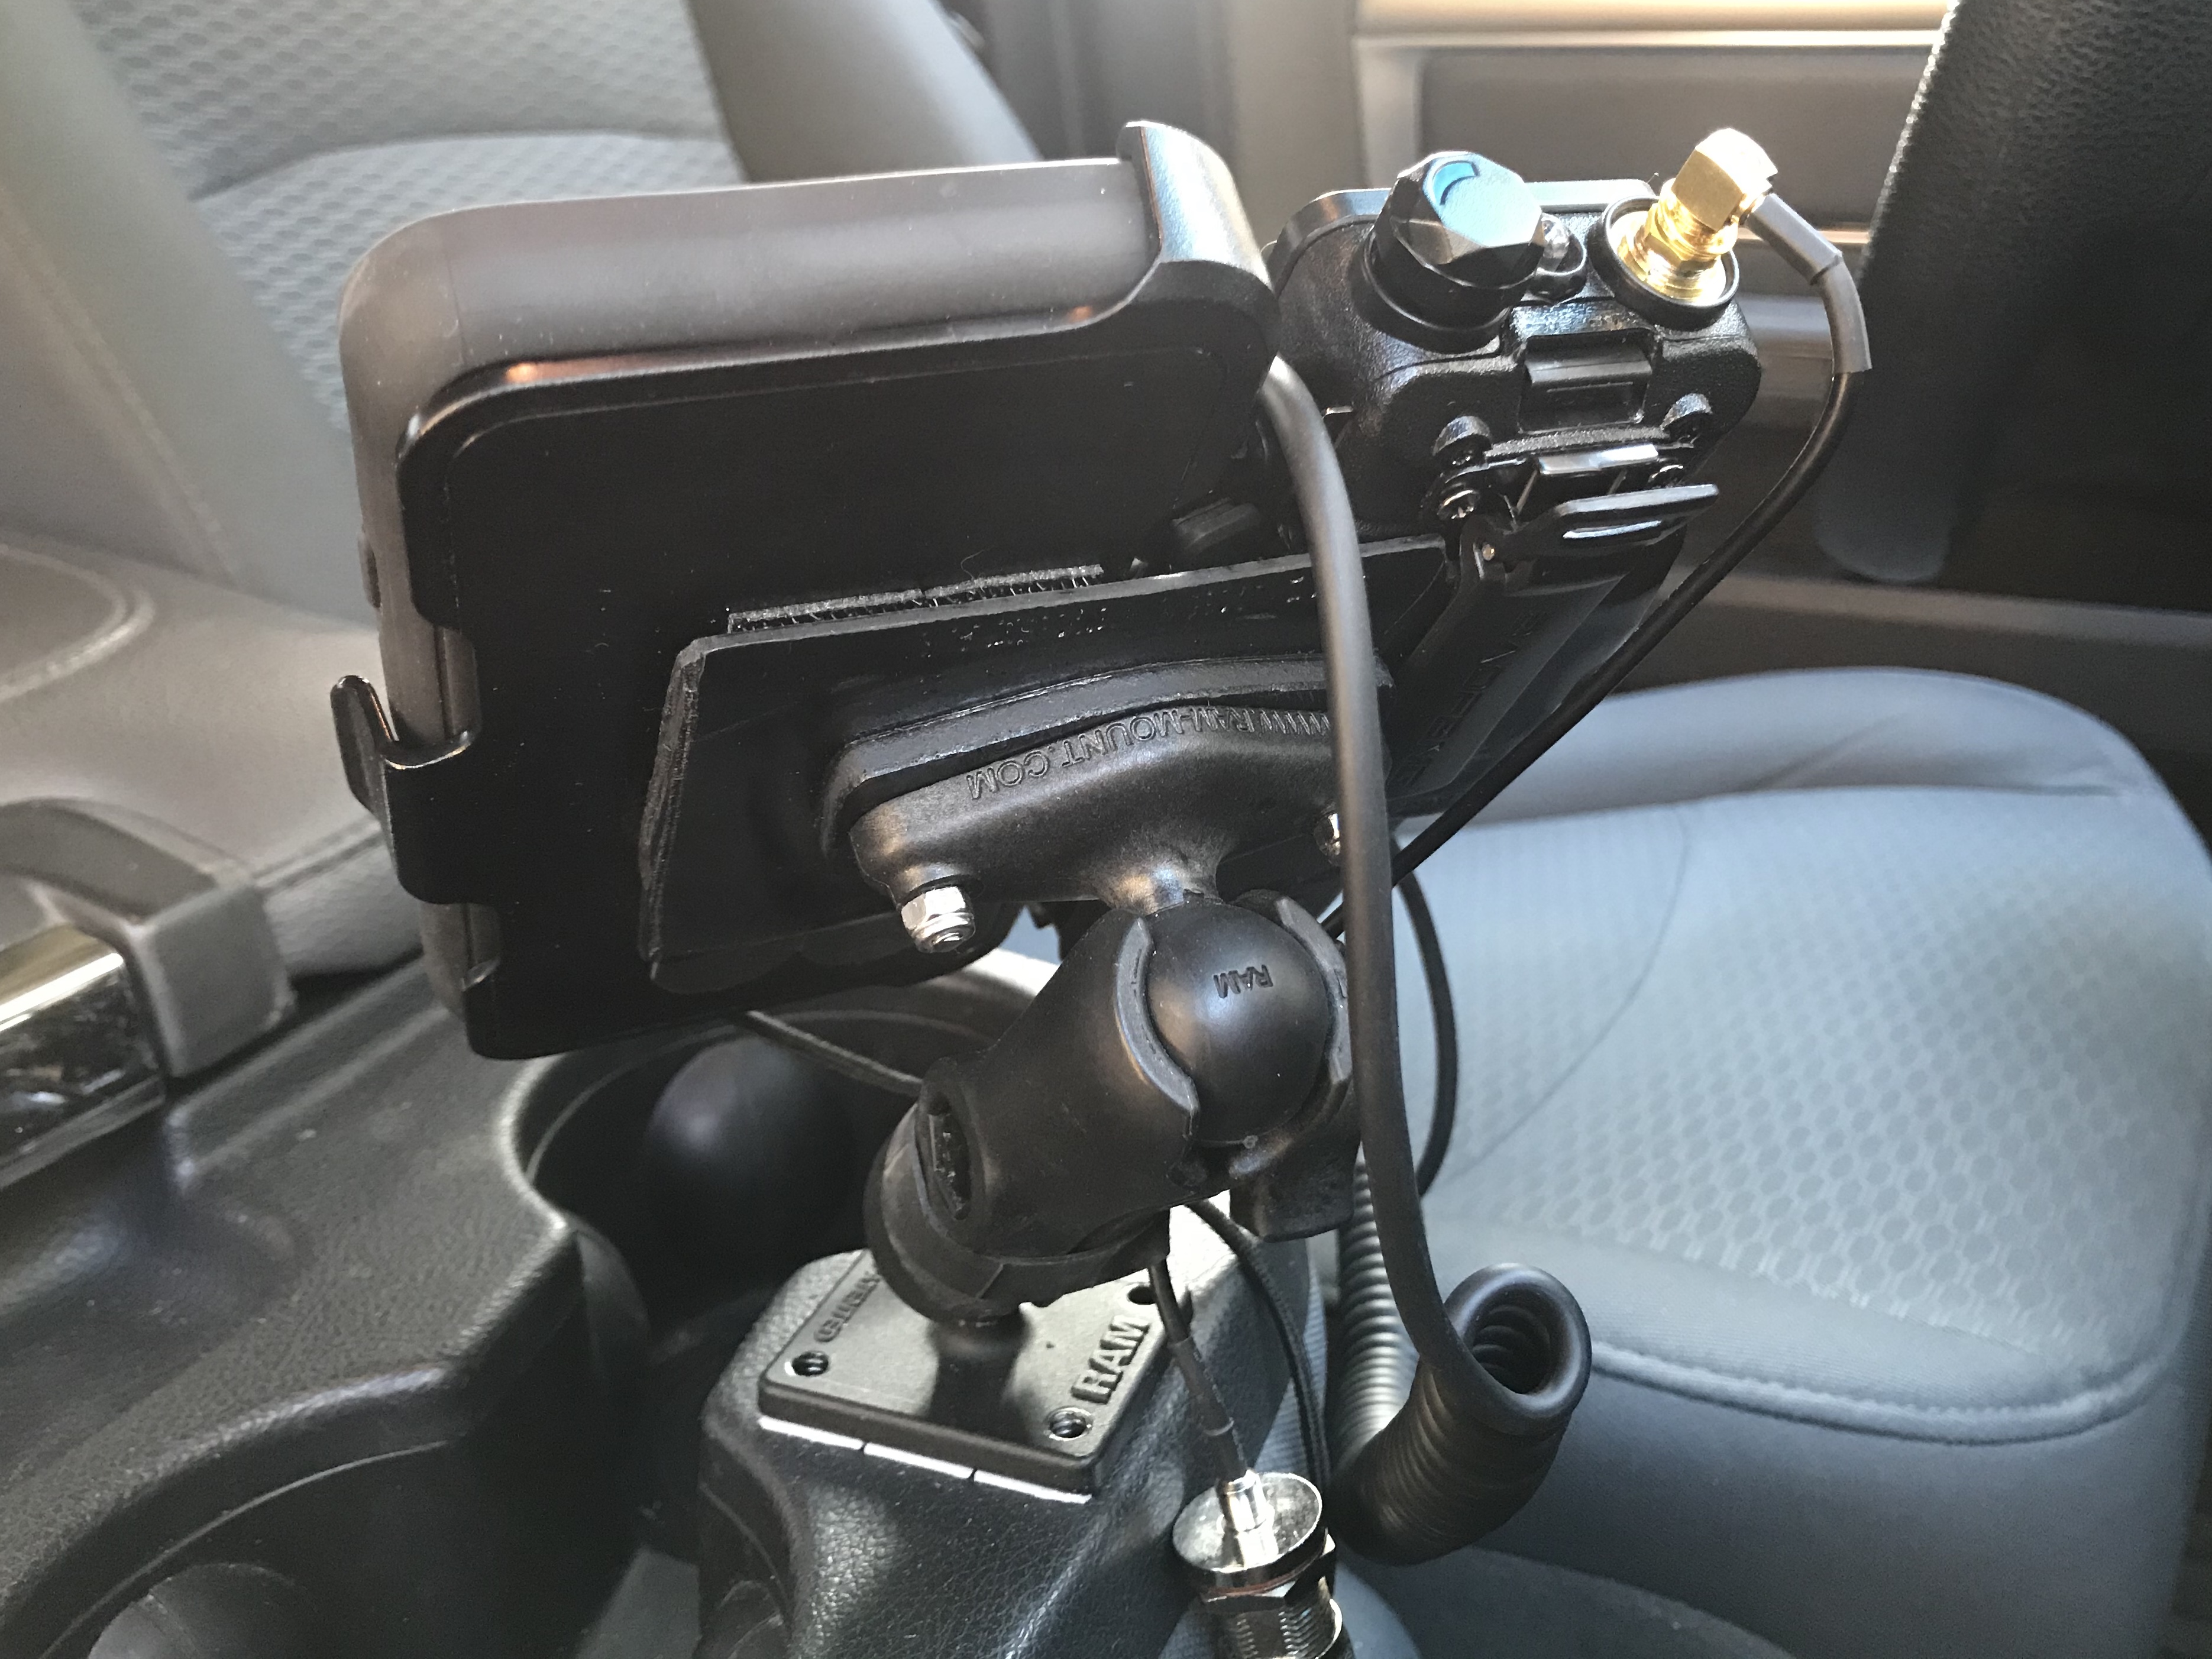
Pic 10: Detail of Mount
Pic 11: Detail of Mount
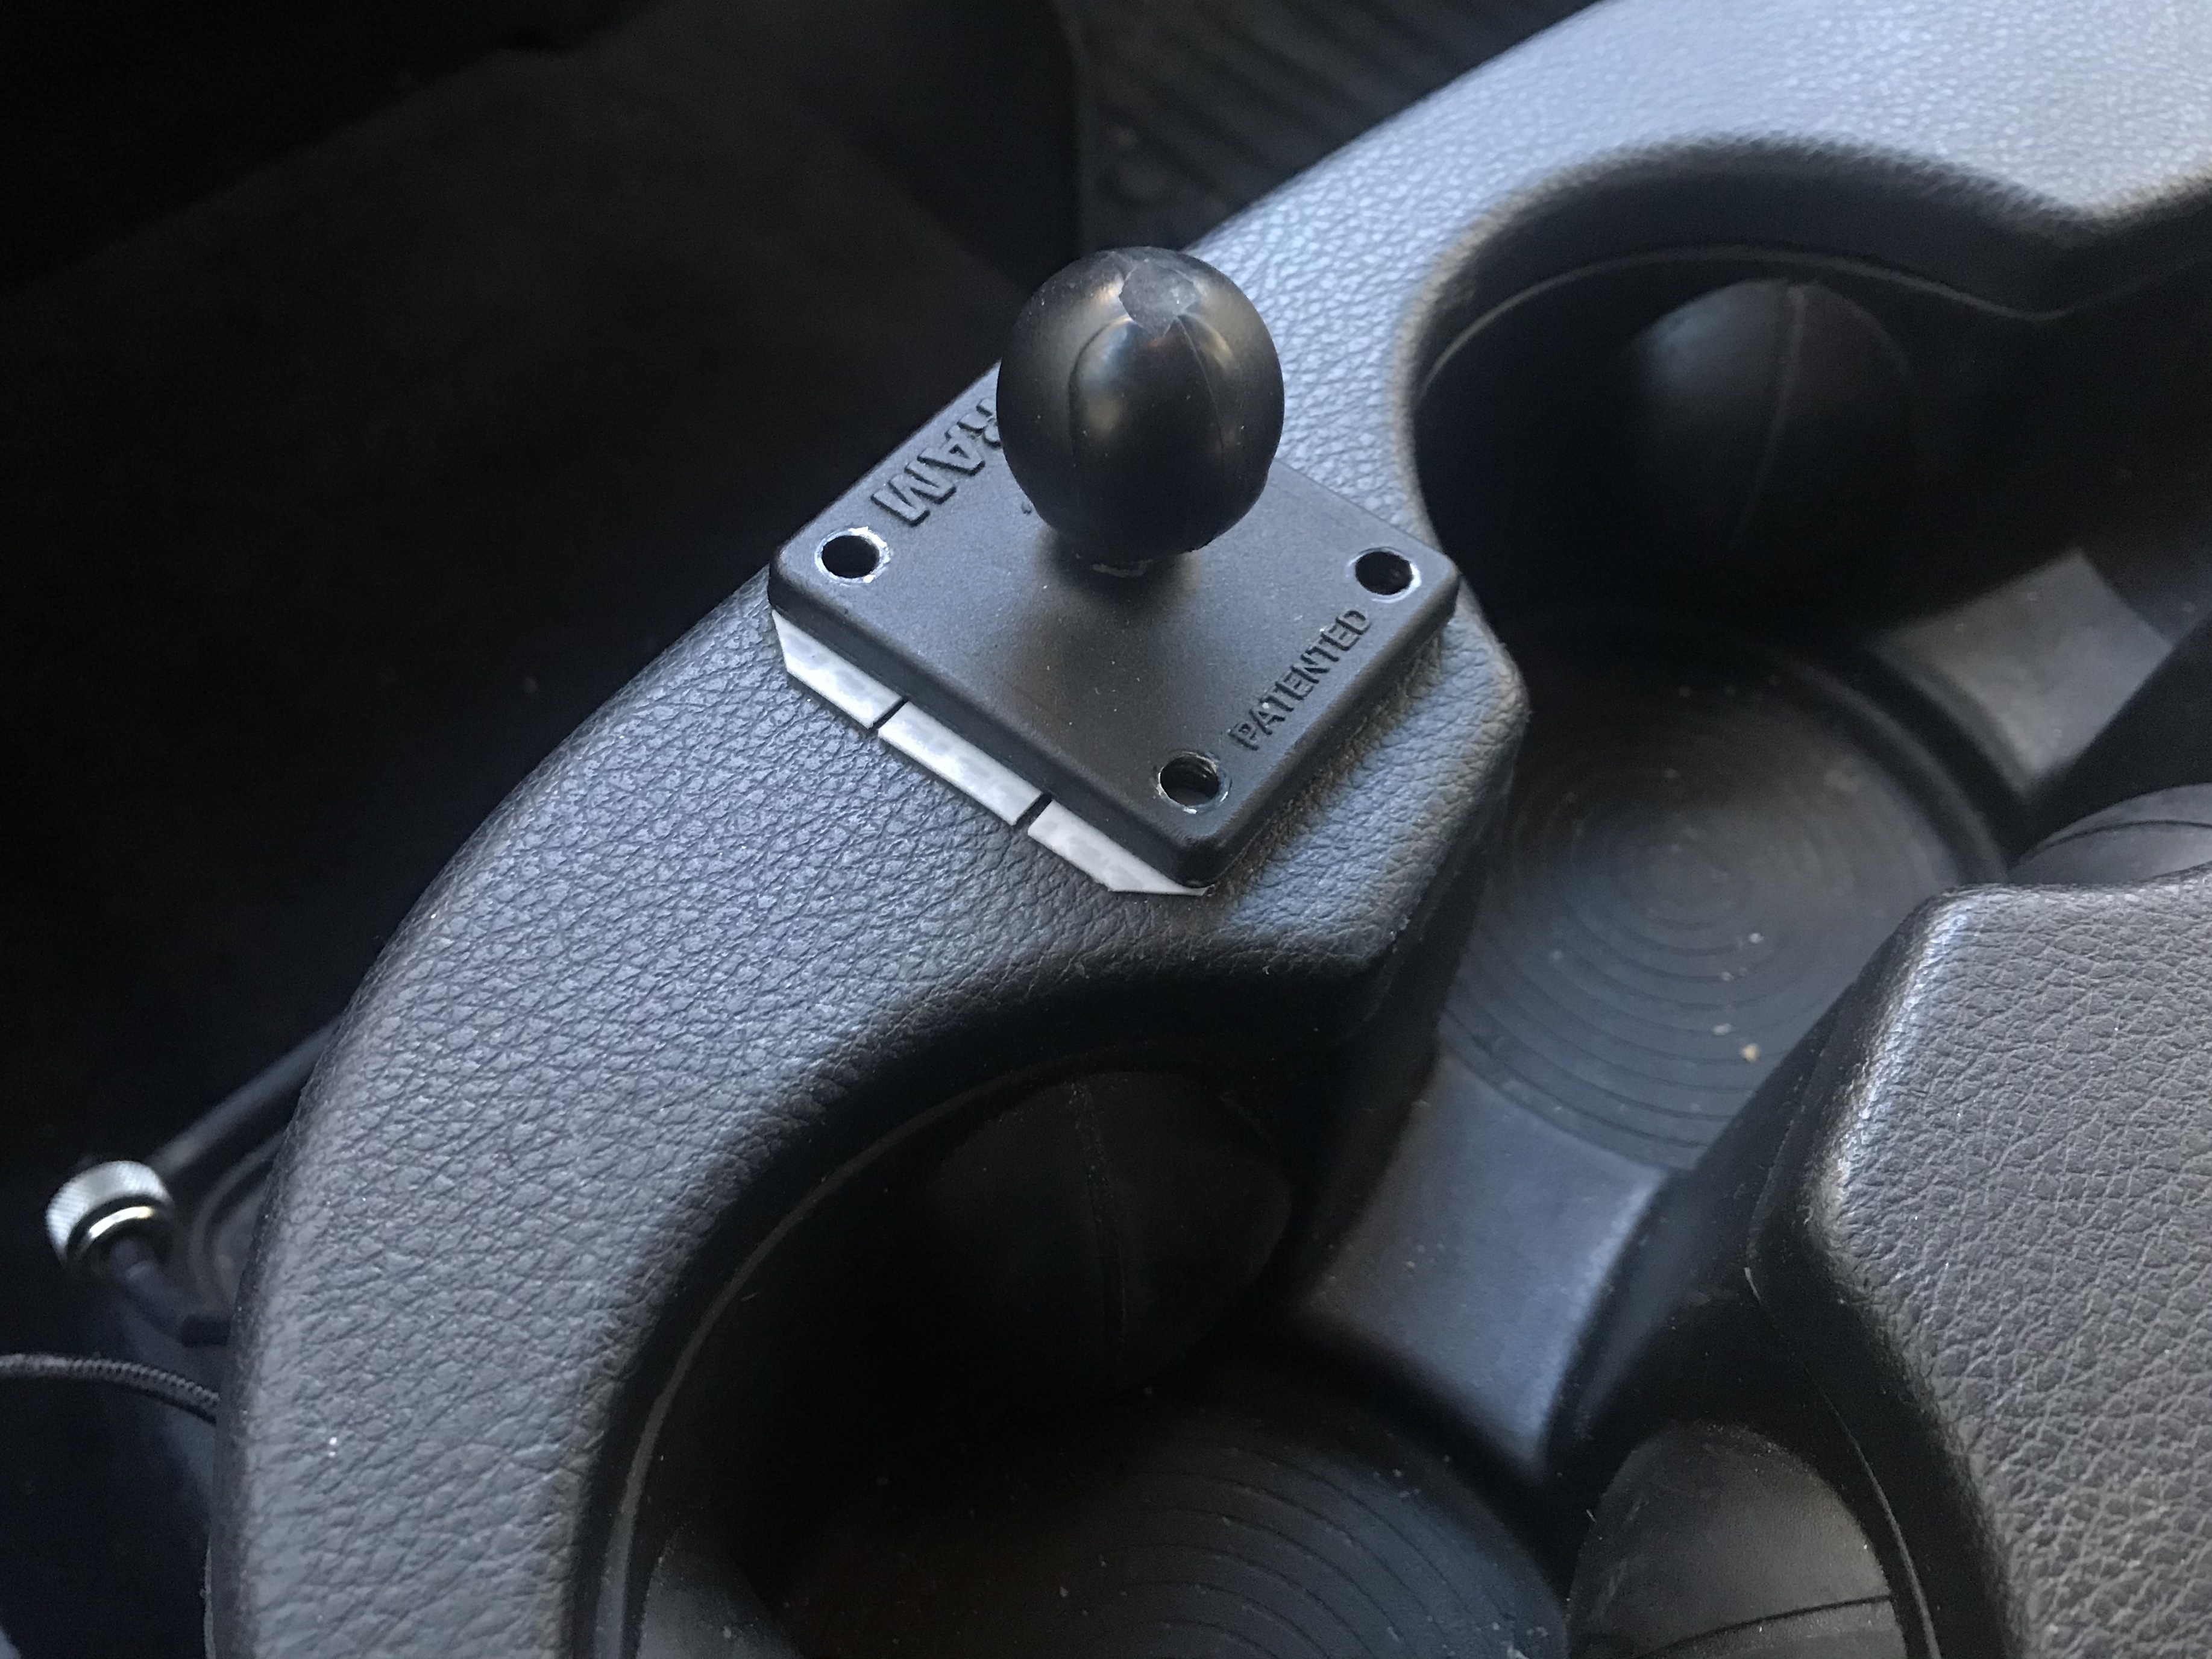
Step Four: Install RAM Base to Vehicle
Decide where you want to mount the RAM base so the setup is easy to manipulate from the driver's seat. Two notes here. As I said above, I set the angle so my hand would rest comfortably on the phone when my arm was on the armrest. This gave a stable position if I needed to enter GPS location or something while driving. Second, if the RAM arm leans slightly back so the radio and phone's center of gravity is right over the RAM base, you'll get less movement and vibration while driving.
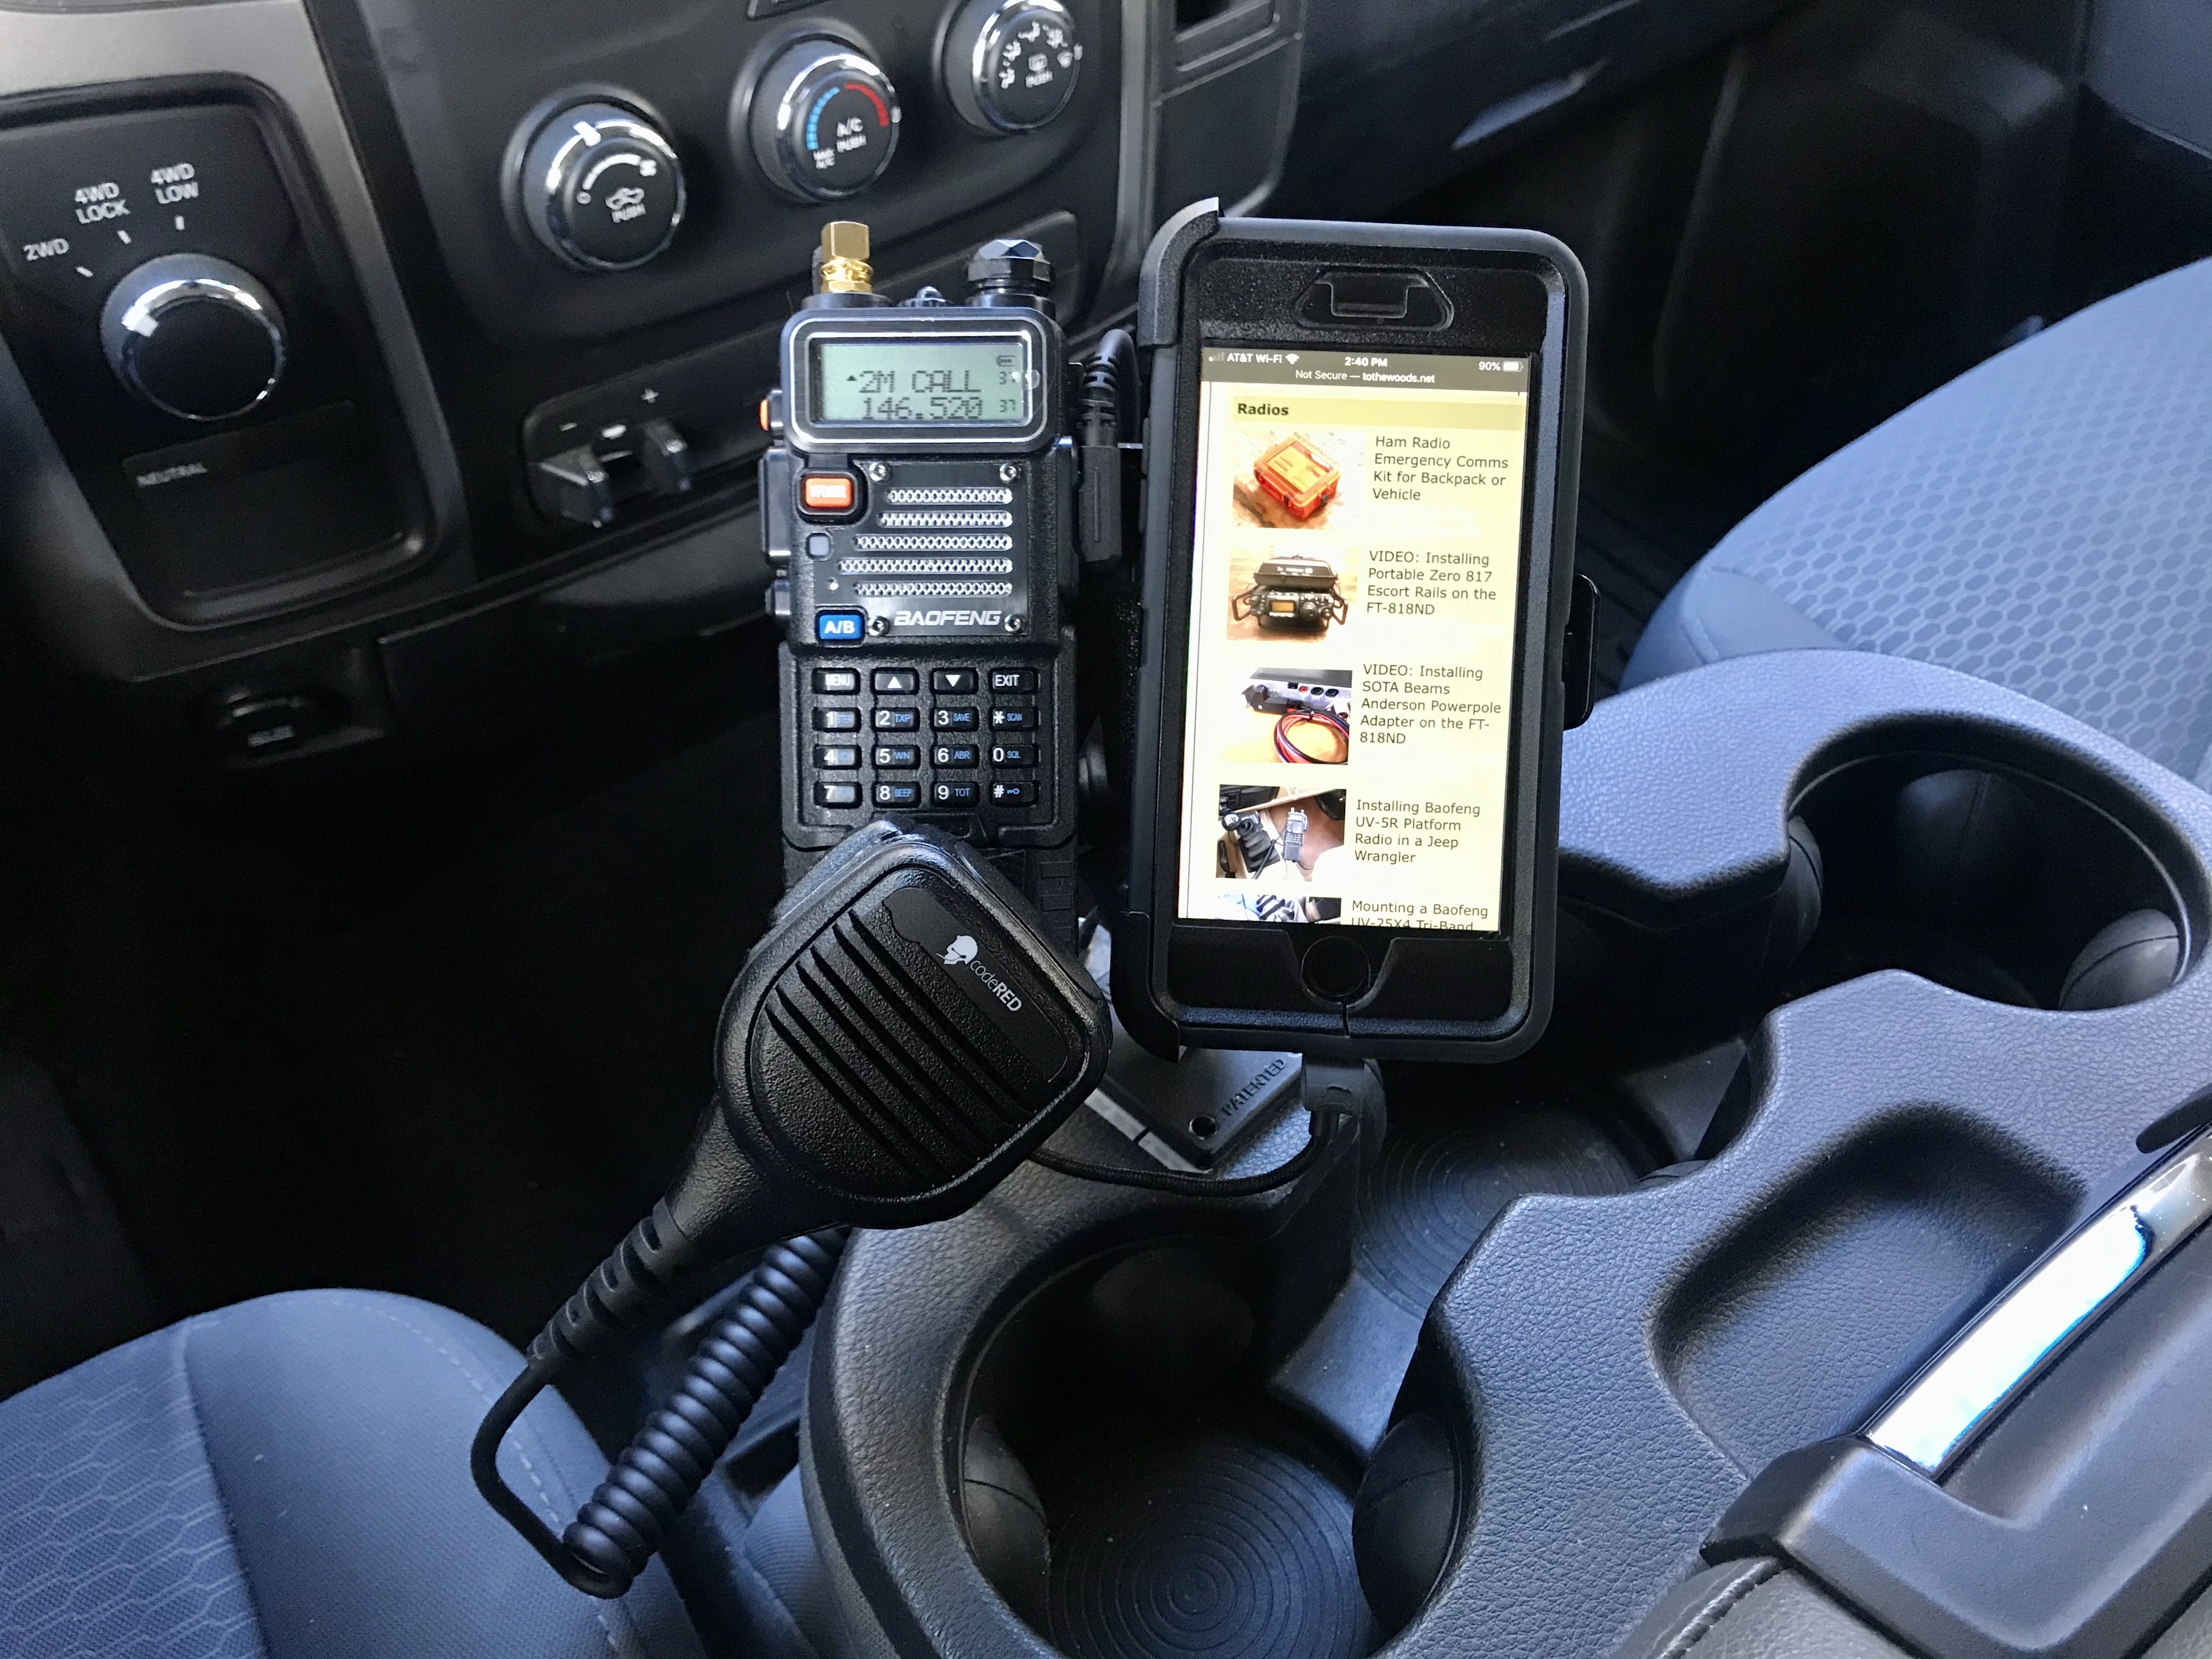
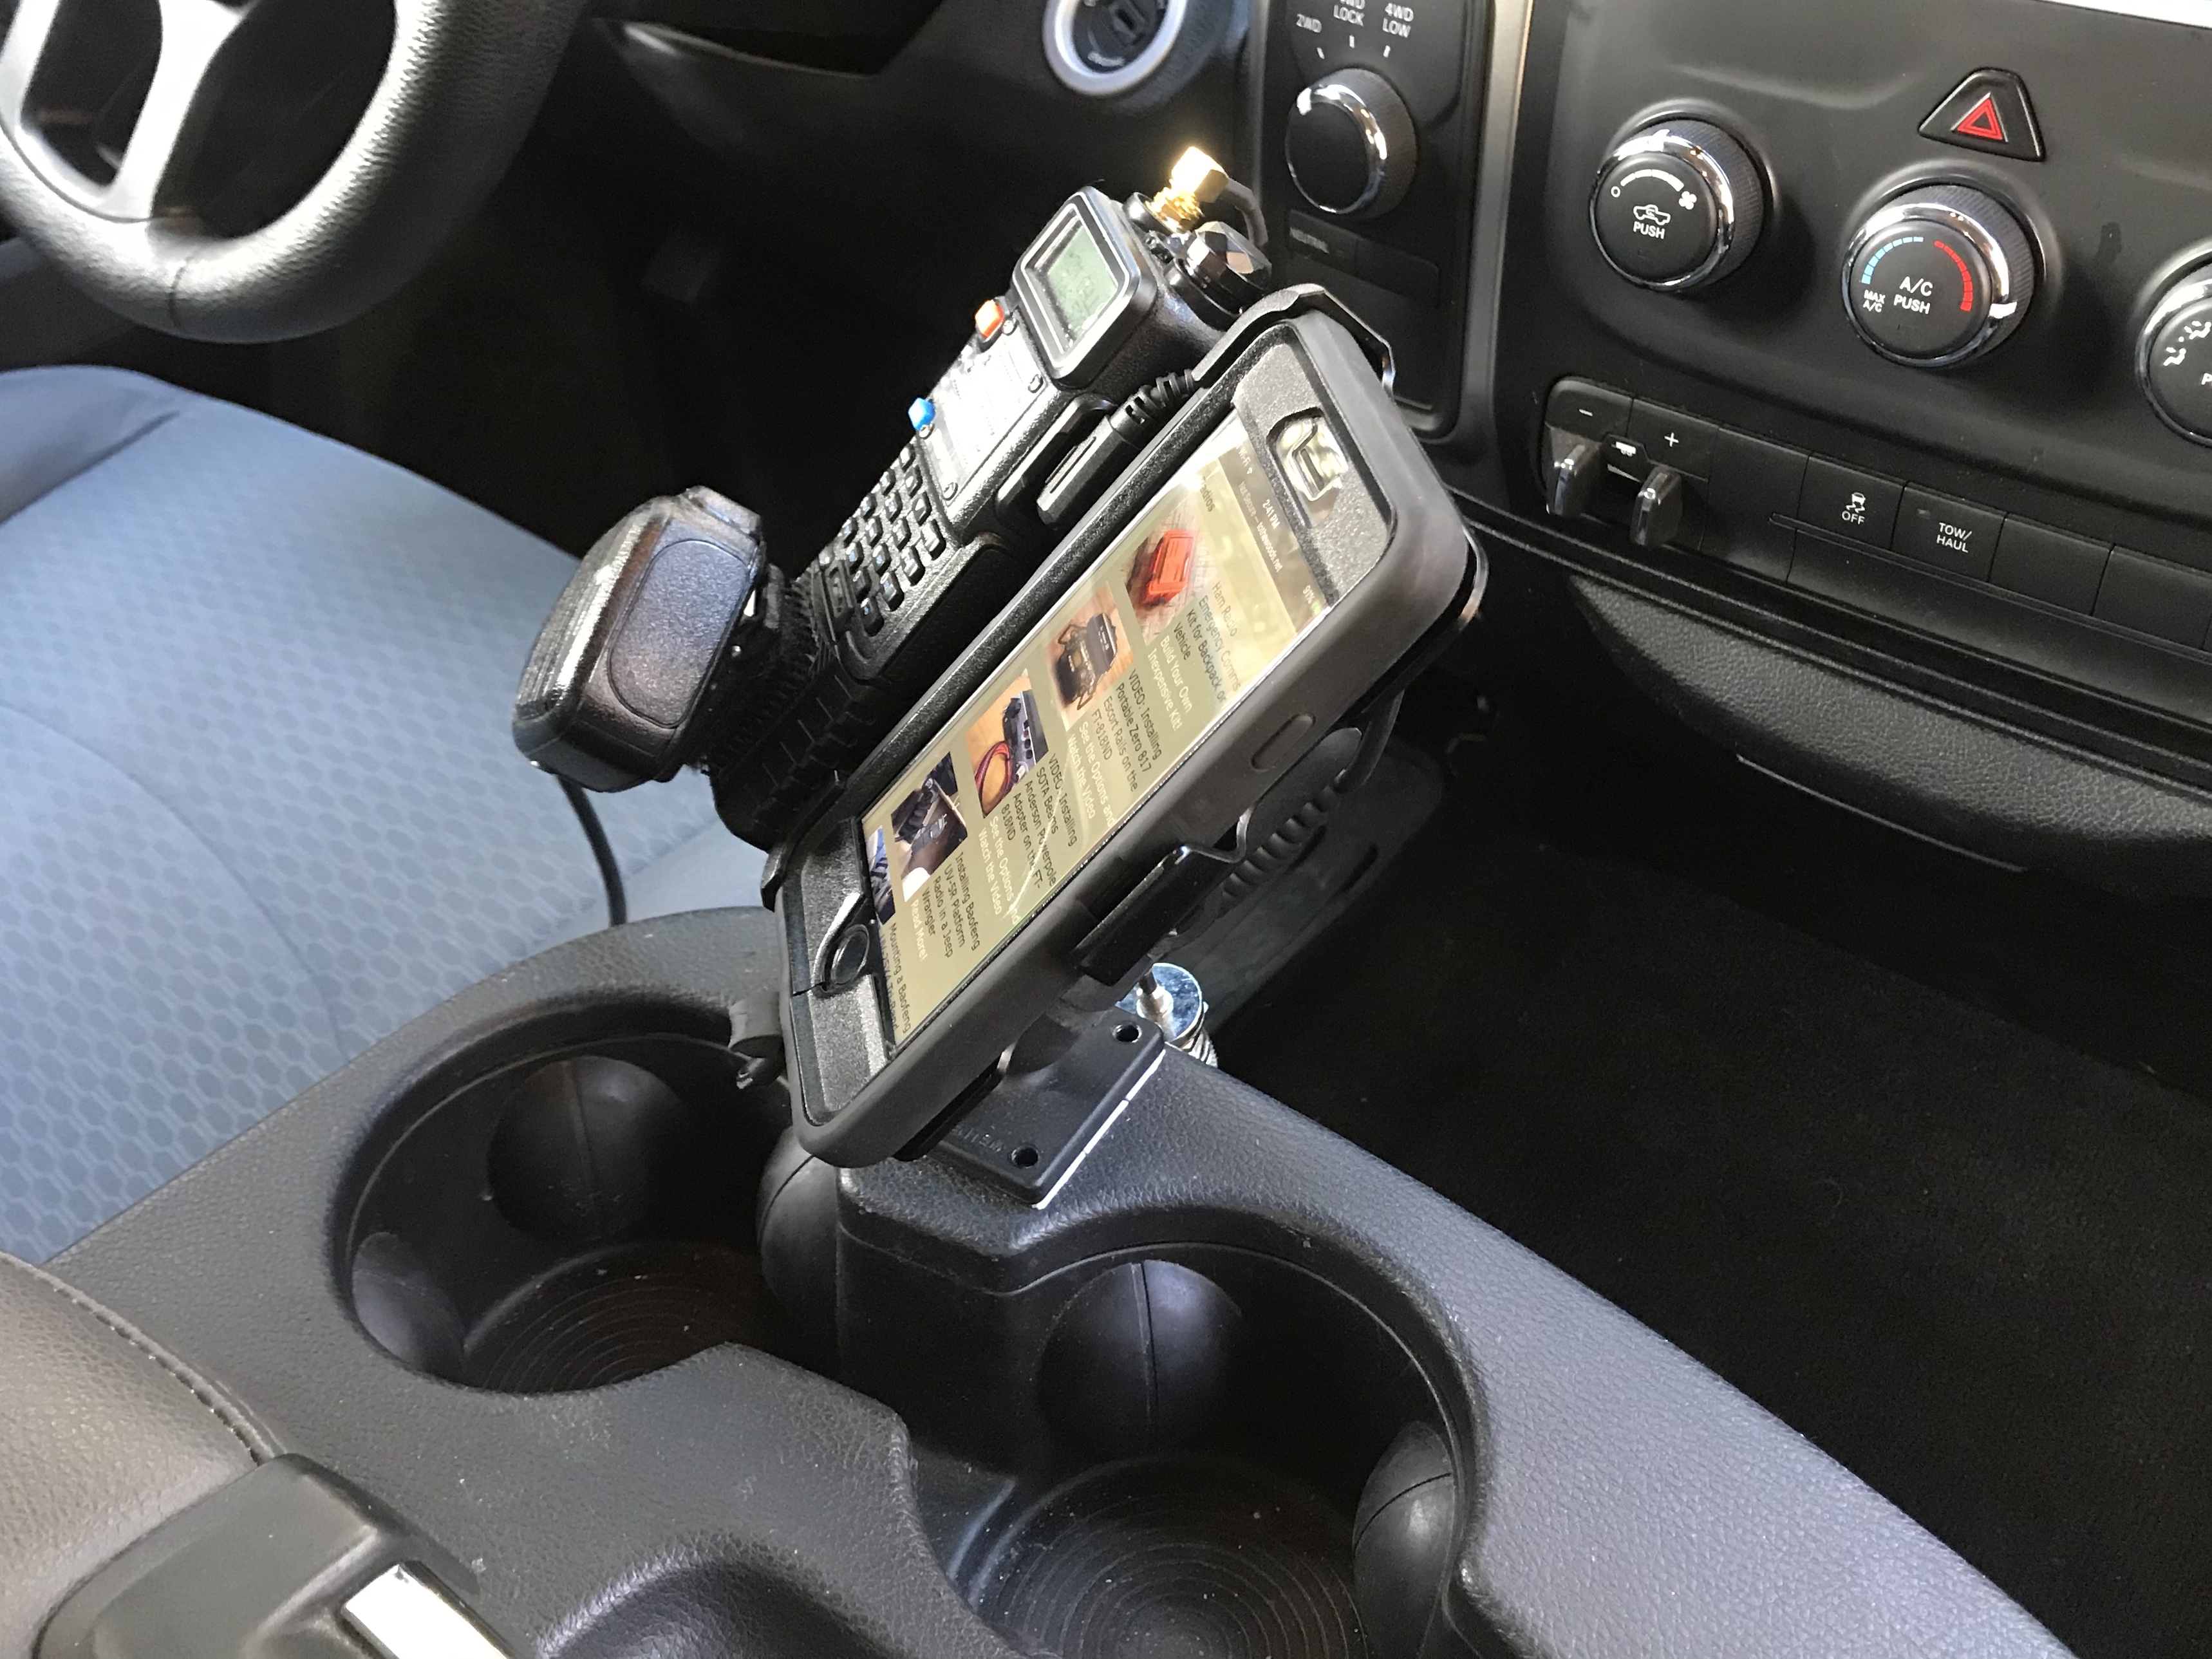
You can see where I put it in the picture below. I chose this location because it's easy to reach from the driver's seat and it doesn't interfere very much with the cup holders. I can use the two on the right for drinks; drinks don't fit in the one under the radio and phone, but I can still use it for sunglasses and stuff.
I trimmed three Large Command Strips to fit under the RAM base, and left enough tail sticking out so I can remove it when I want to.
Pic 12: Mount RAM Base
Pic 13: Attach Mount
Step Five: Cable Management
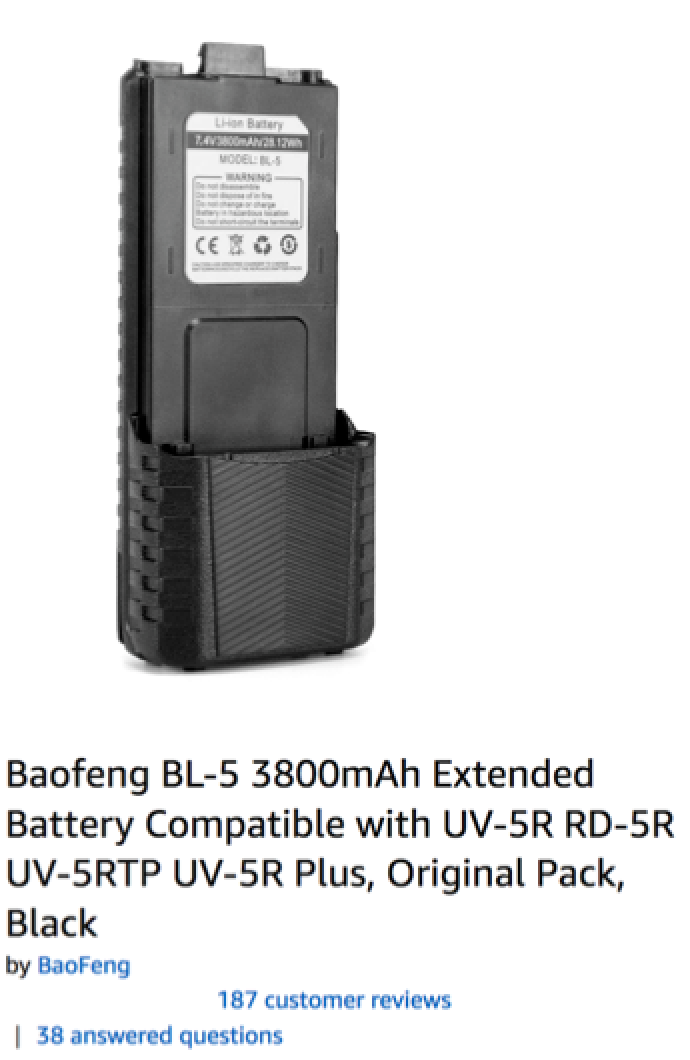
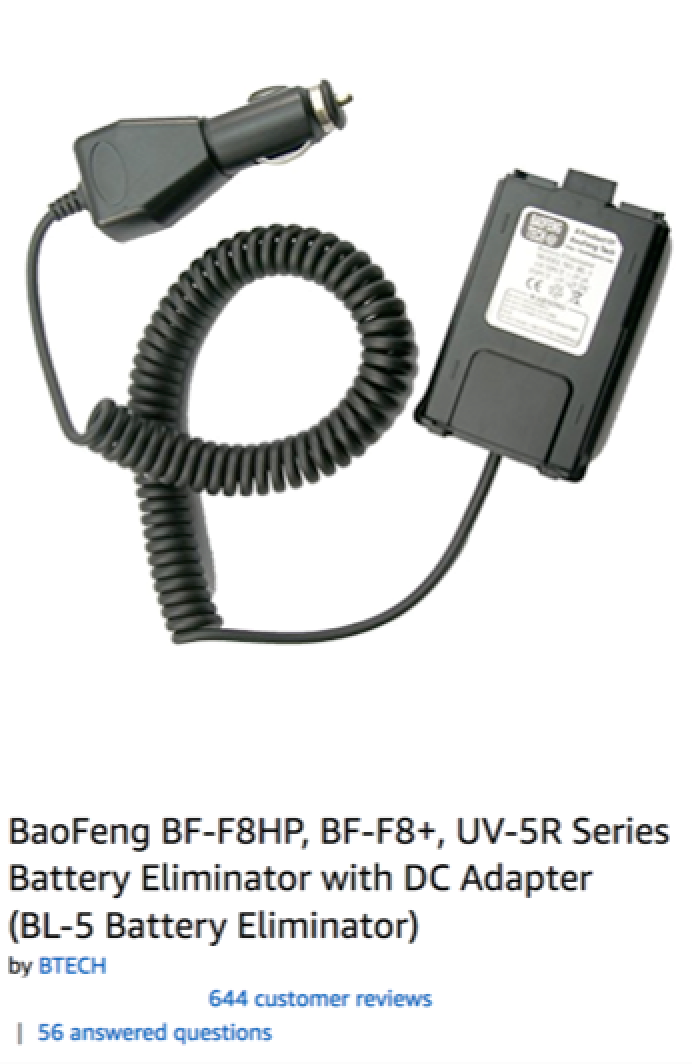
Since this is a handheld, I didn't need a power cable. When I do need to charge the radio, this USB Charging Cable works with the extended battery. (Note that this cable works only with the extended battery, and isn't the same as this USB cable that plugs into the UV-5R charging cradle.) Ram trucks have a USB and cigarette lighter outlet in the console under the armrest, so I plug it into that. If you don't want to use an extended battery, this battery eliminator would work, too.
The phone's charging cable runs inside the armrest, too.
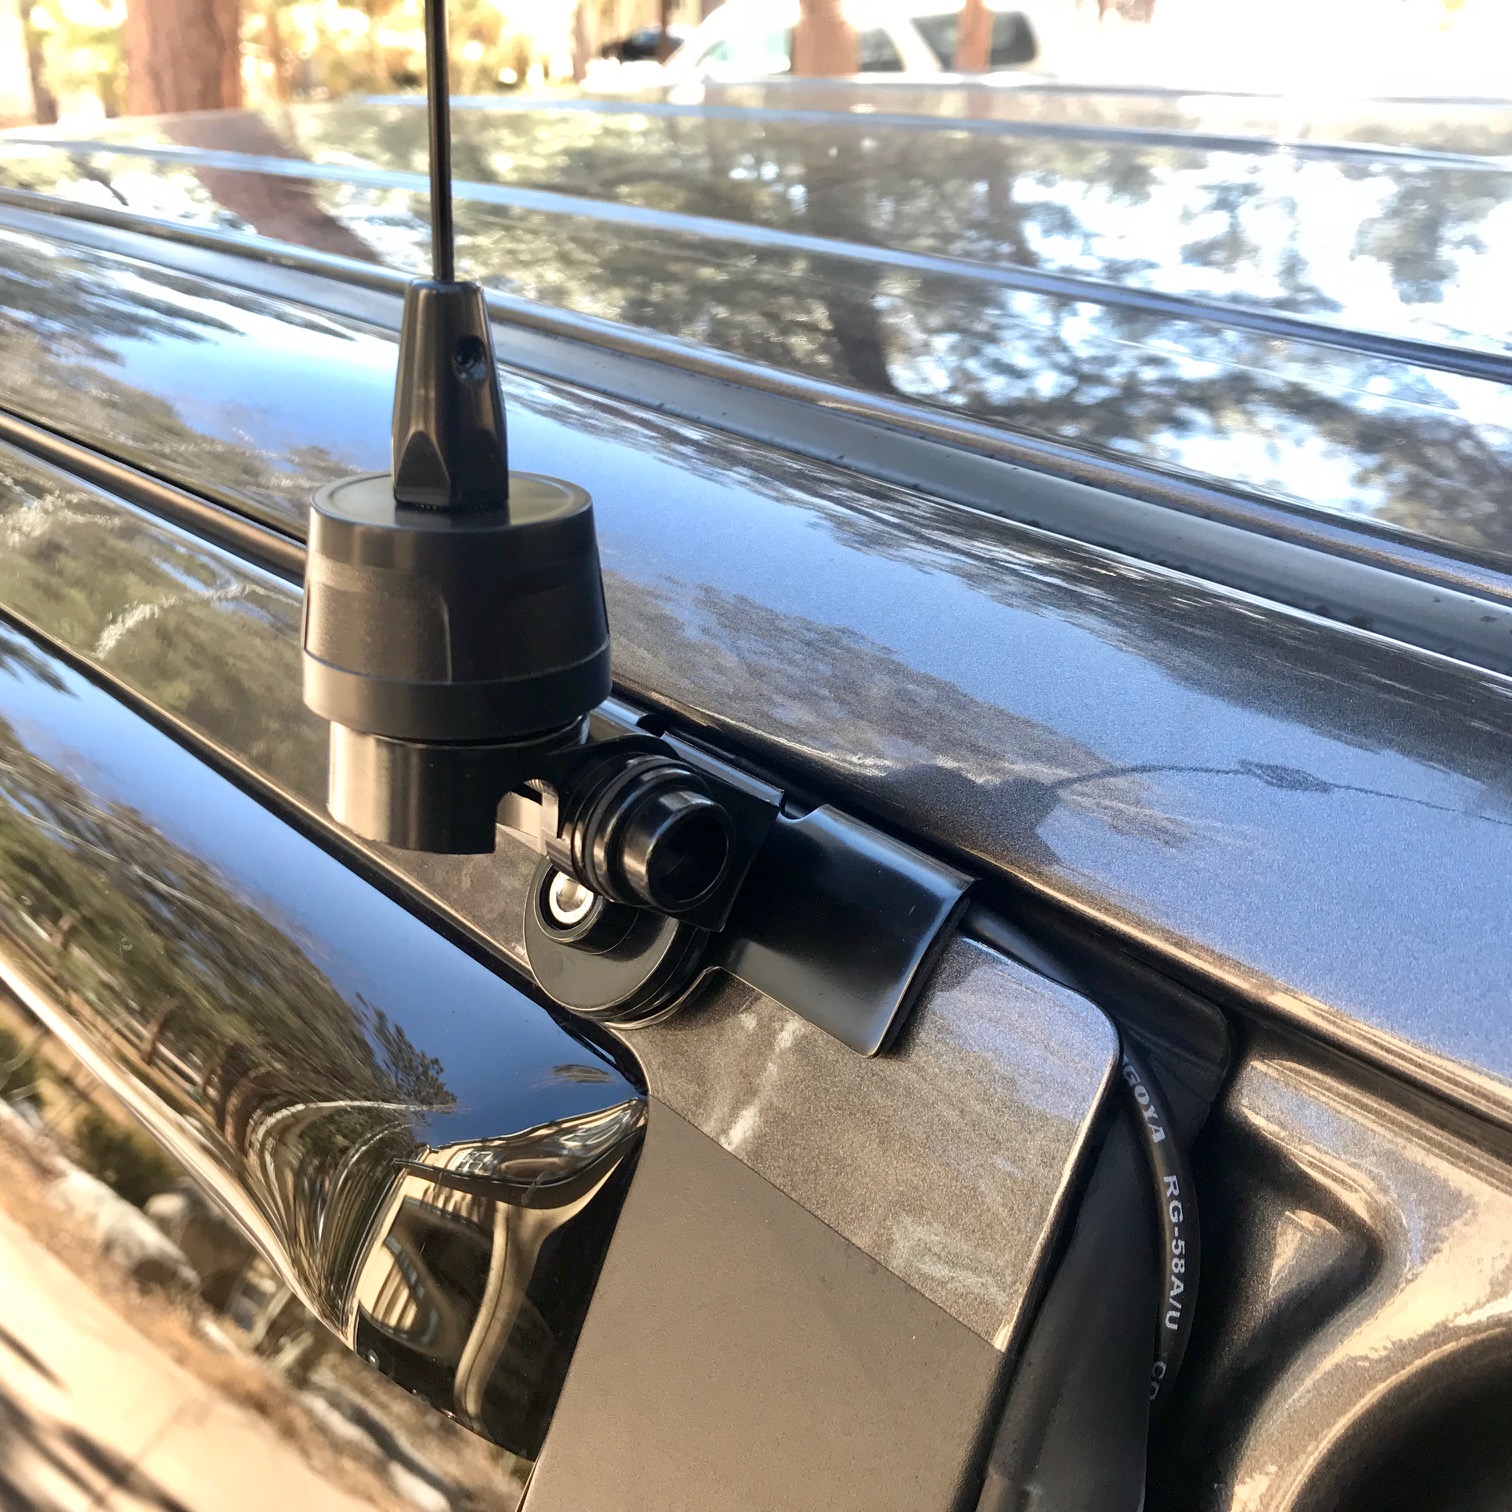
The antenna coax attaches to the SO-239 on the Right Angle Adapter and runs down to the floor between the driver's seat and the center console. Then it goes to the rear floorboard and hides under the Weather Tech floormats. You can see more details about the antenna install here.
Step Six: The Hand Mic
As I said above, I connect this radio to an antenna mounted outside the truck, so the coax would make it cumbersome to take the radio off the mount to speak into it. A hand mic solves this problem. The hand mic is also useful for leaving the radio in the EMDOMM pouch or pack, or clipped to a belt, and putting the hand mic on a shoulder strap.
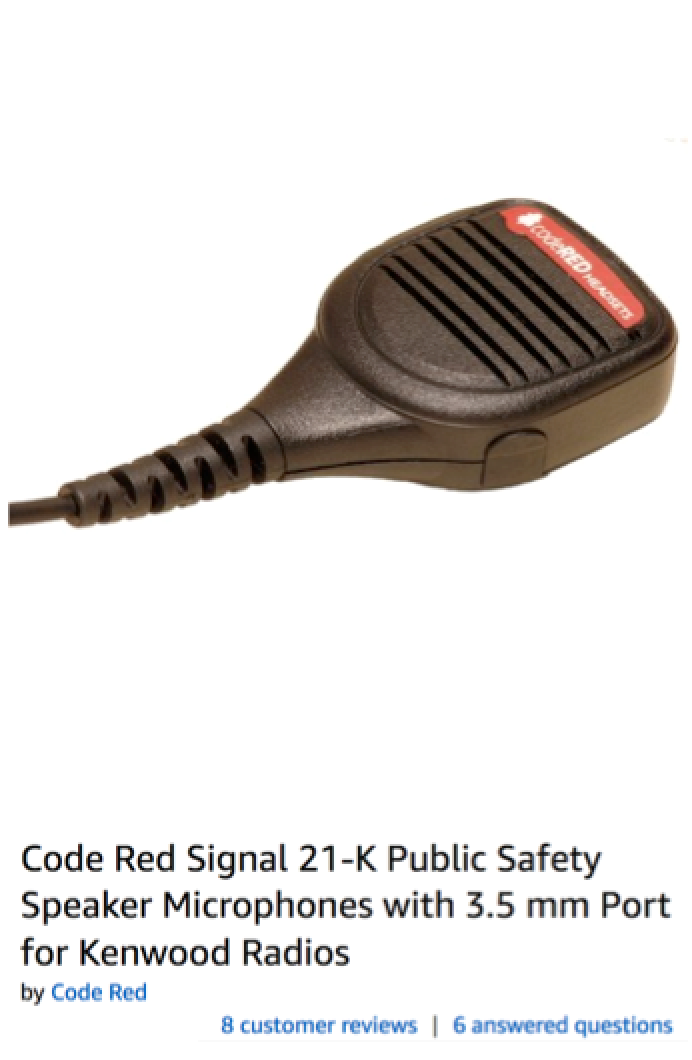
I use the Code Red Signal 21-K. (The "K" means it fits Kenwoods, and they have models for other radio brands.) It's a little spendy because it has electronics to improve the audio on both transmit and receive, which is good for Jeeps because it's loud and clear enough to overcome most road and wind noise.
Unlike many hand mics, the Code Red has a clip on the back instead of a button hanger. I like this a lot because I clip the mic to my seatbelt when I'm driving, putting the speaker right by my face so it's easier to hear when the doors are off. I can speak into the mic without taking it off the seatbelt, too. And if I need to drop it to shift gears real quick, it stays right on the seatbelt.
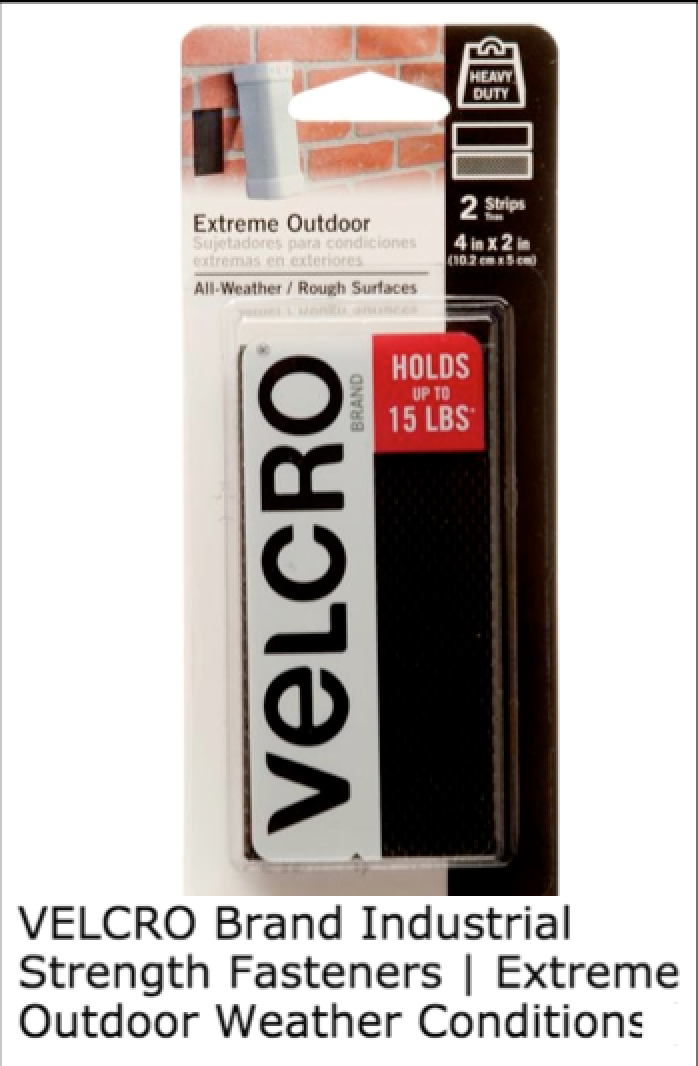
But I needed a place to hang store it when it's not clipped, and the putting a hand mic into the cup holder or on the seat is a good way to accidentally key the repeater or tie up the group's assigned simplex frequency, which tends to irritate people and is not good ham practics. So I put trimmed some two-inch wide strips of Extreme Outdoor Velcro to put on the Baofeng's BL-5 extended battery, and now I have a place that's super simple to stow and retrieve it. Even better, the speaker is still aimed at my face so I can hear it easily when I'm scanning without the mic on the seatbelt.
Here are a couple pics of the hand mic on the Baofeng battery from the Wrangler install.
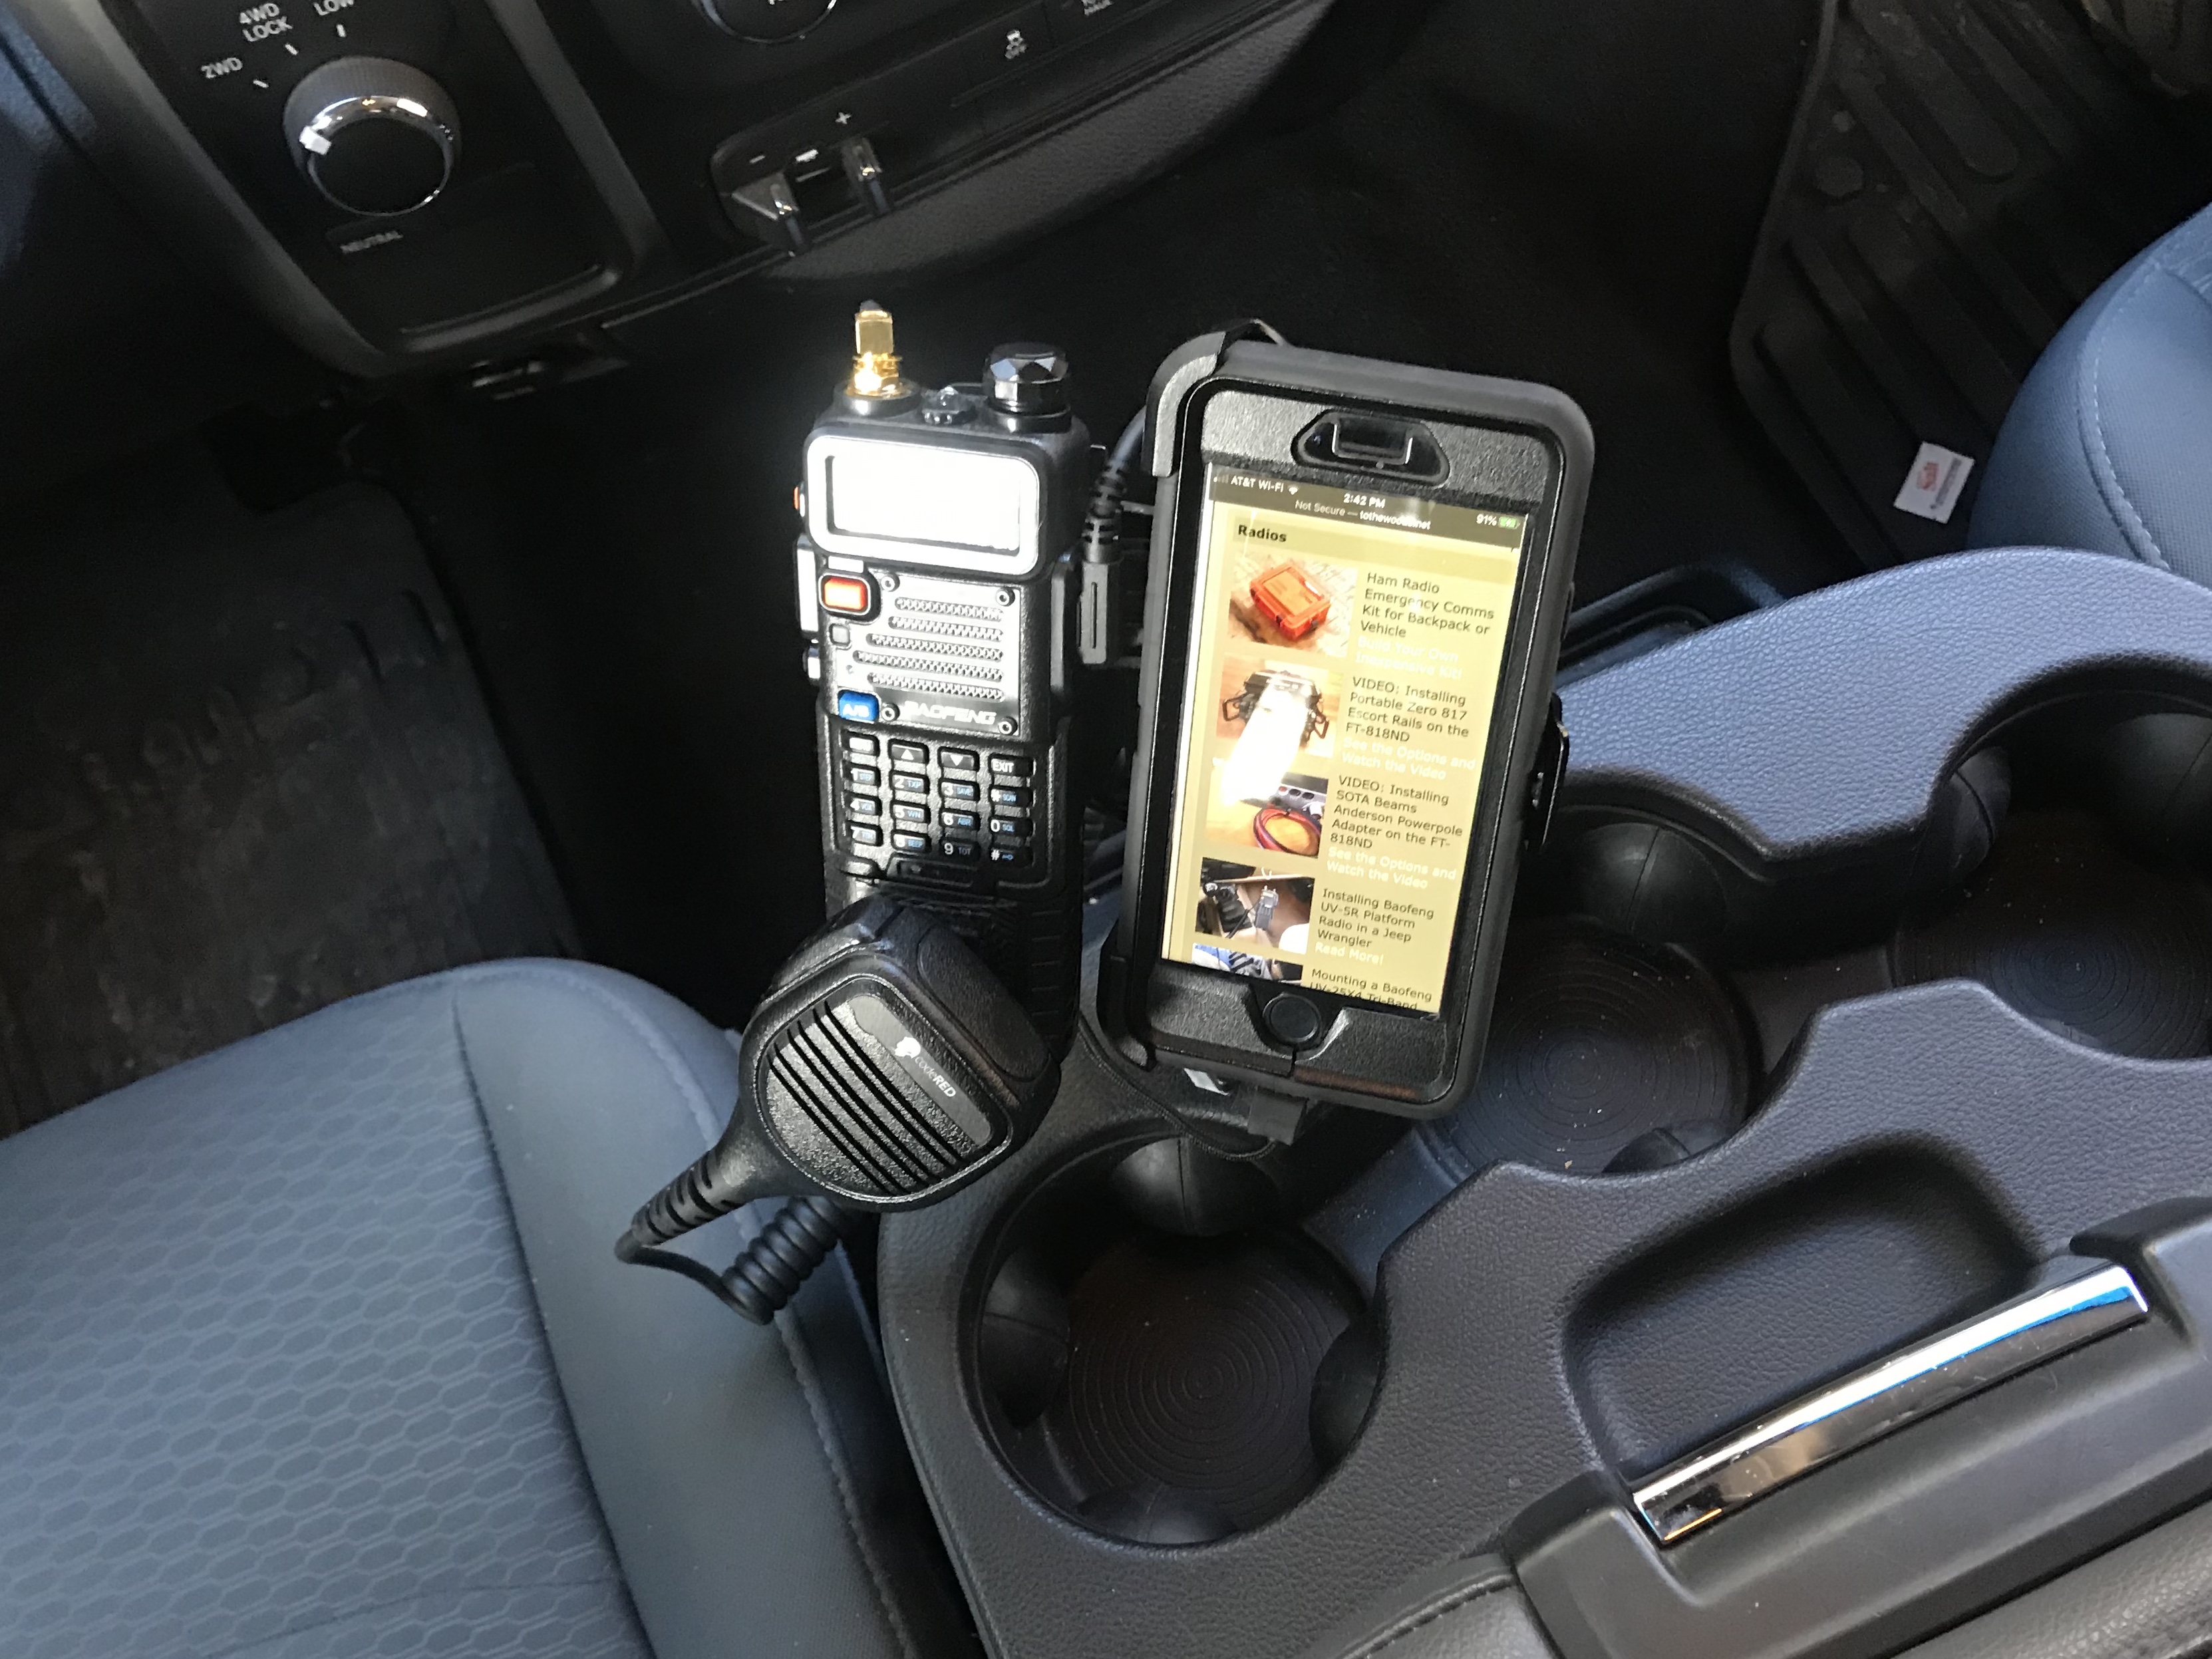
And here's the final installation from the driver's view! This was a super simple install (assuming the antenna is already in place).
I used this setup for over a year before I had to replace the Command Strips. It made it through a winter and summer ok, and got a little shaky as freezing temps approached again. But since my goal was to avoid permanent damage to the truck like screw holes, replacing $.25 worth of parts once a year is an acceptable compromise to me. Using actual 3M moulding tape would extend the time between replacements, and may last indefinitely.
Pic 14: Driver's View
Pic 15: Oblique Detail
Pic 16: Rear Detail
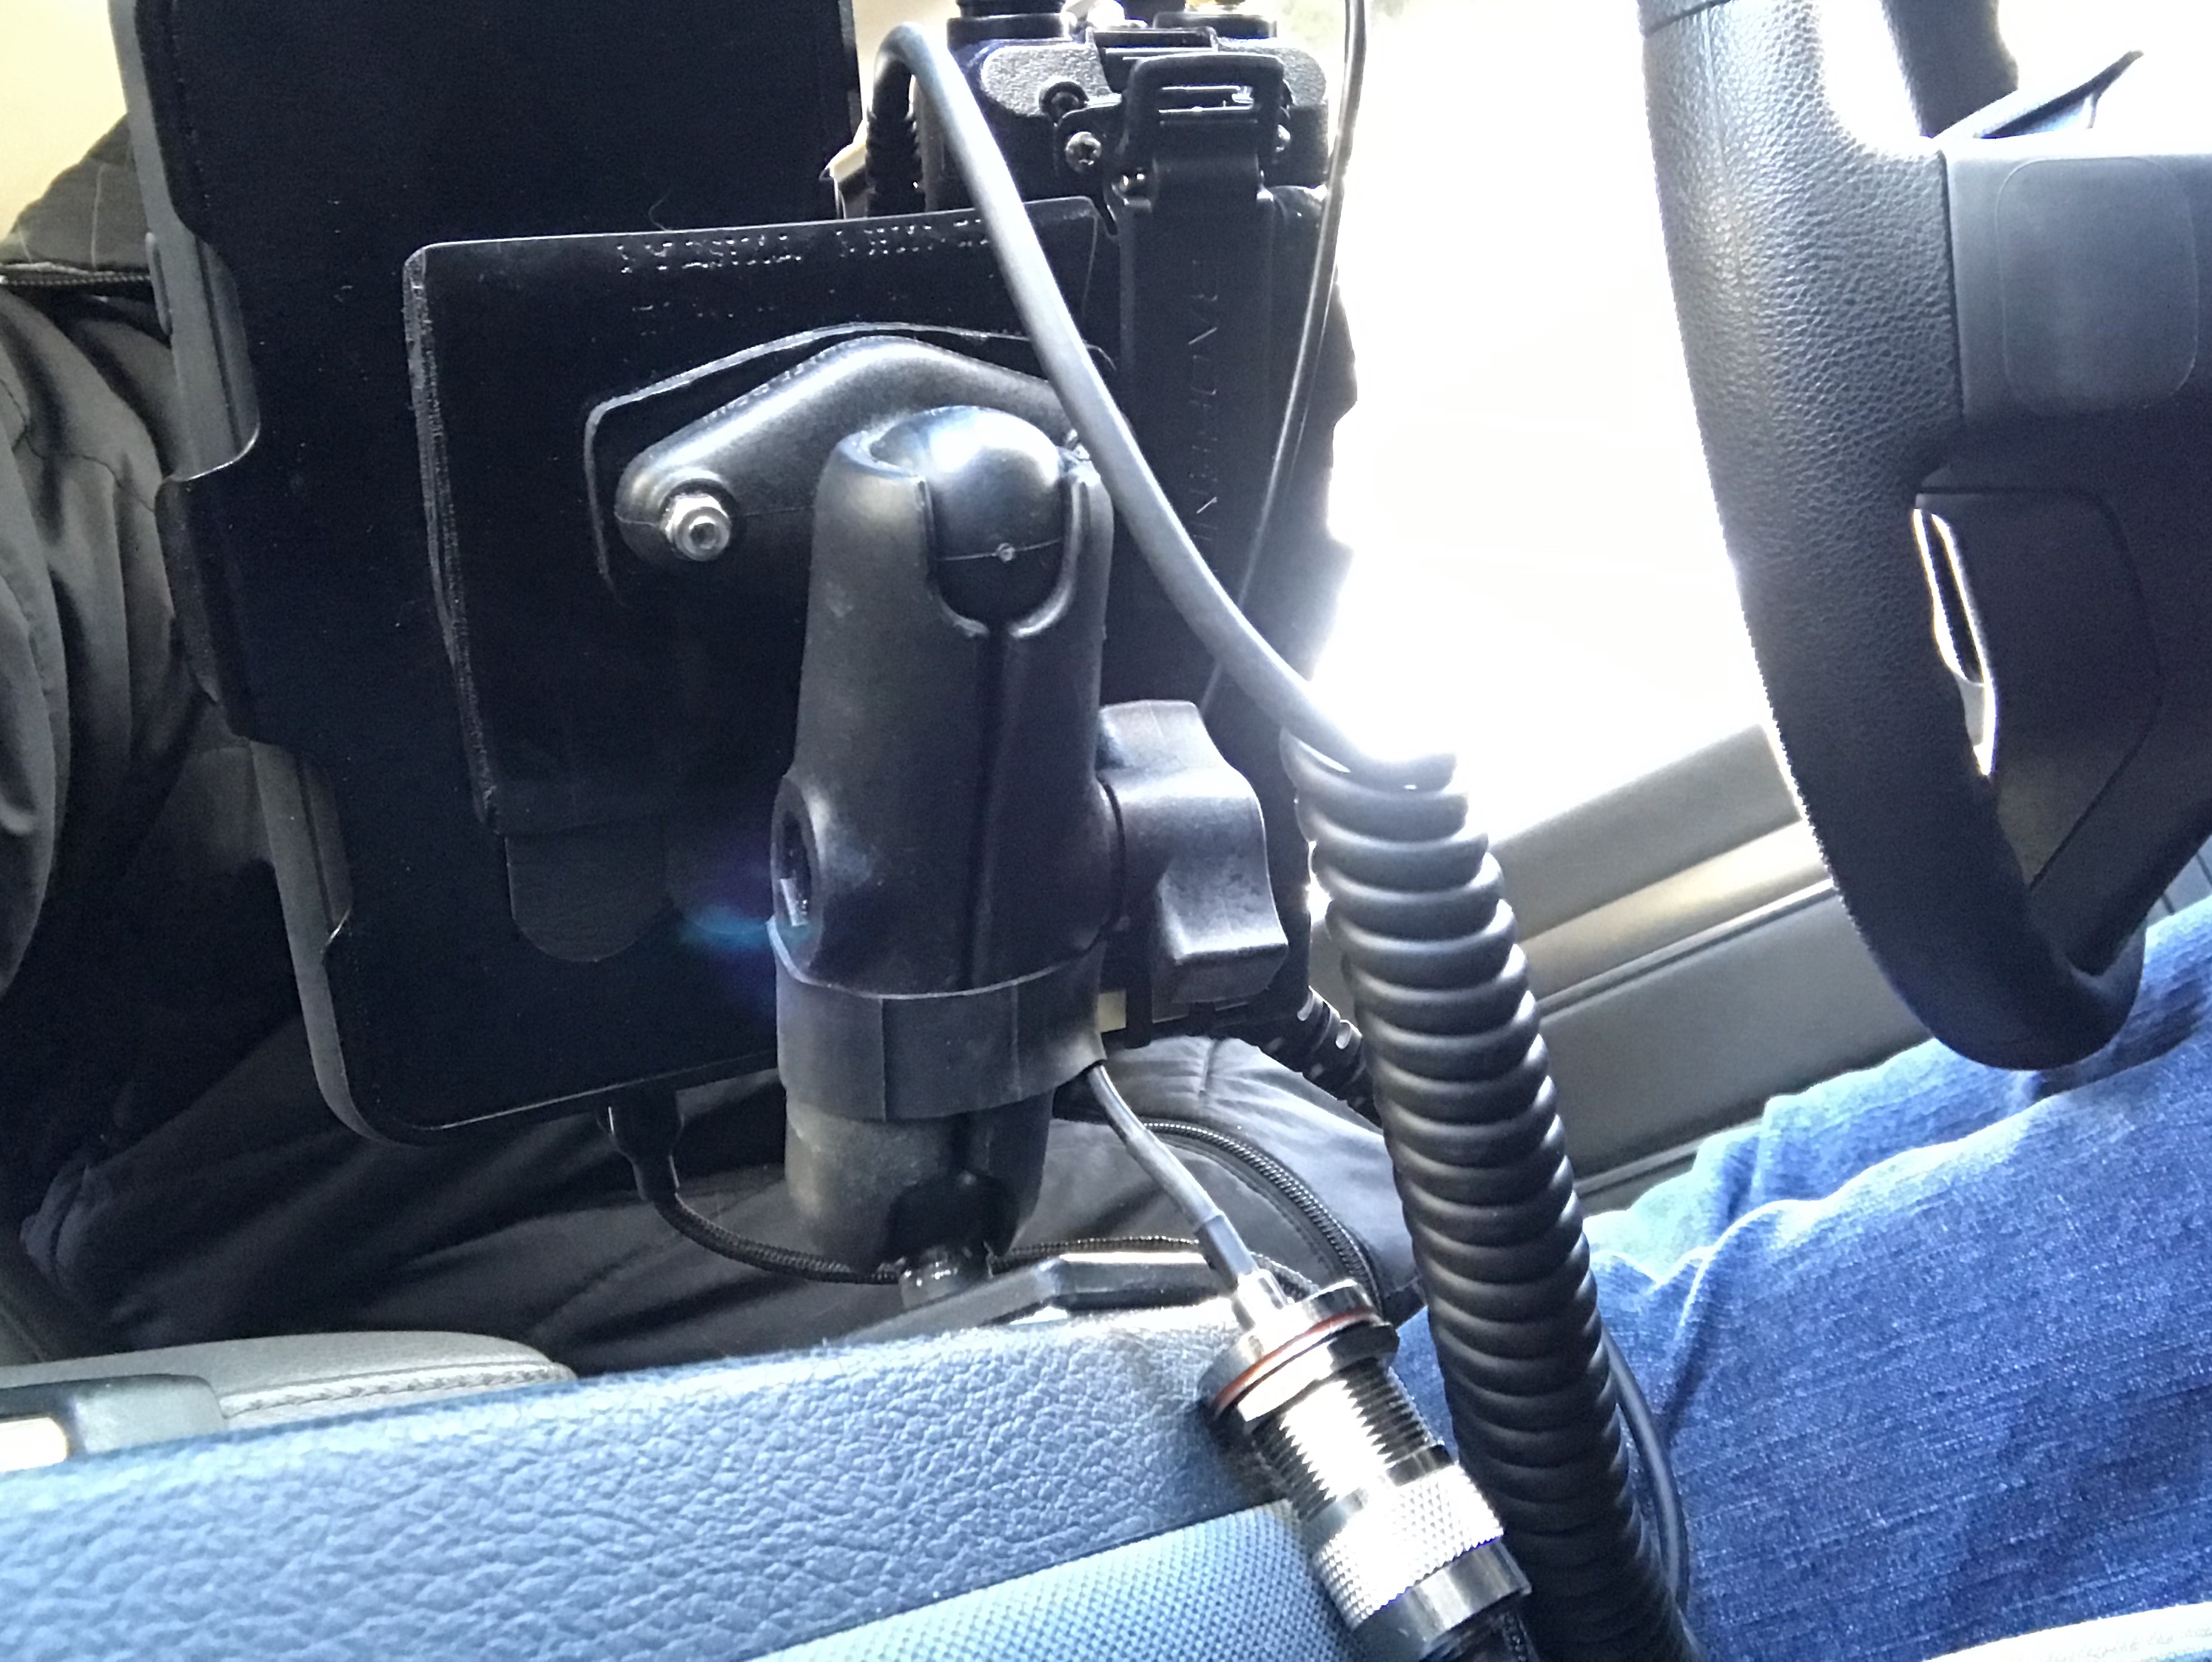
Pic 17: Rear Detail